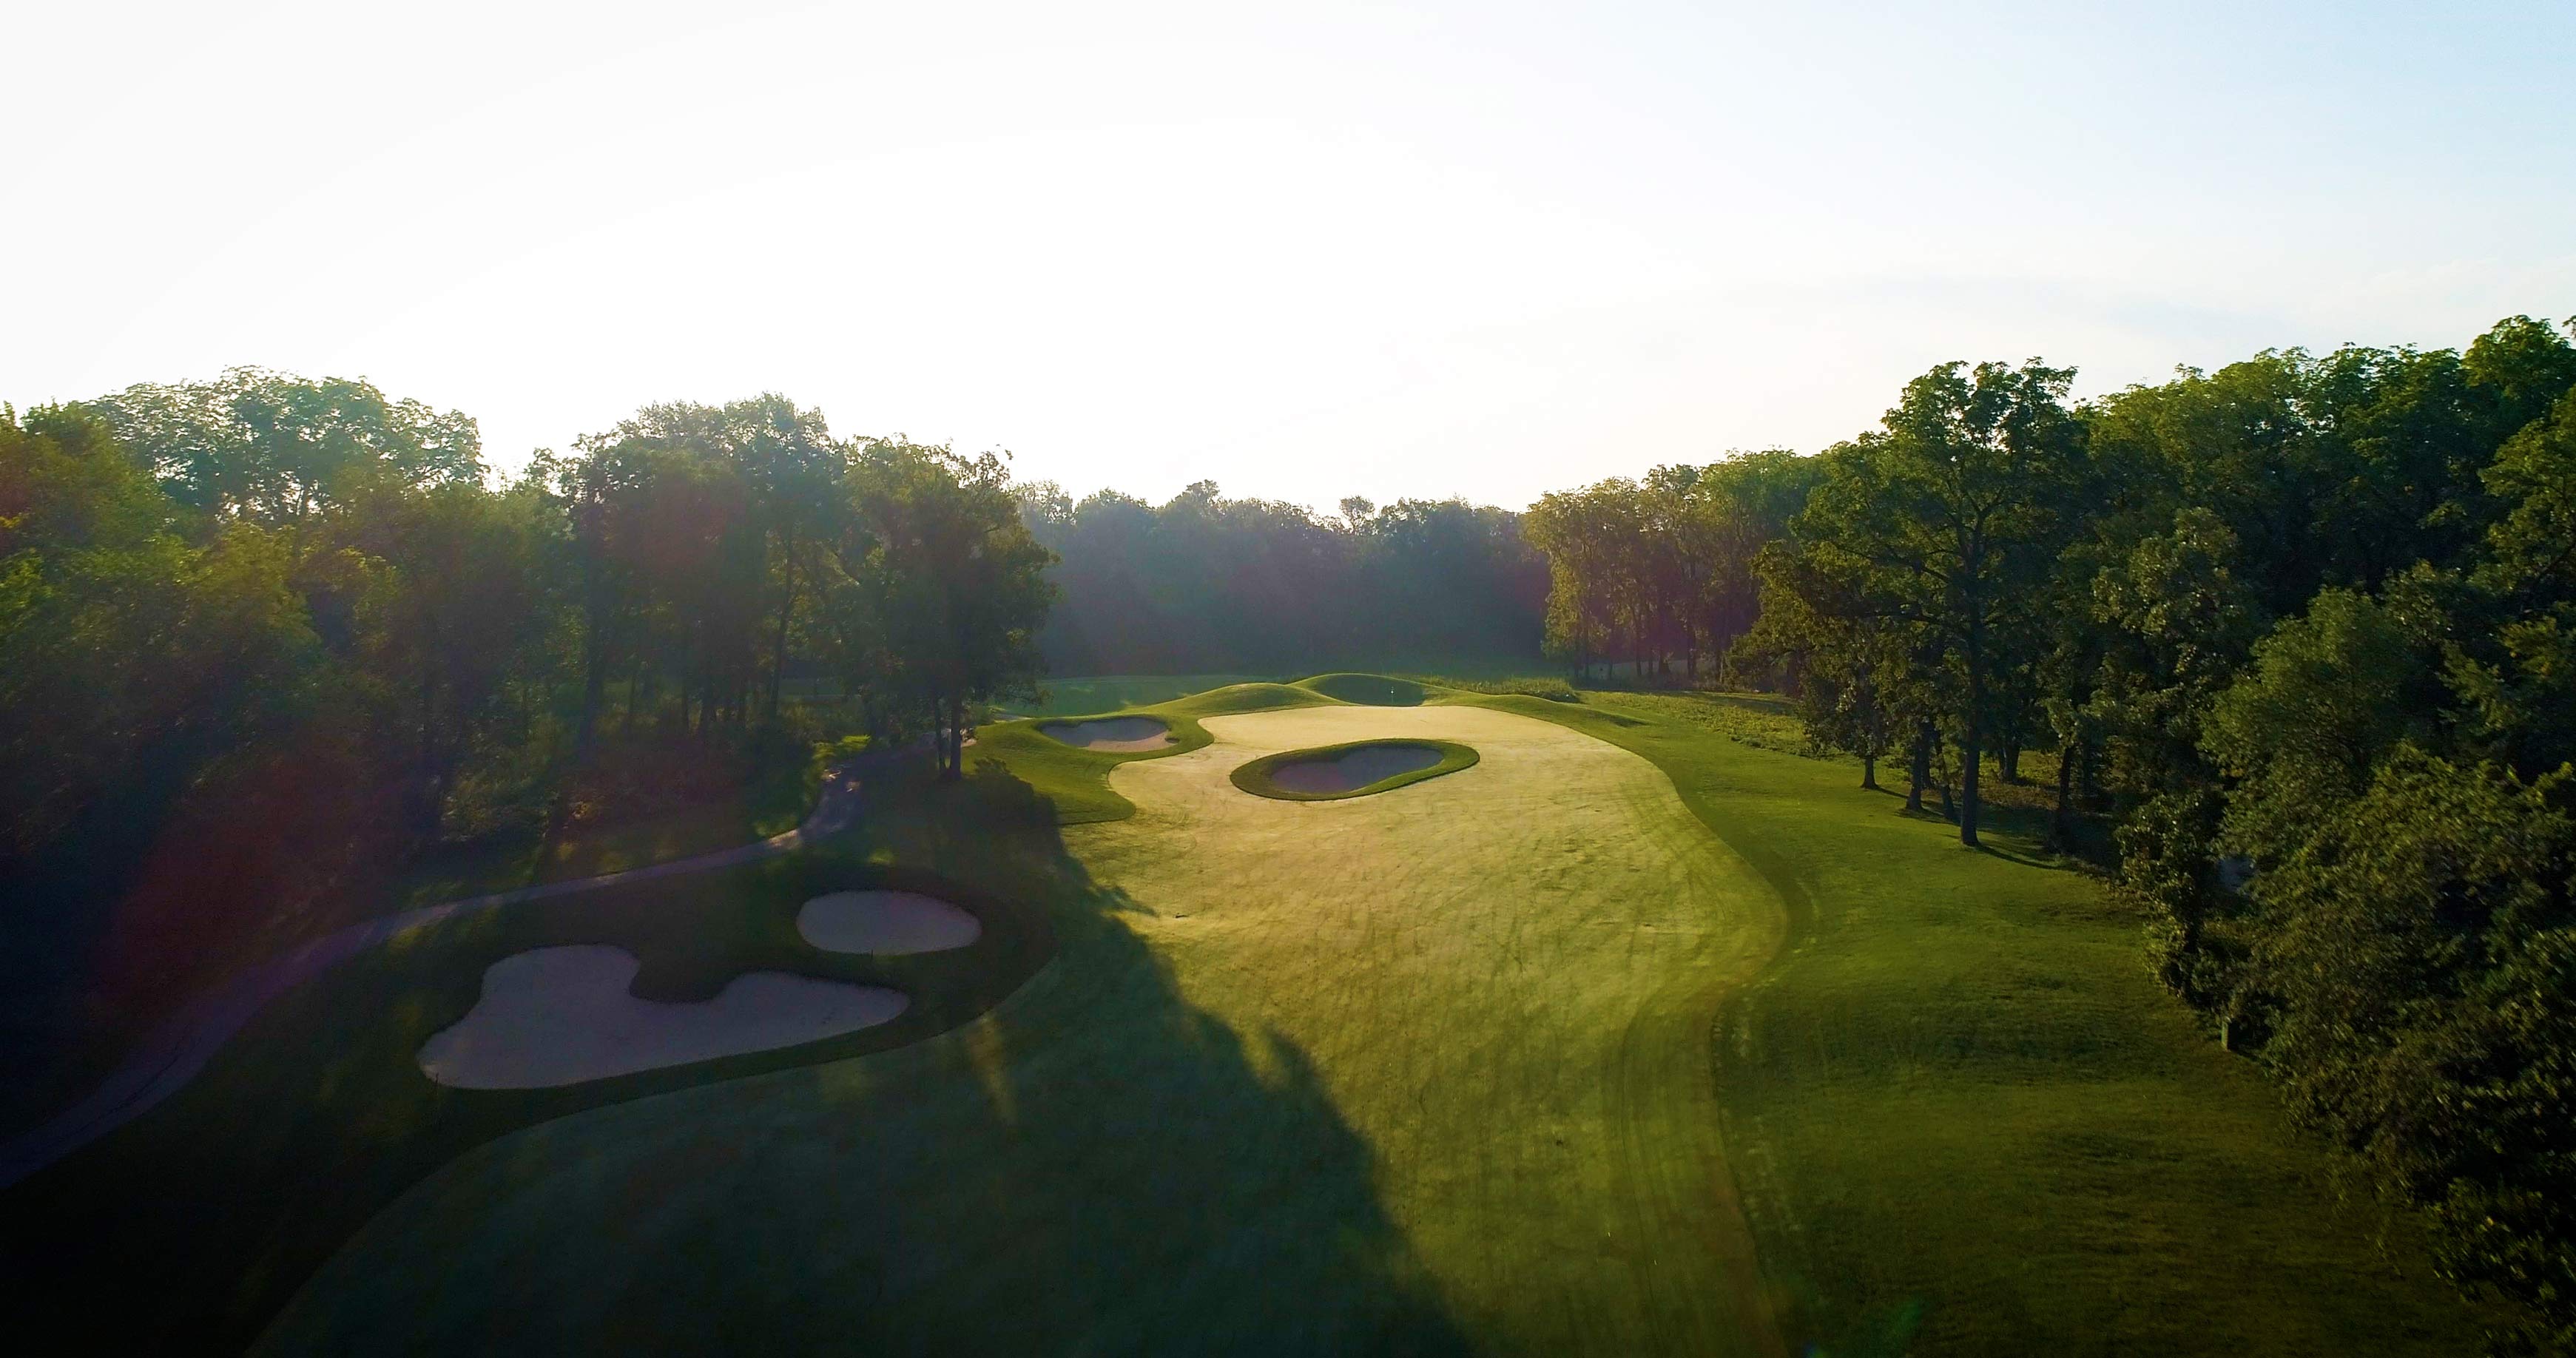
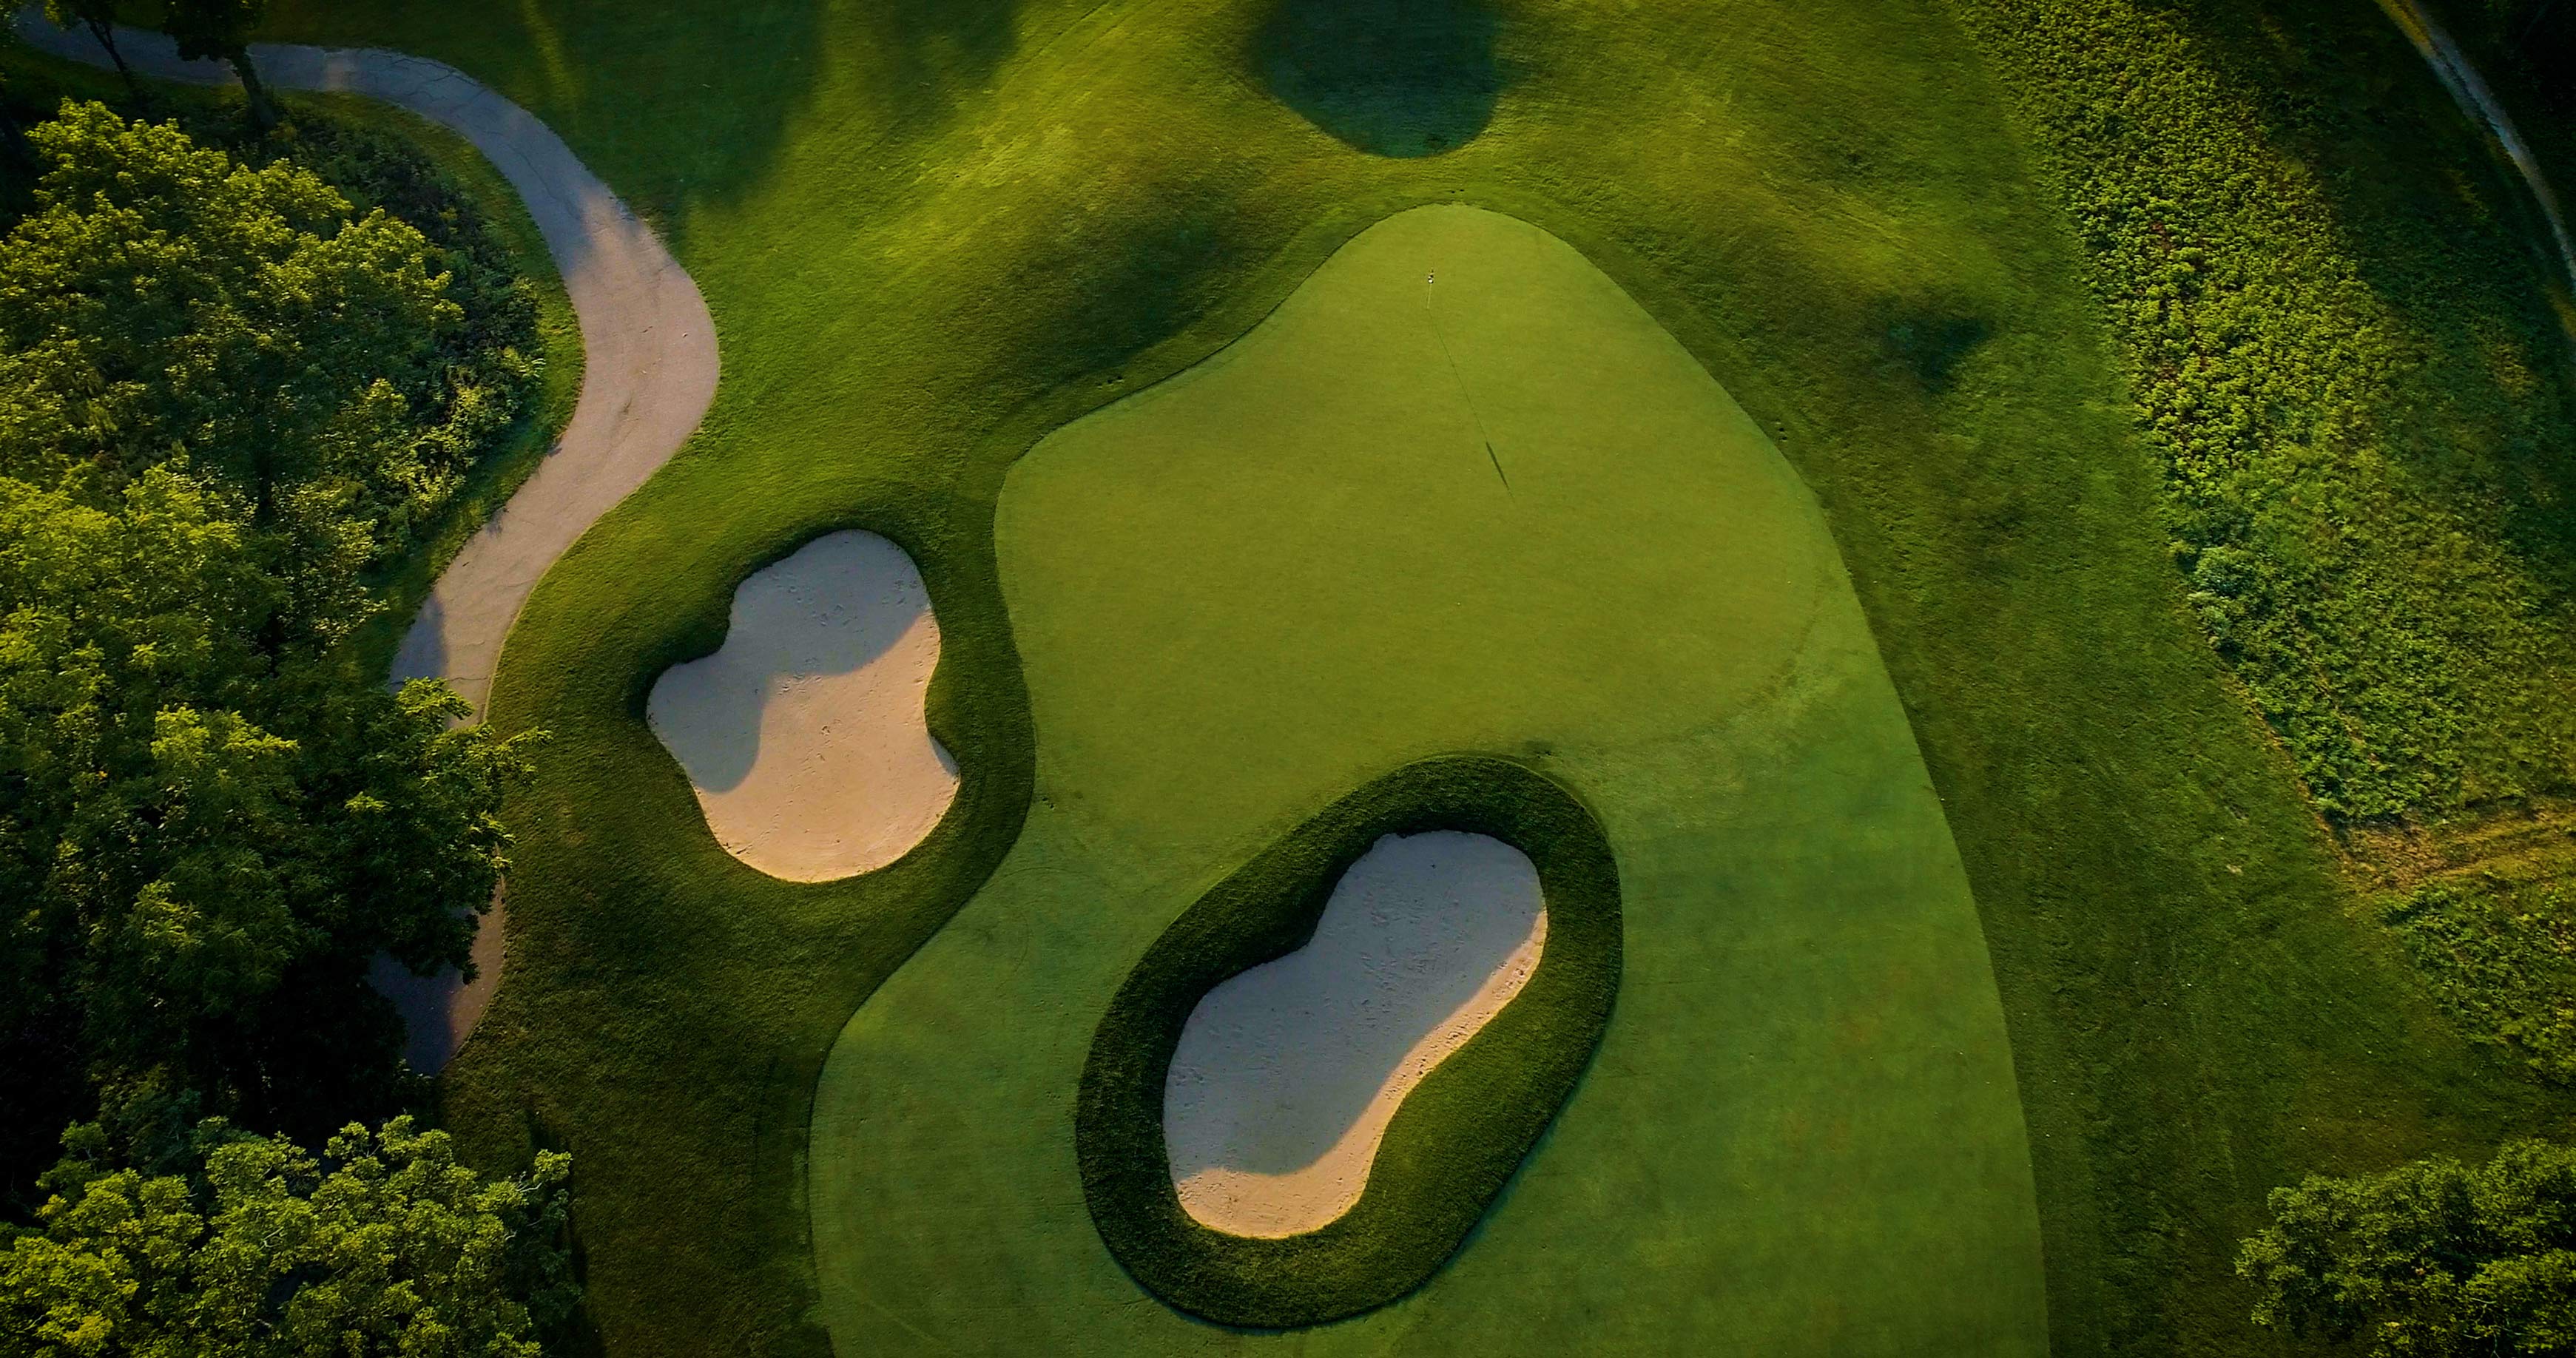
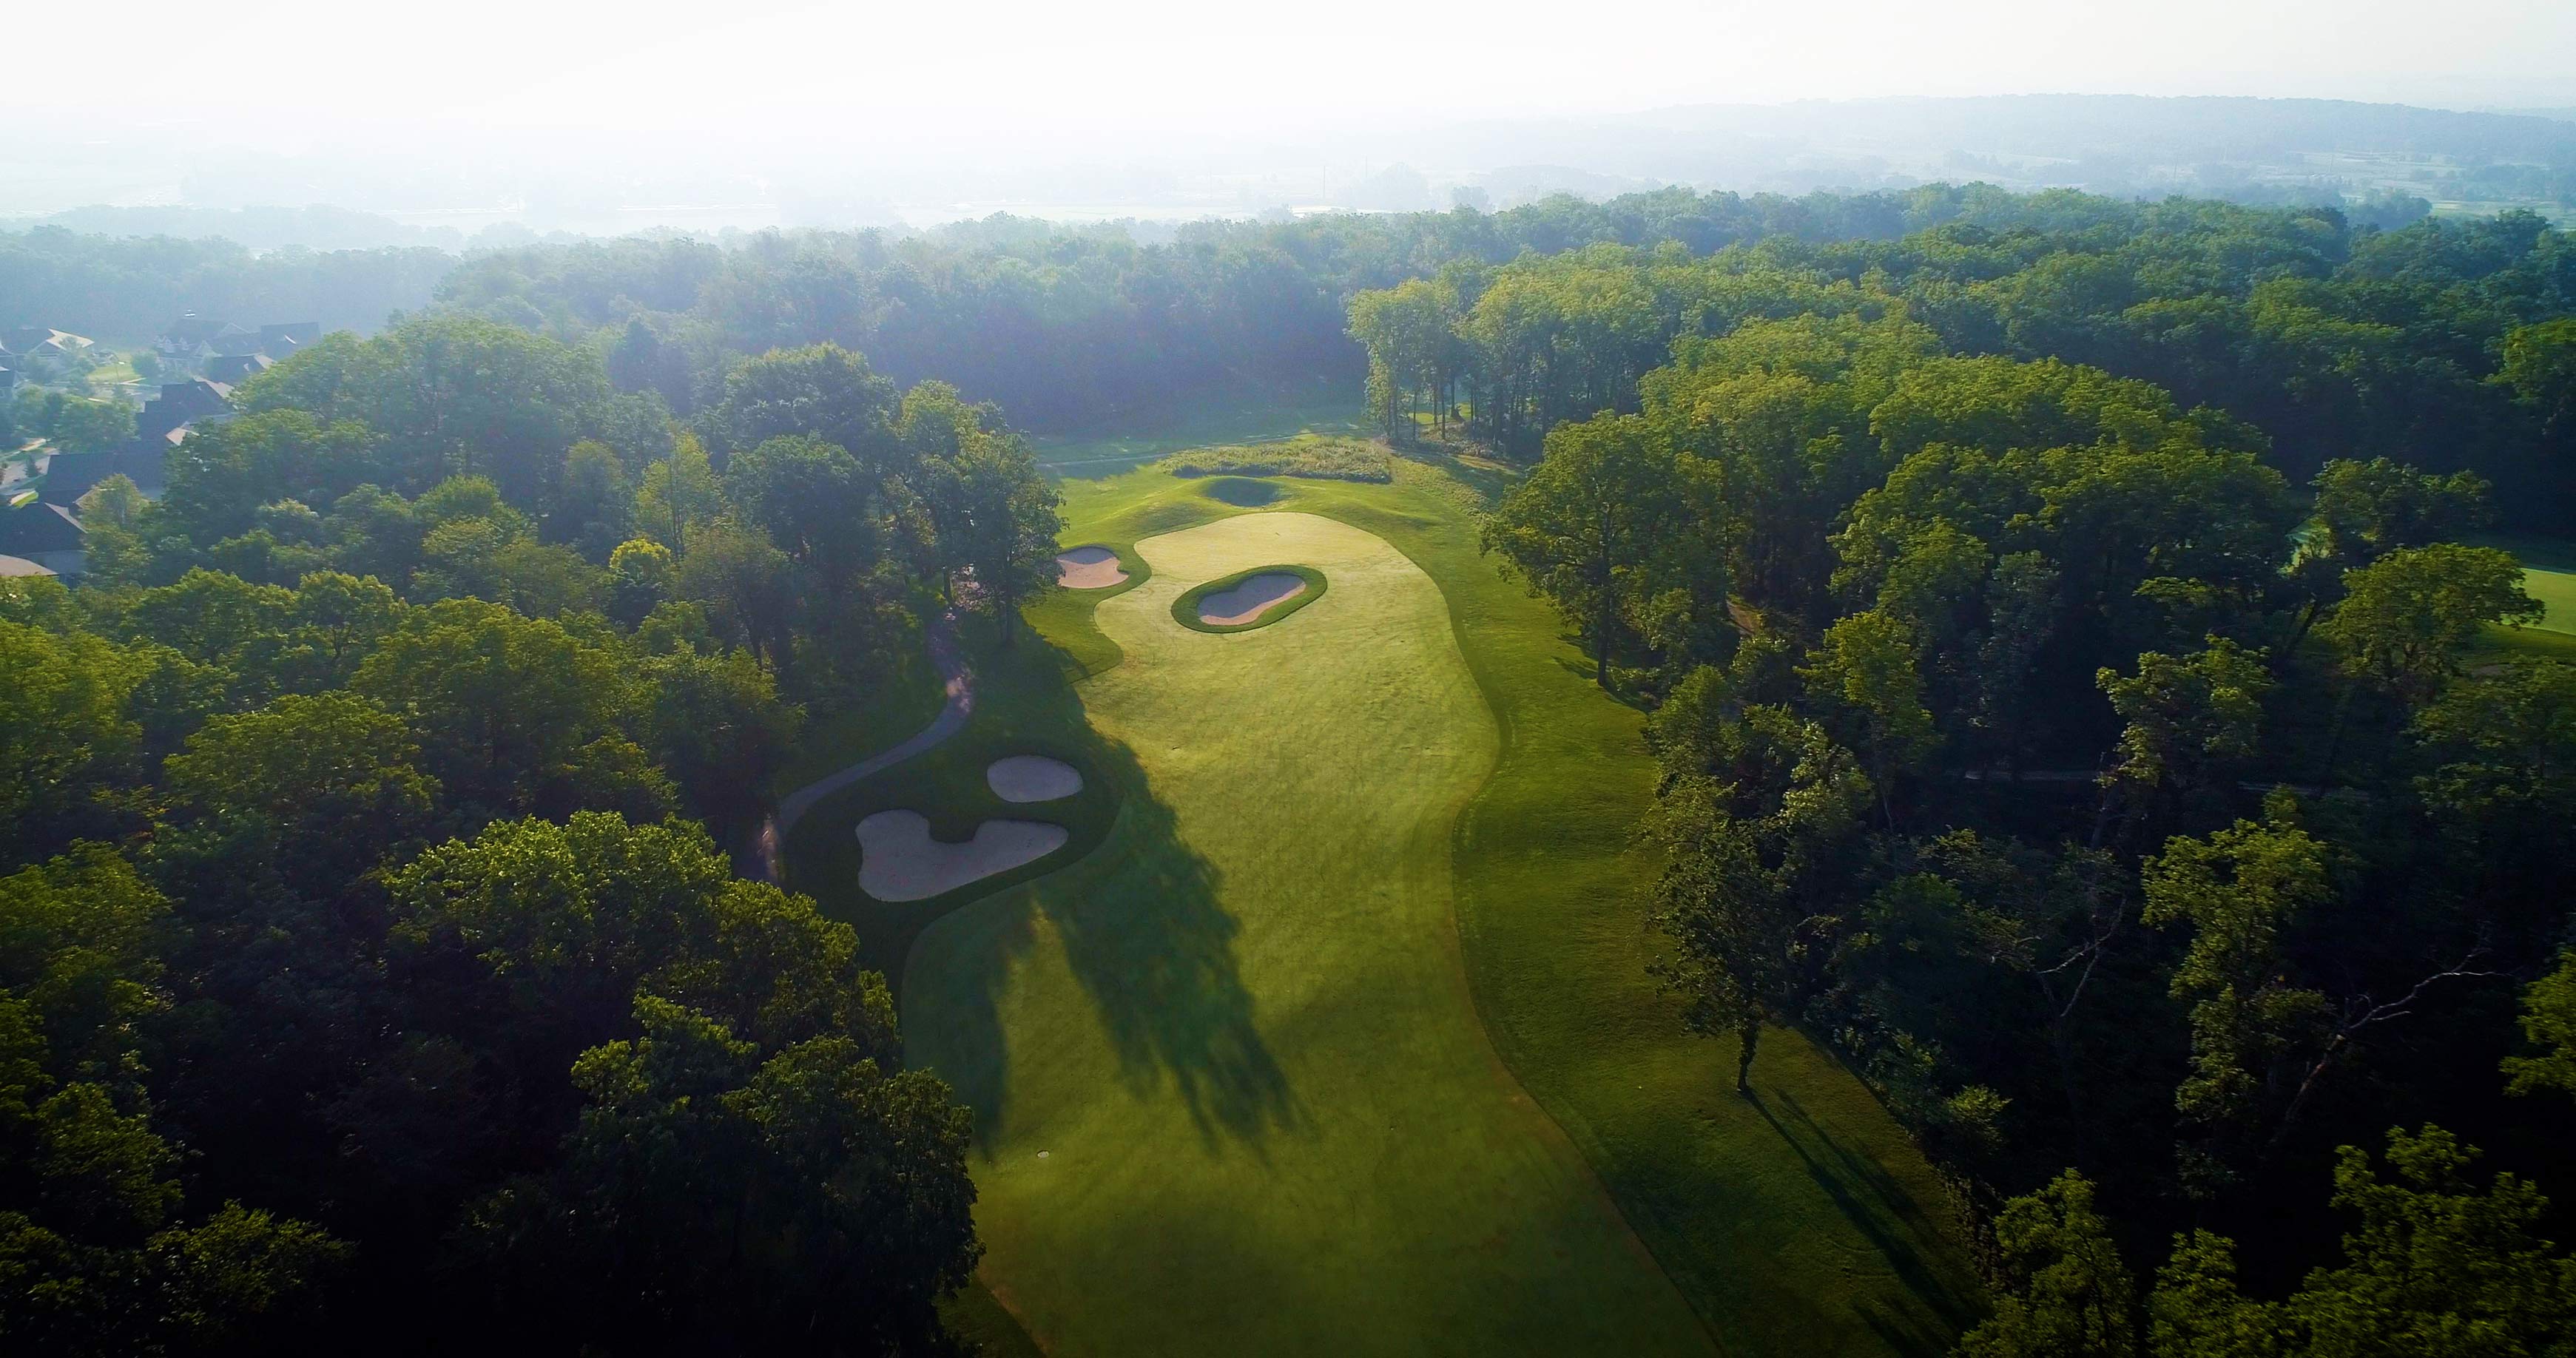
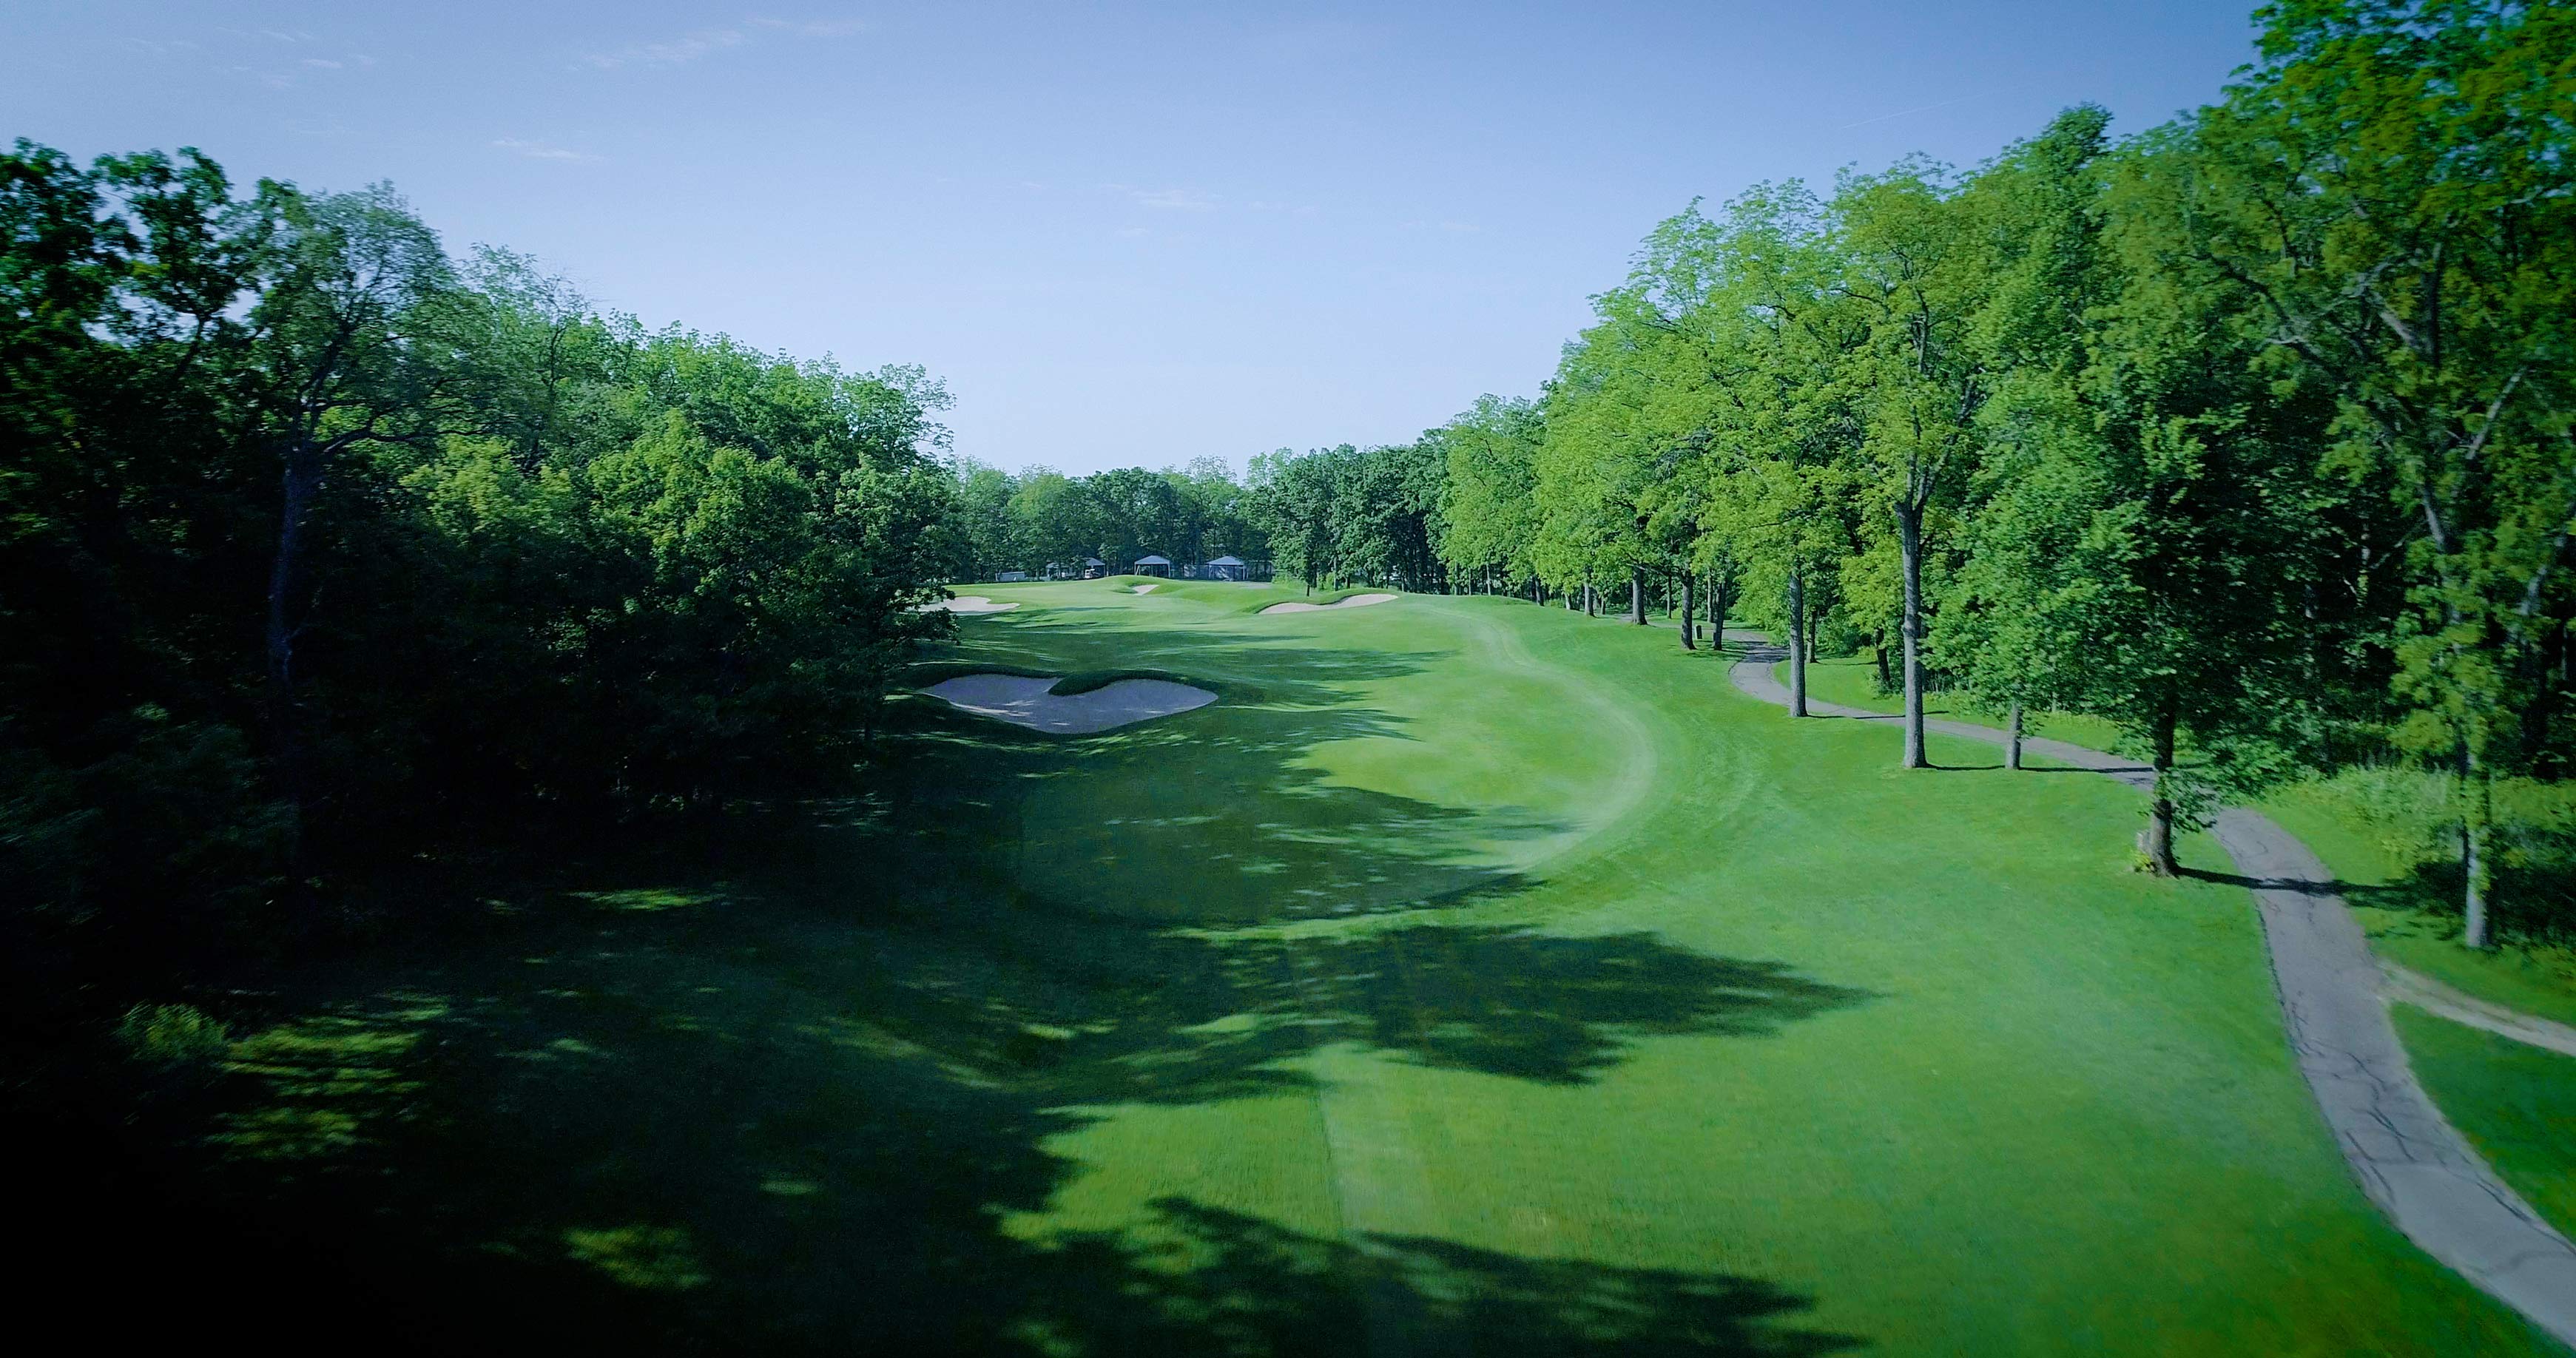
1
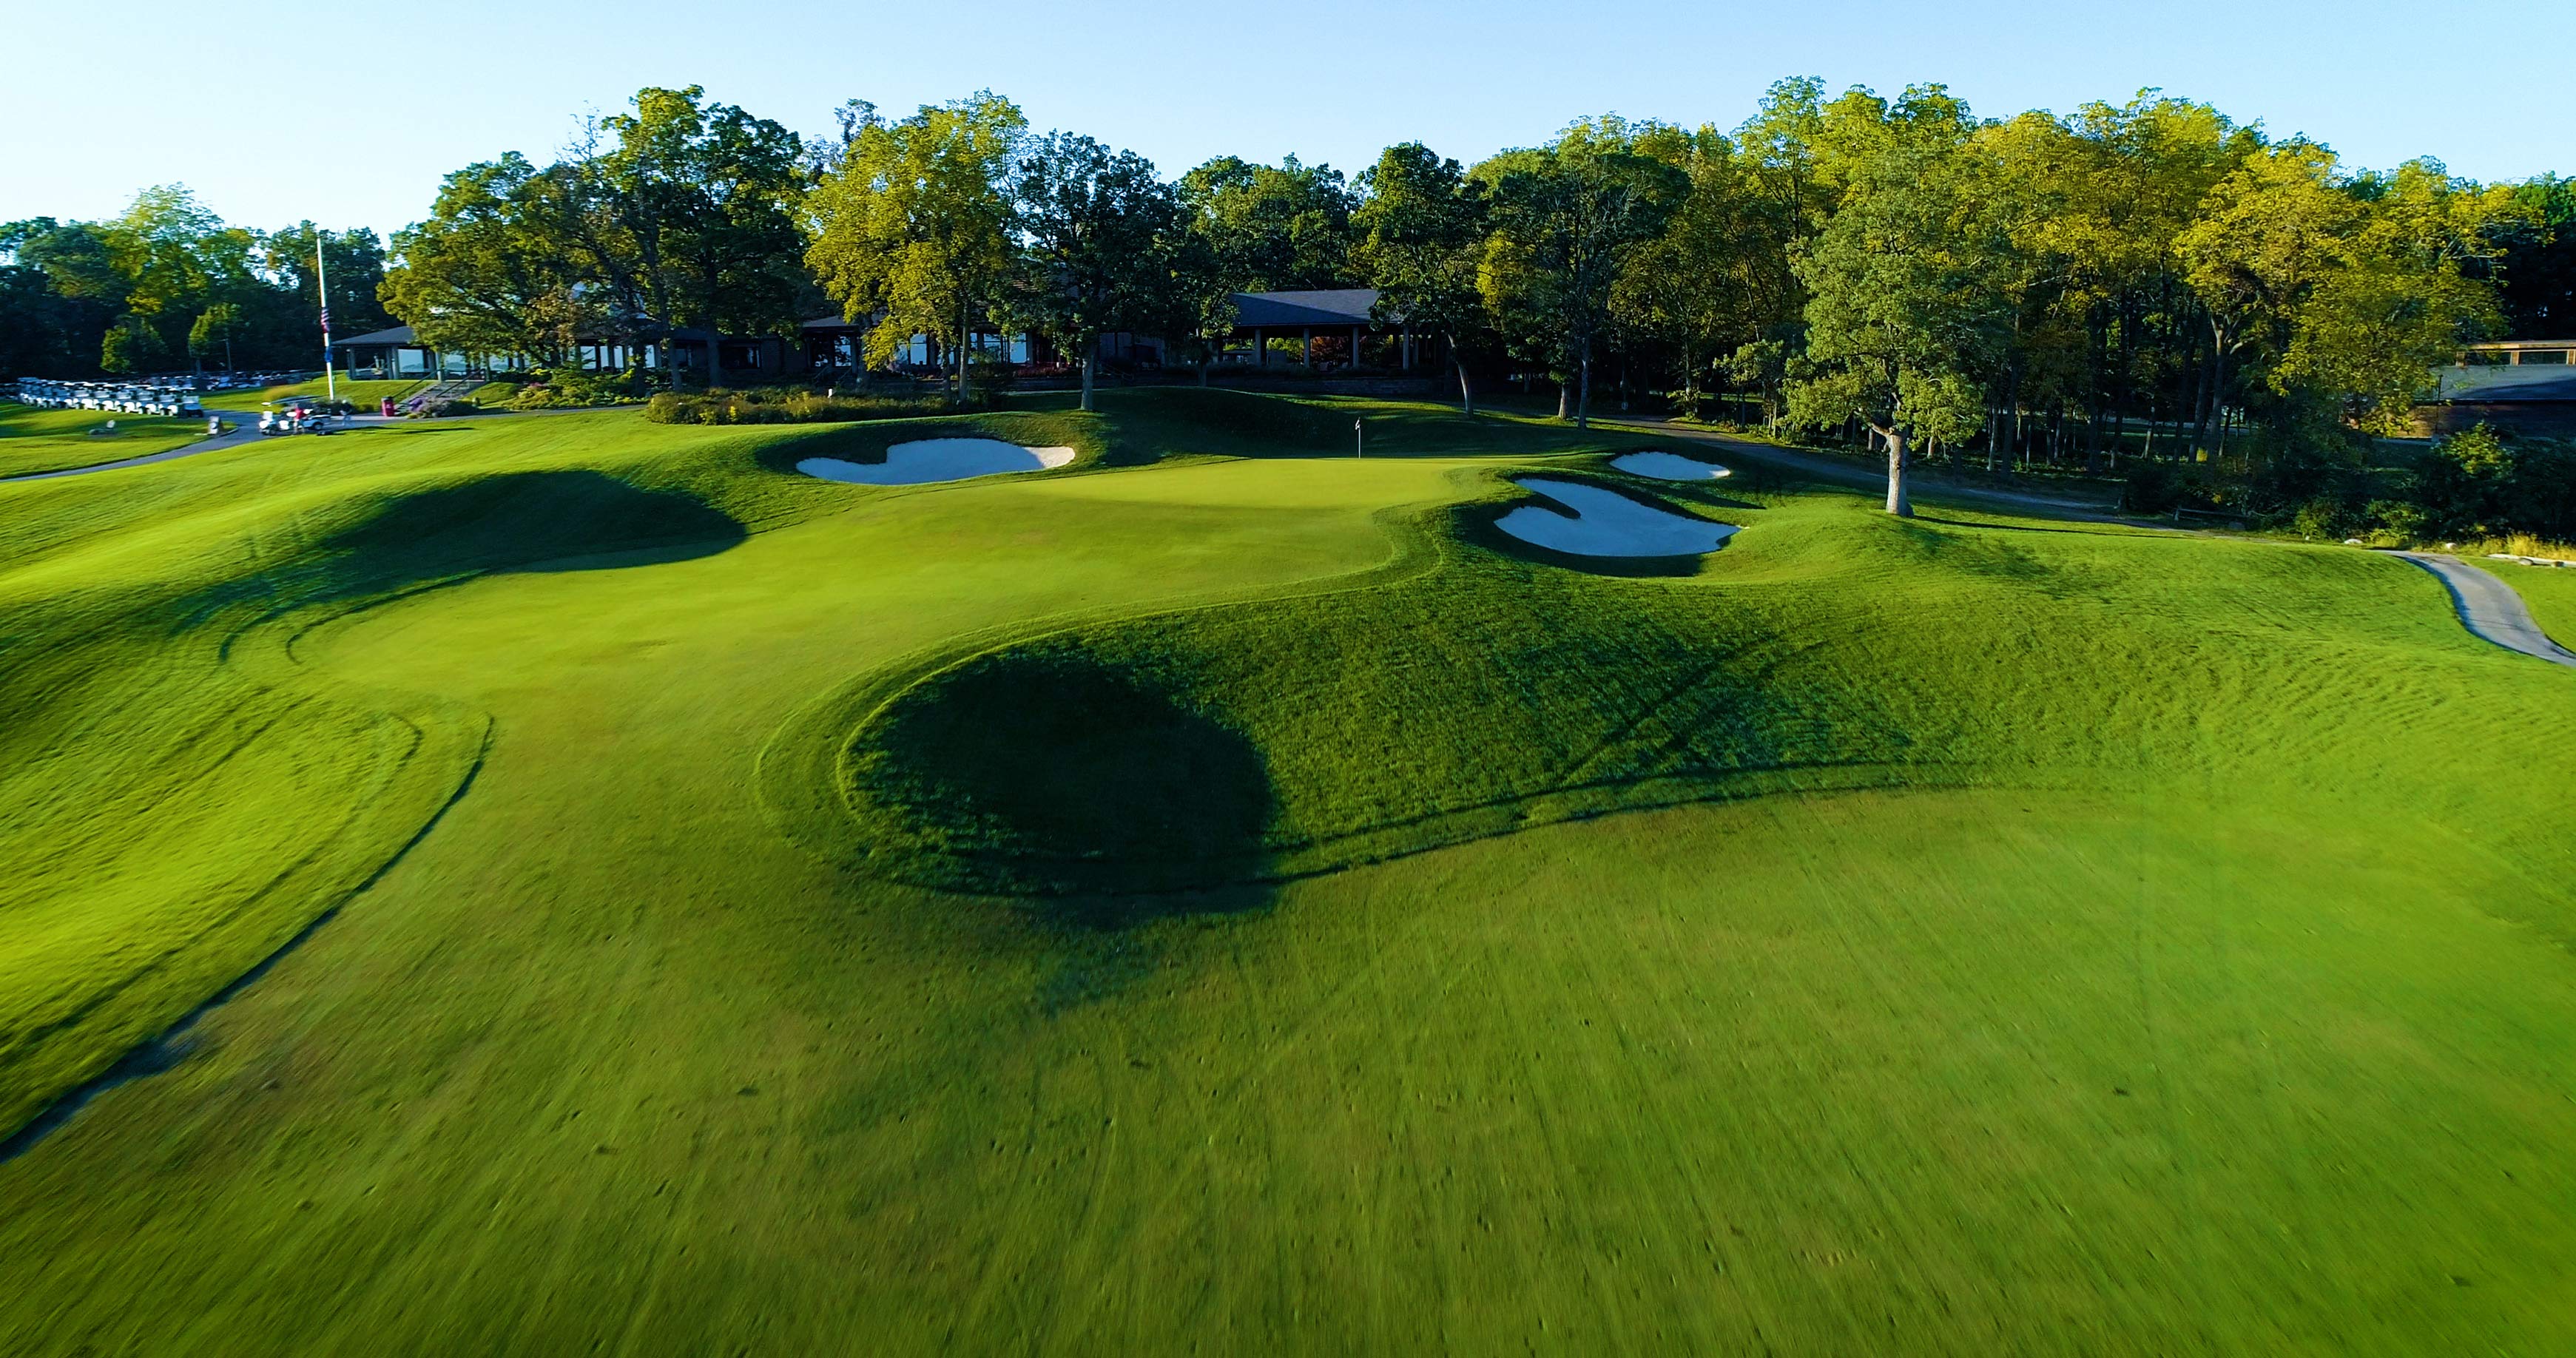
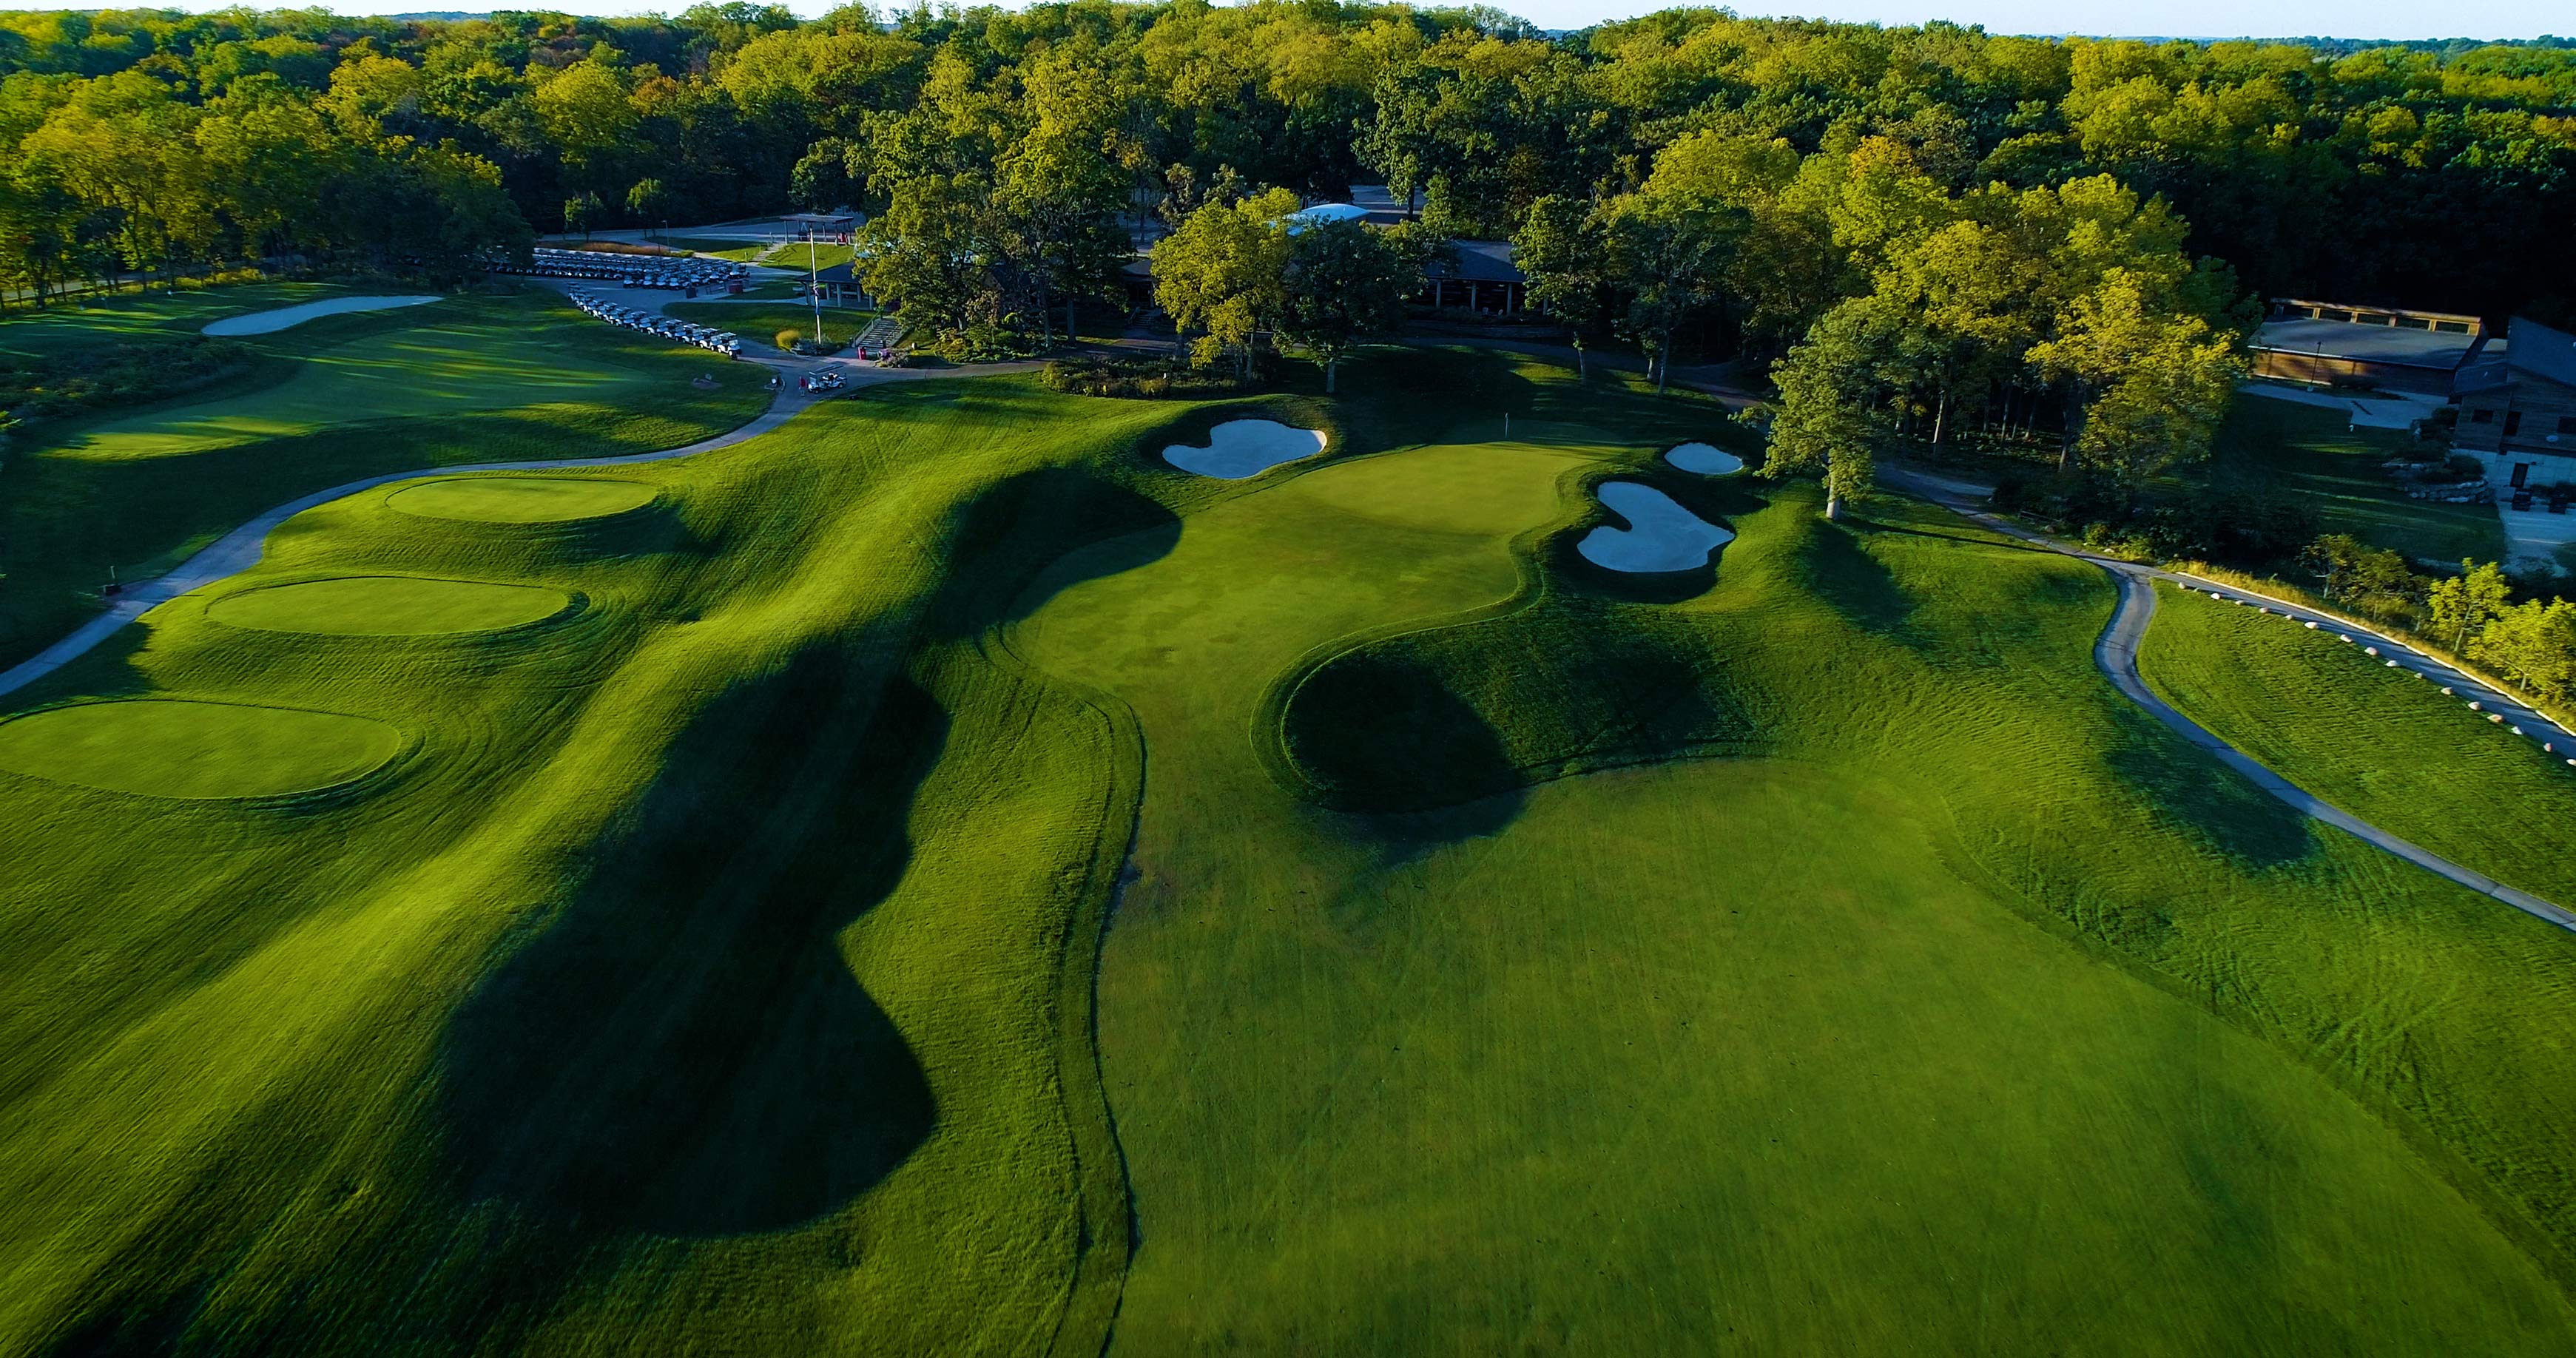
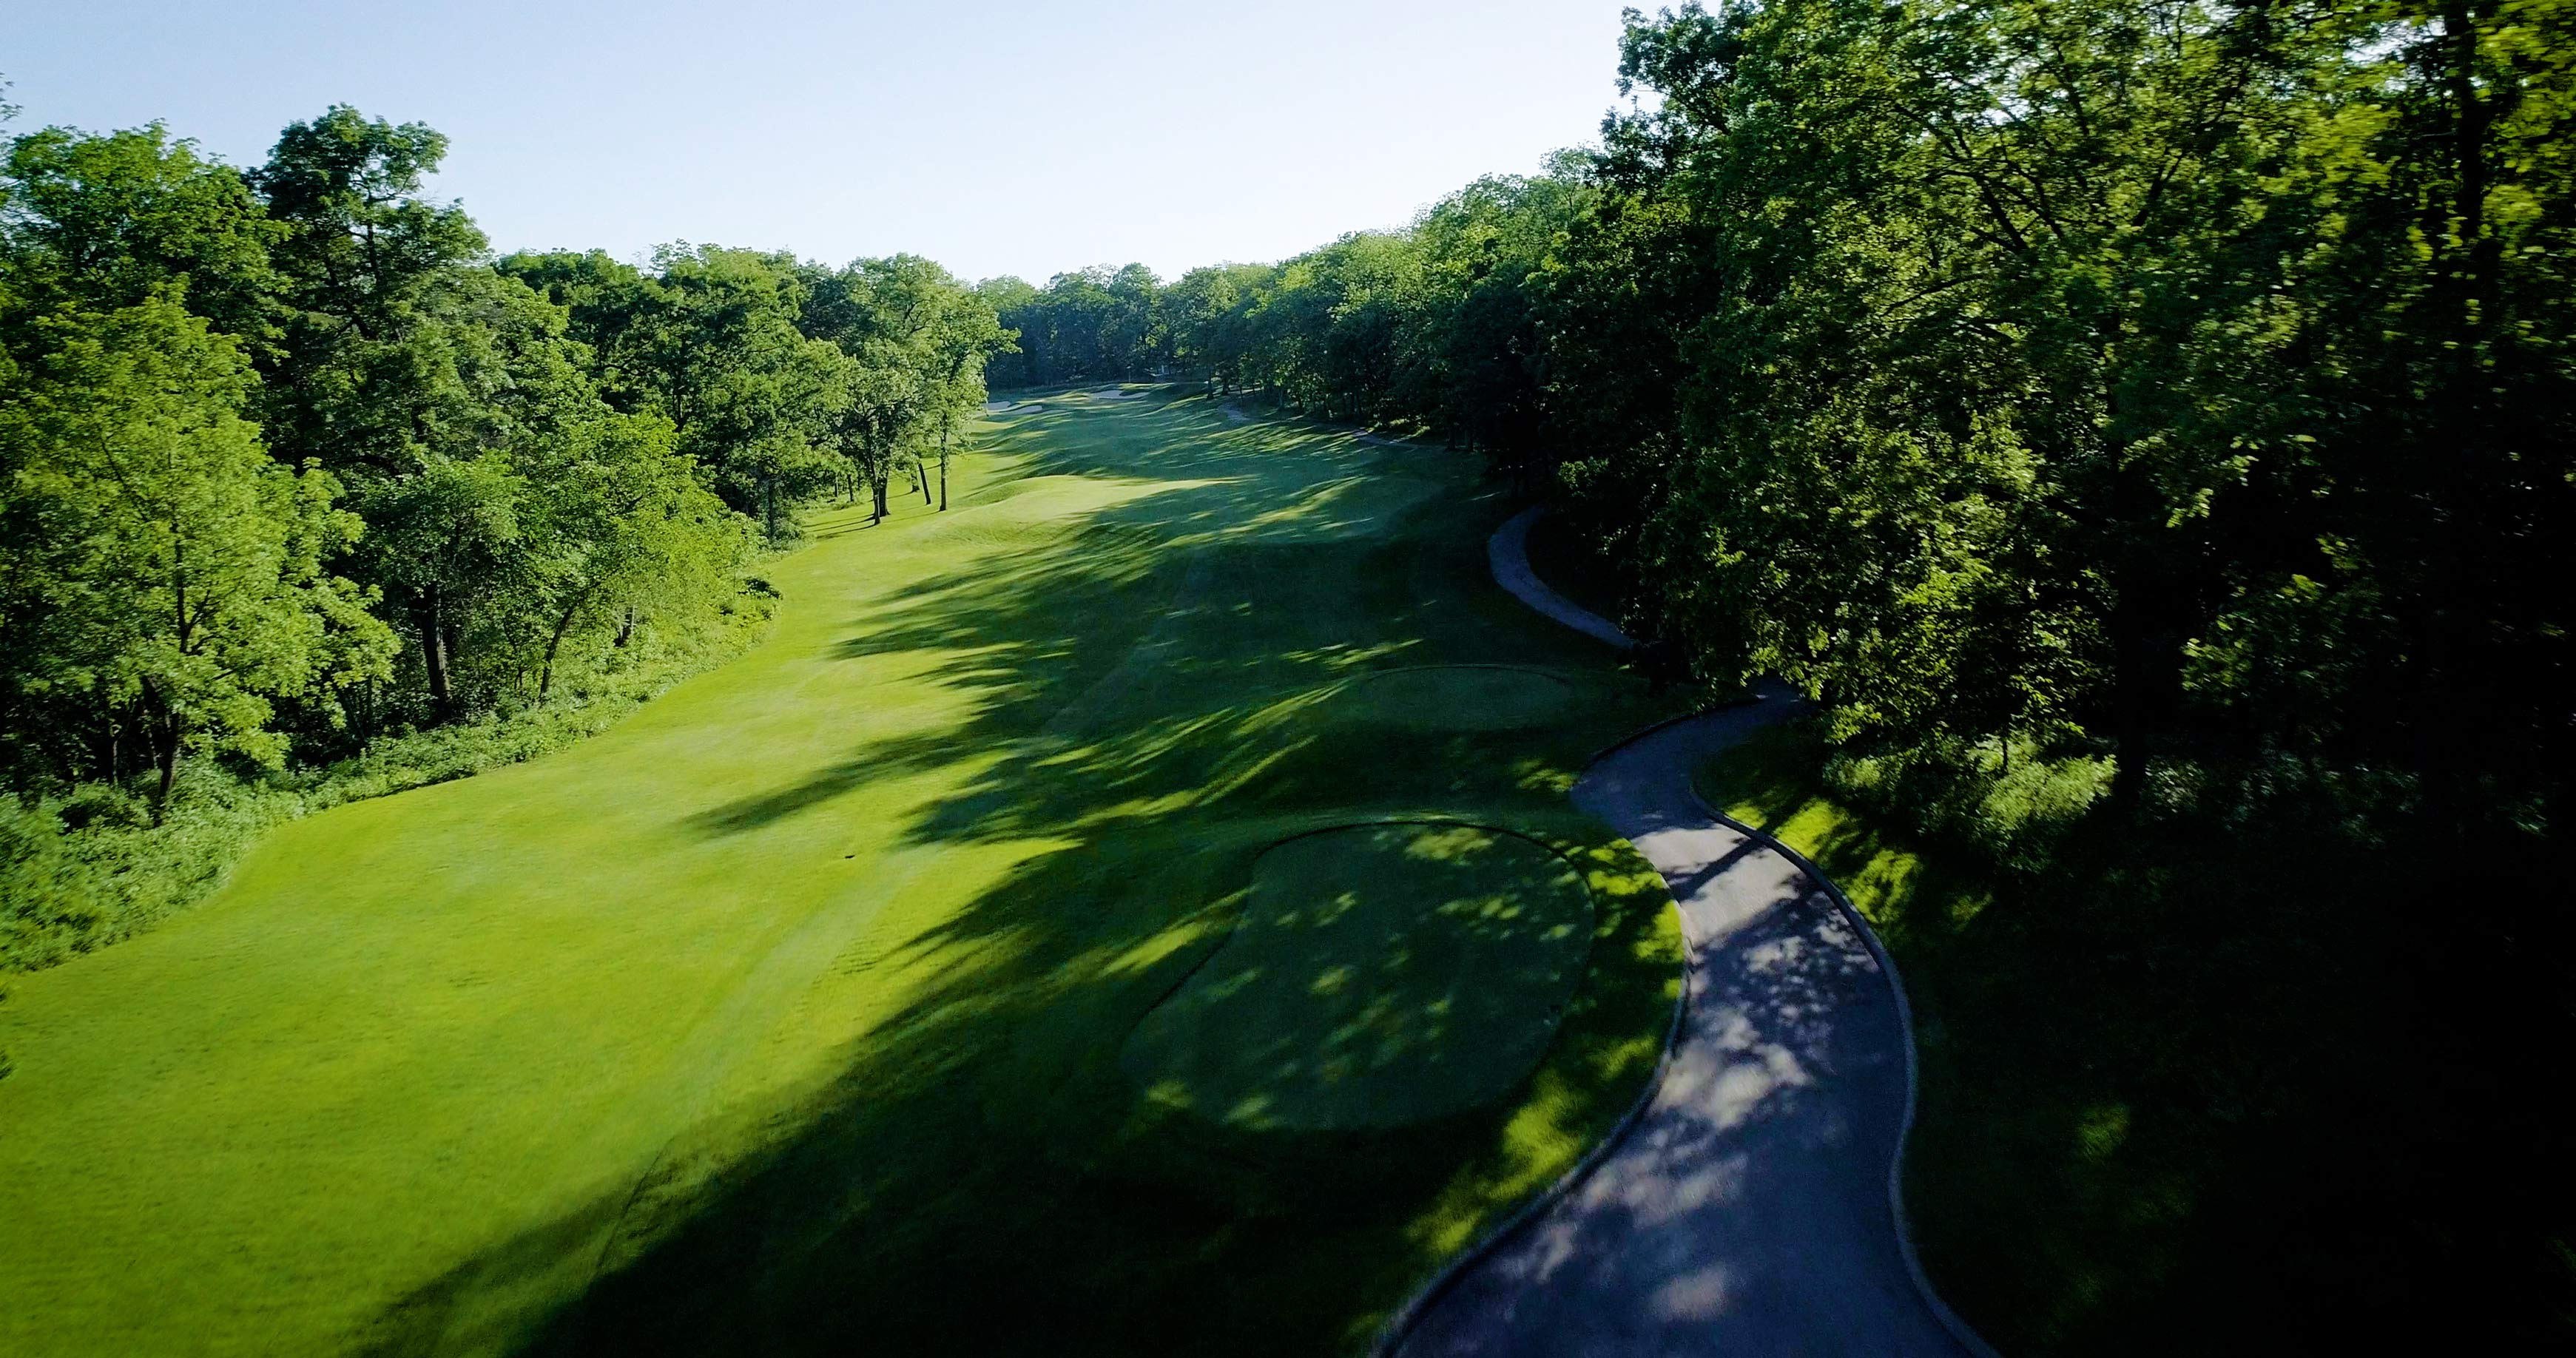
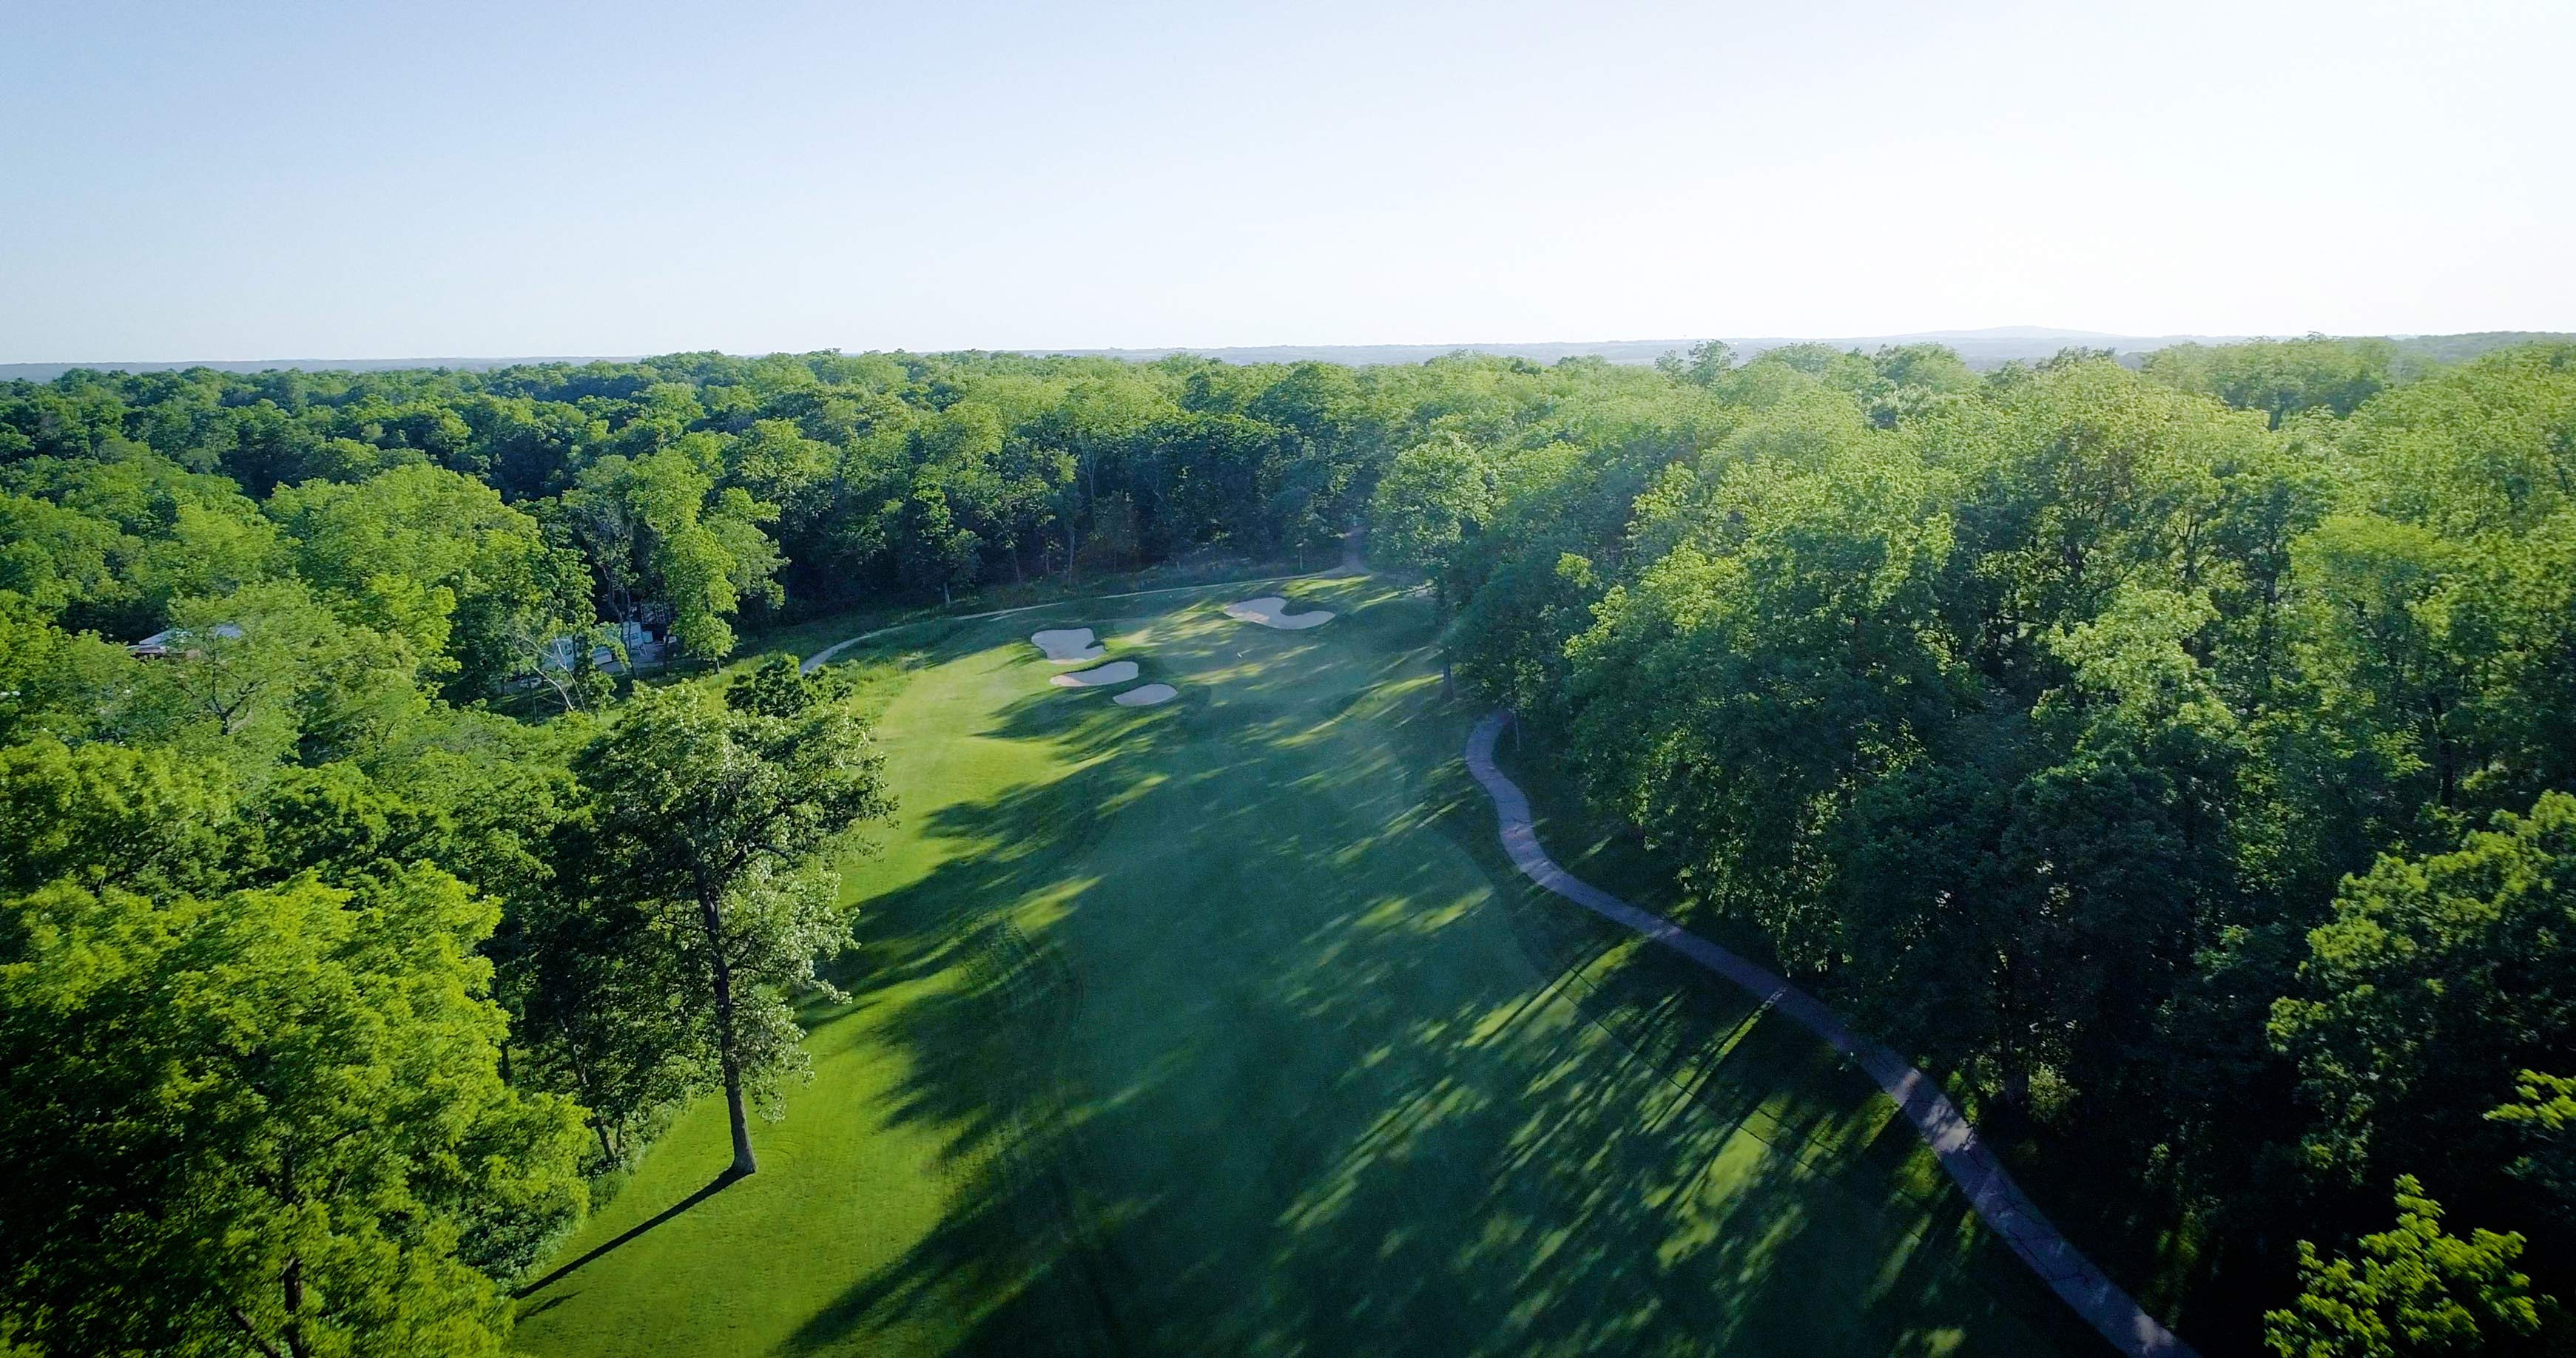
PAR 4
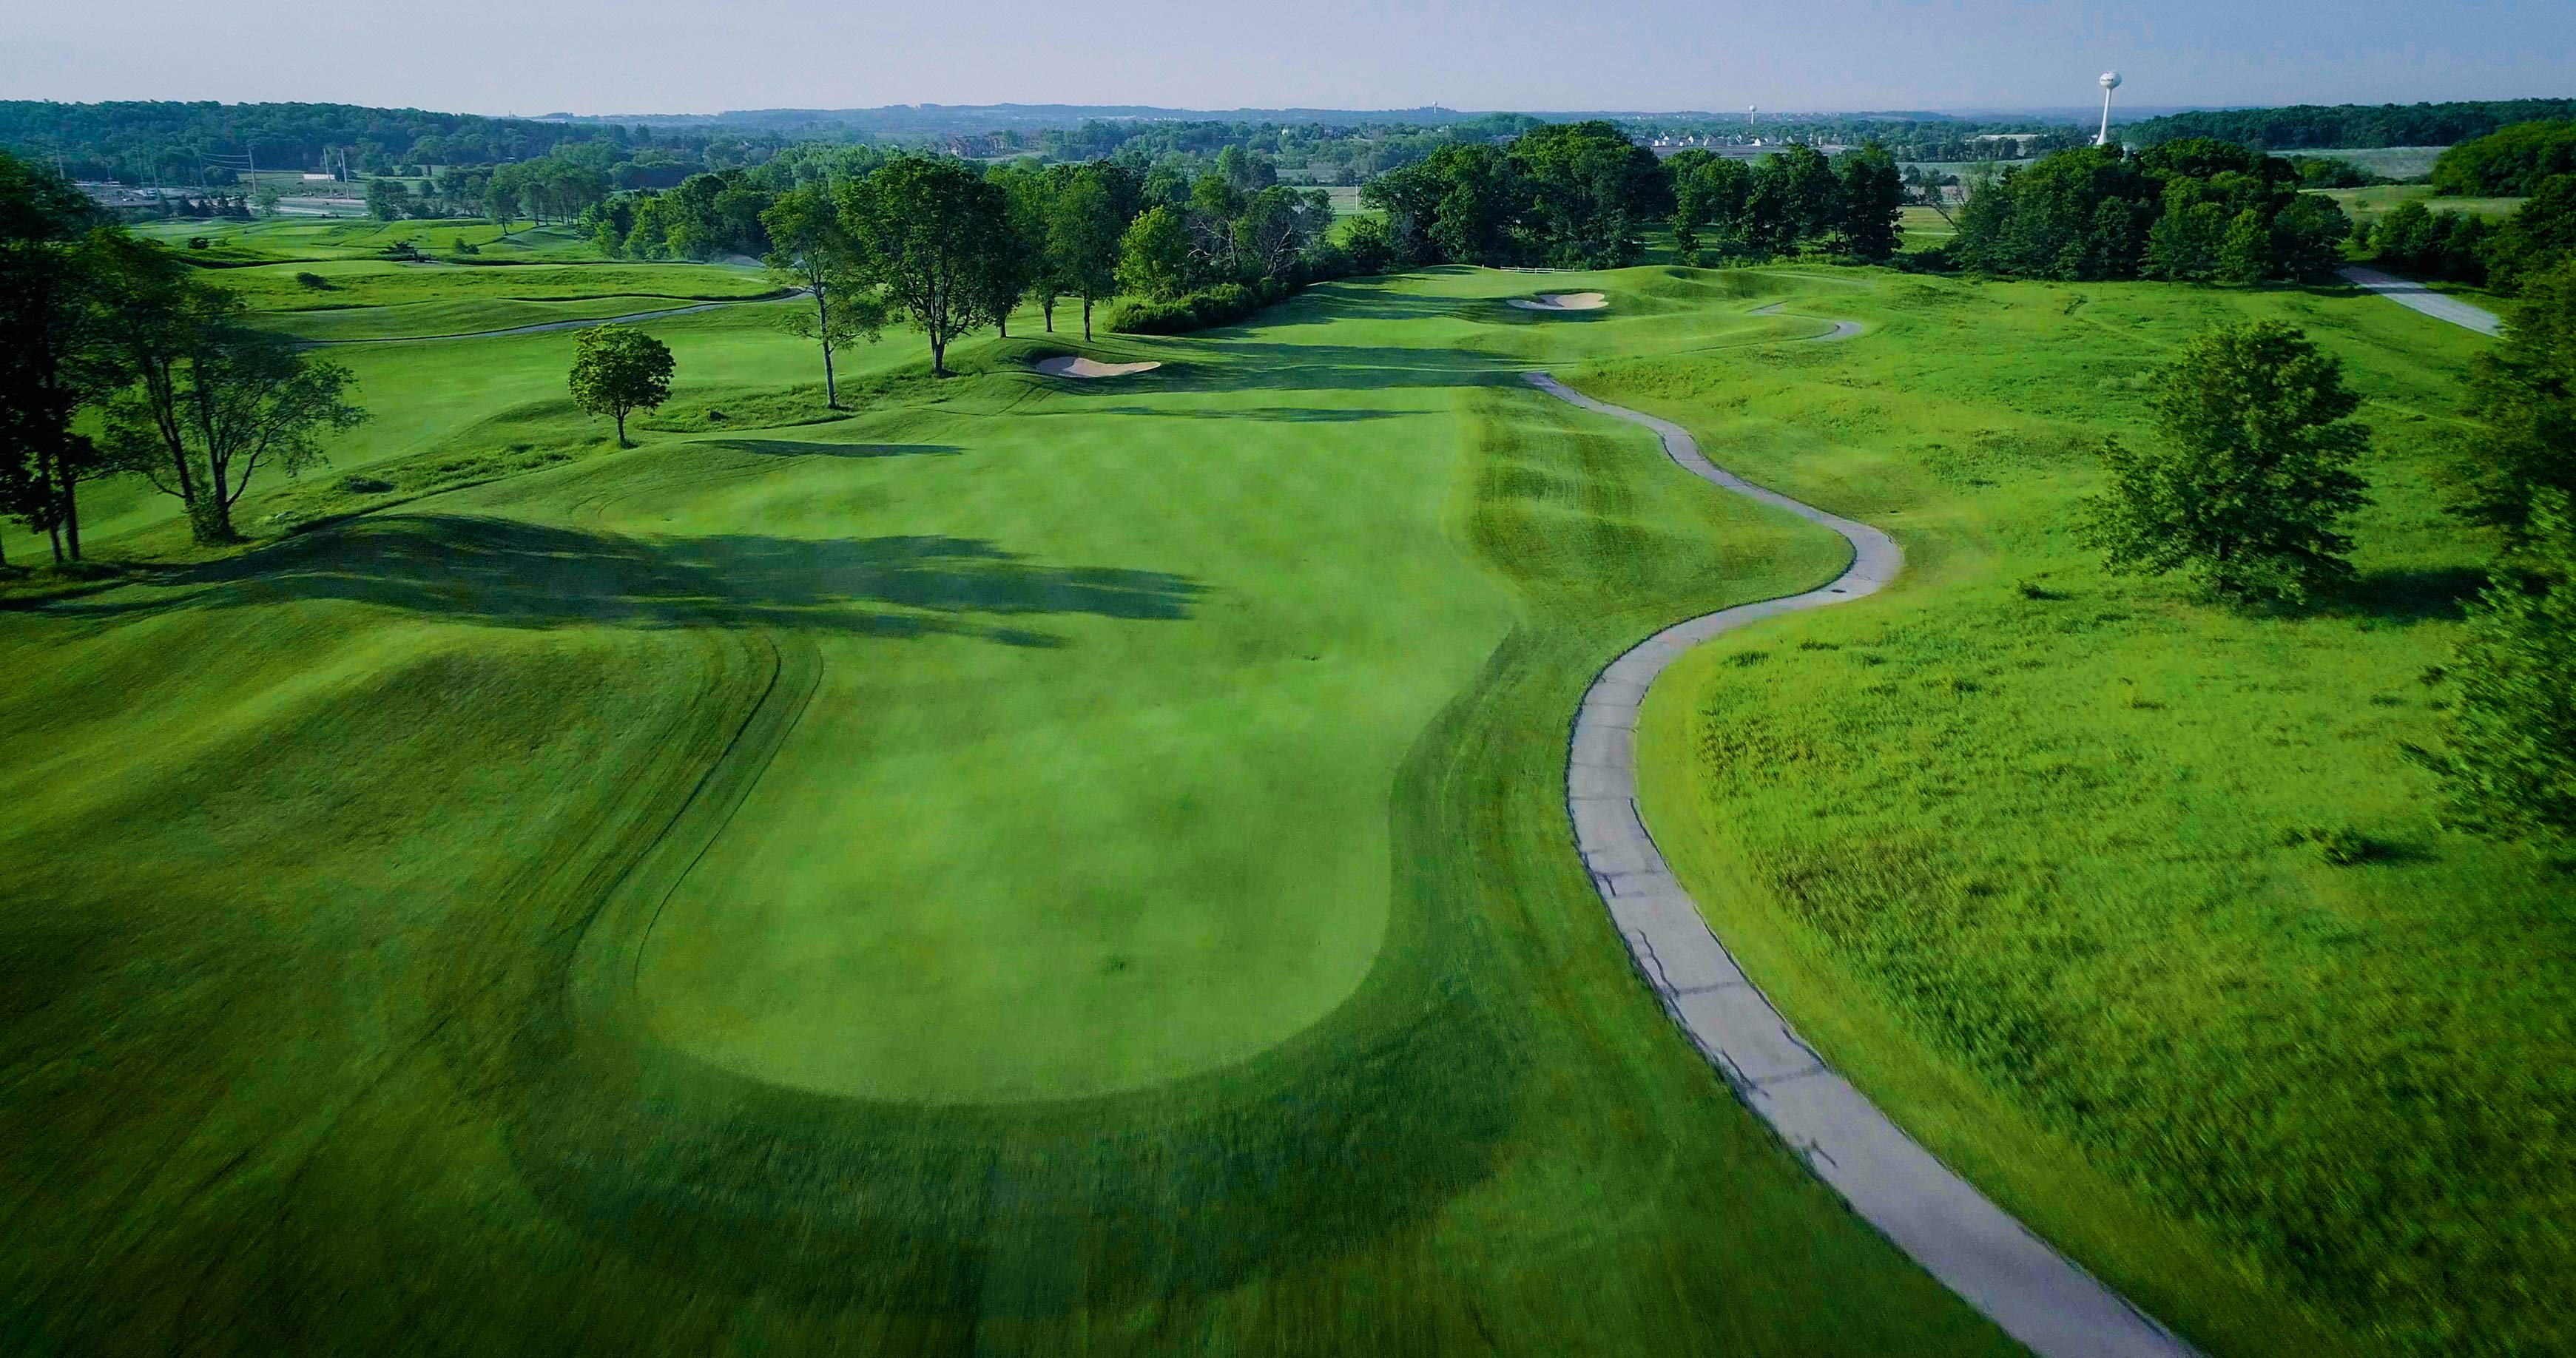
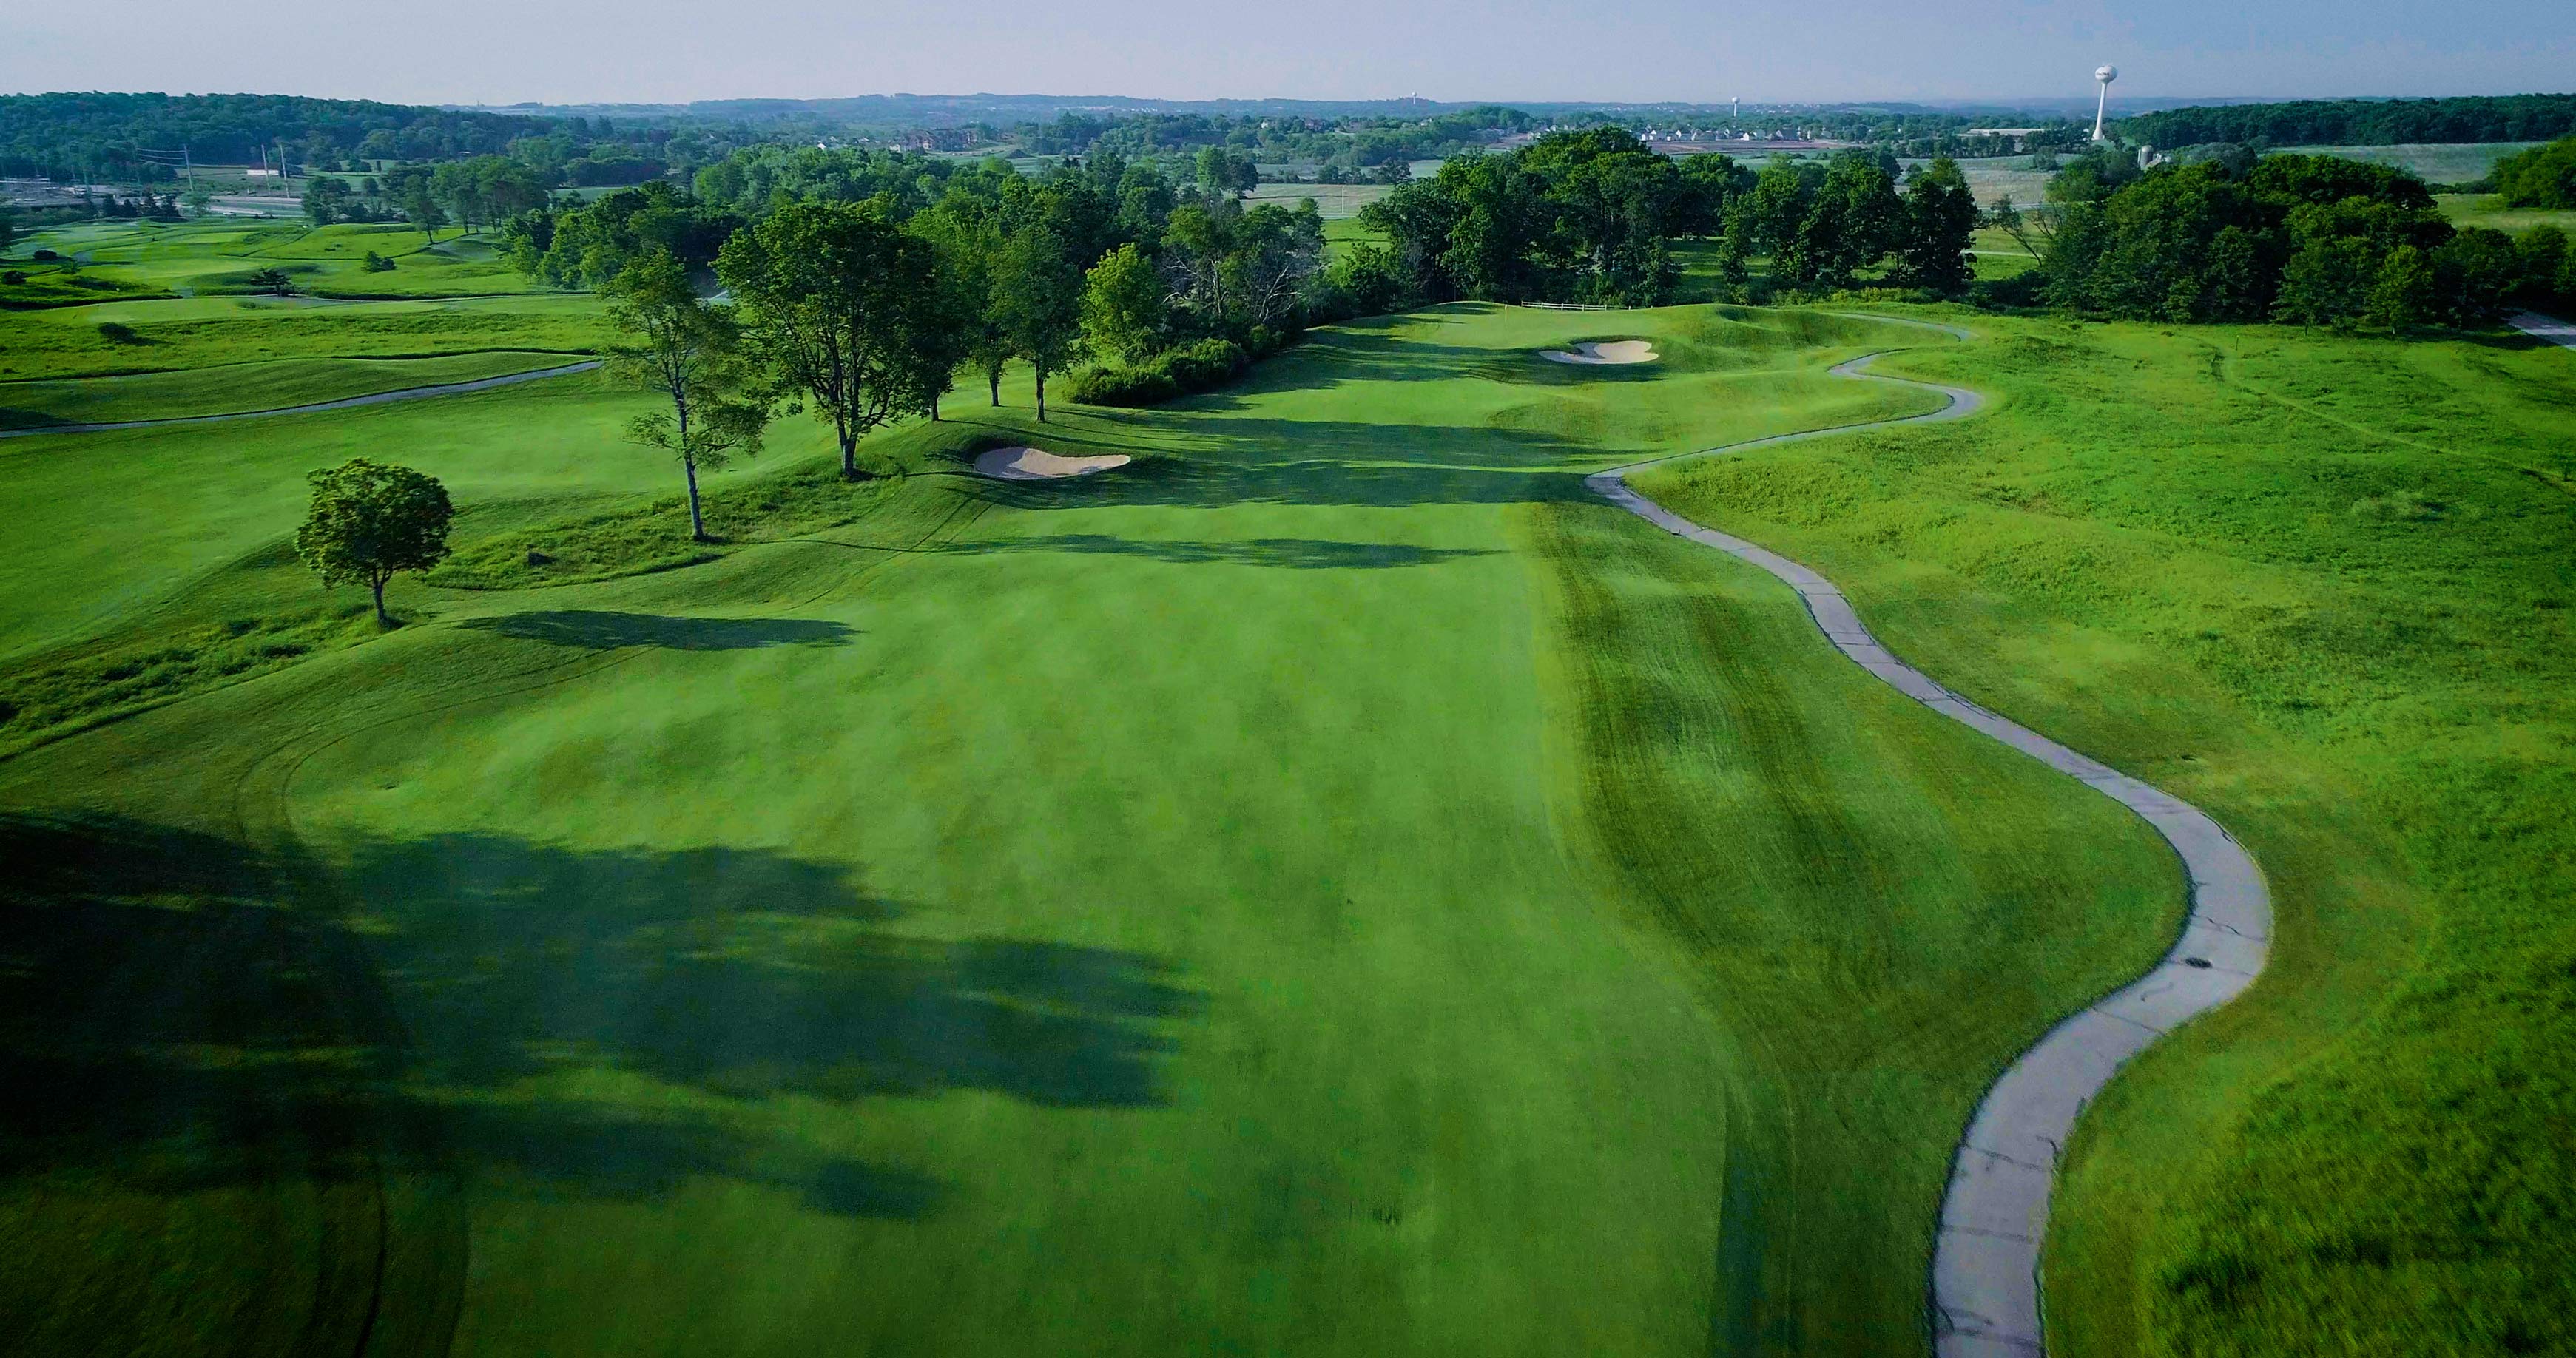
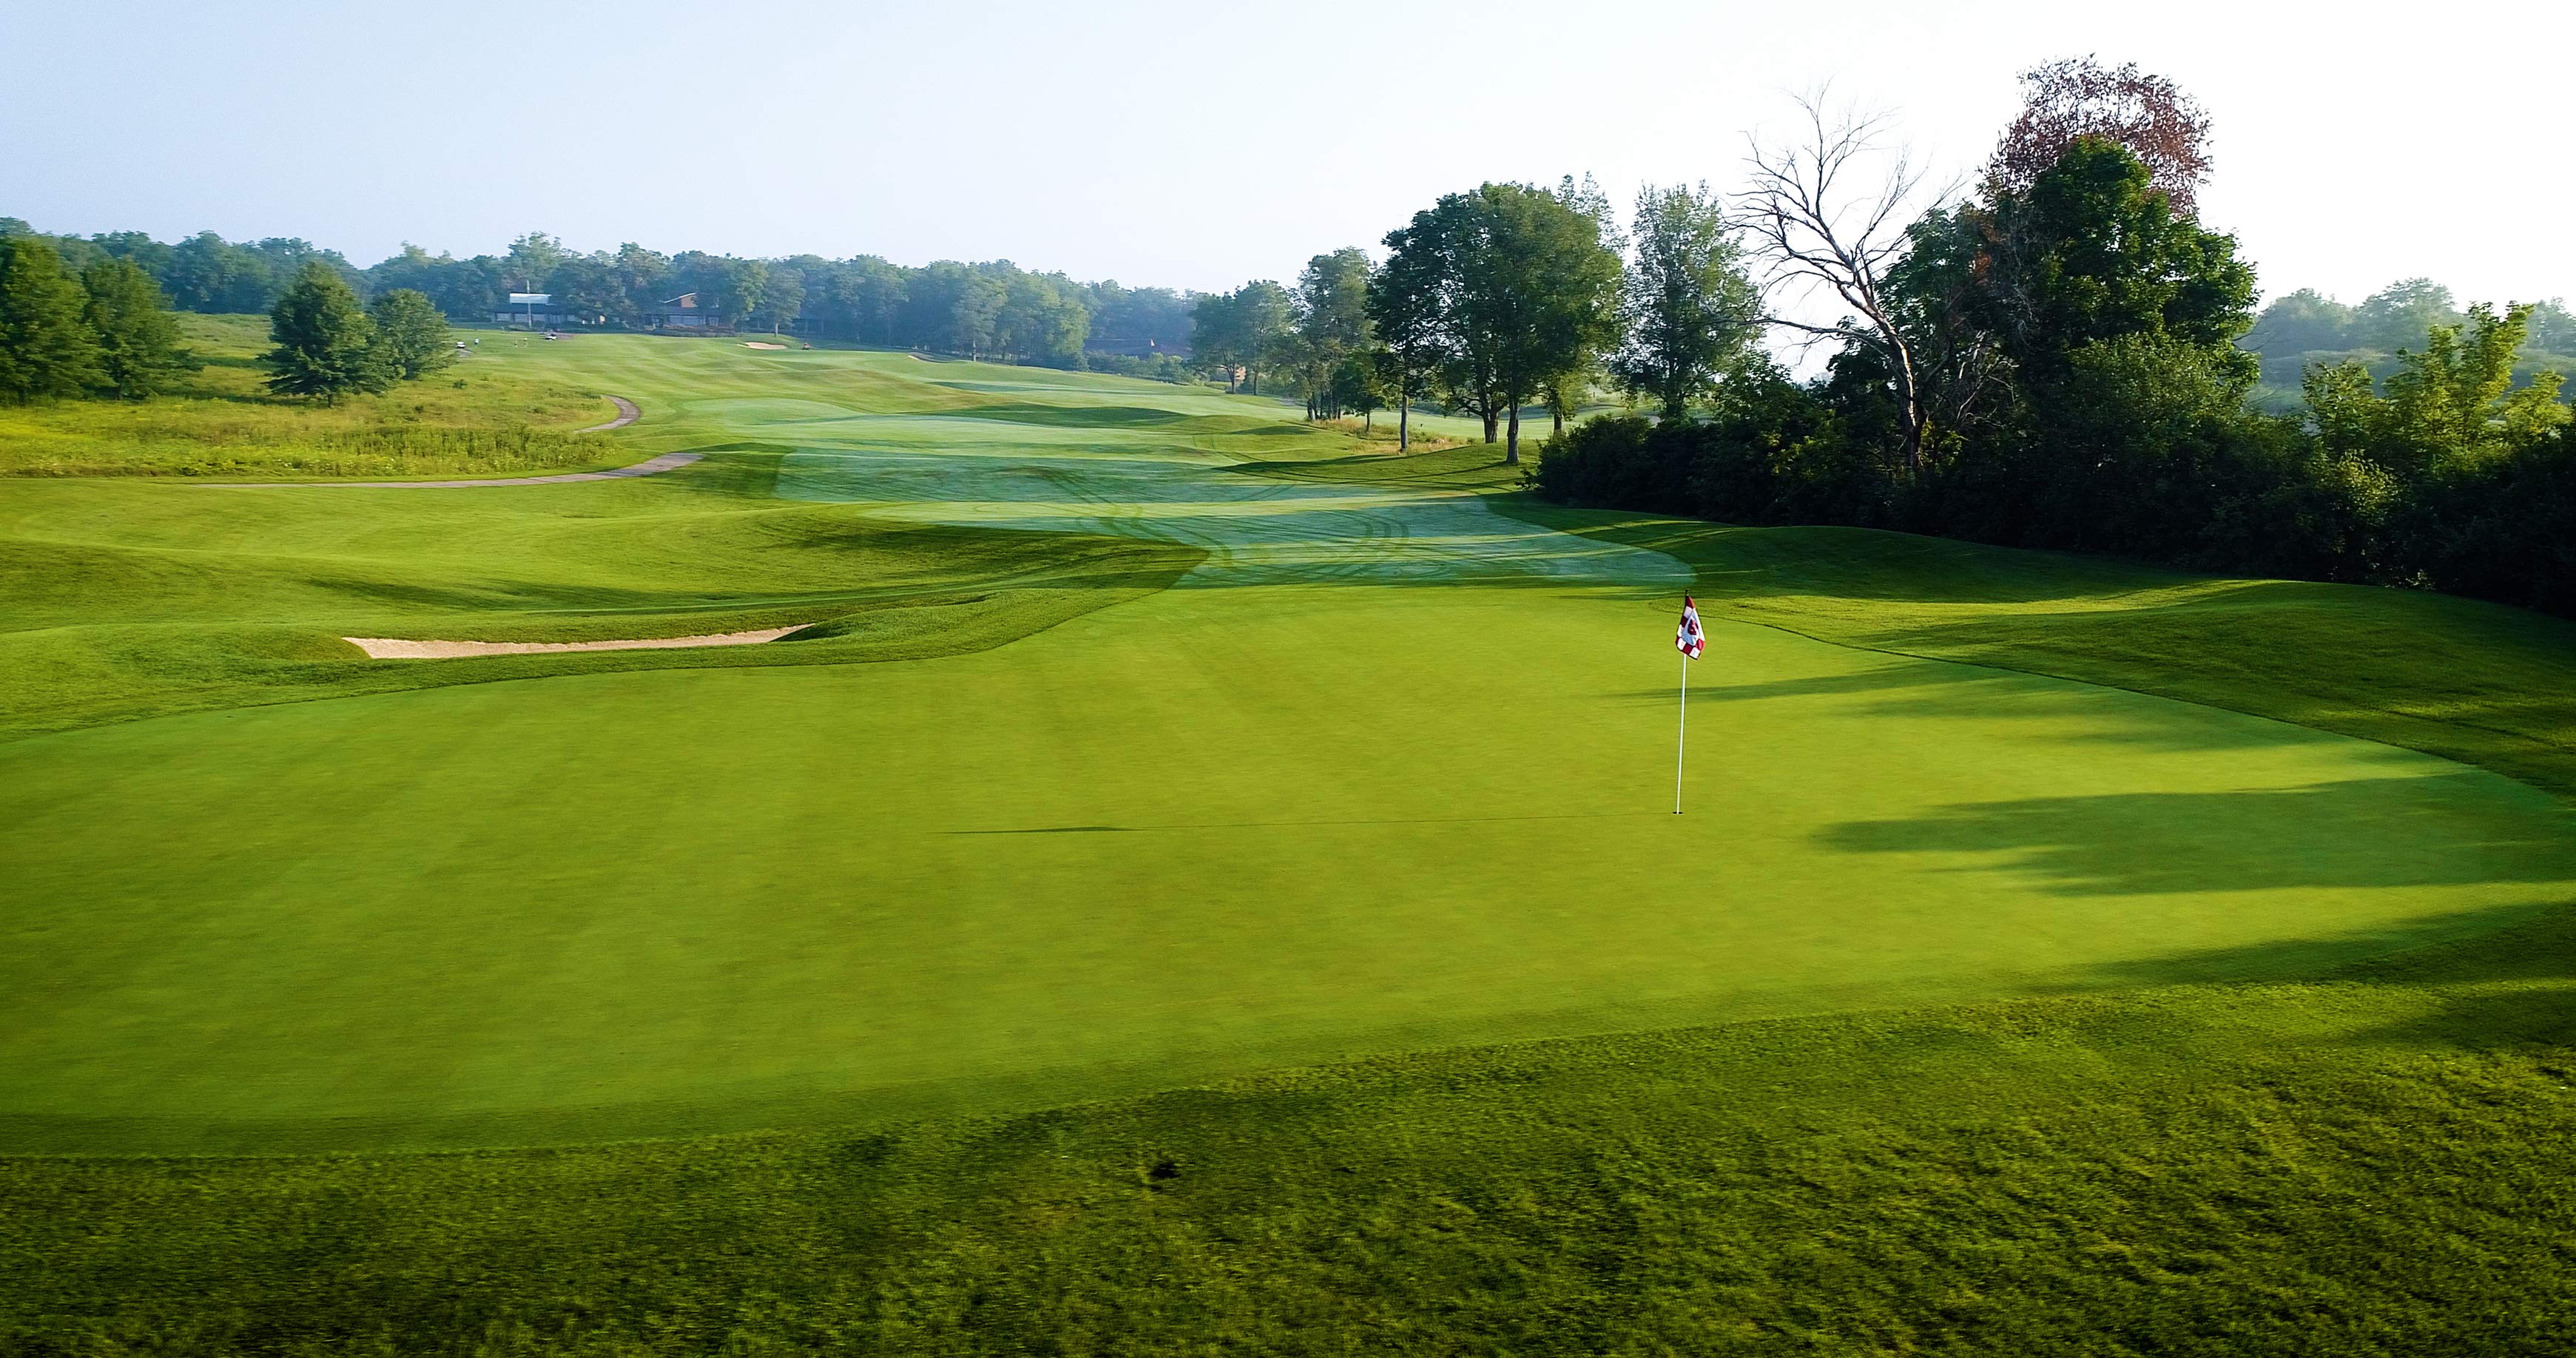
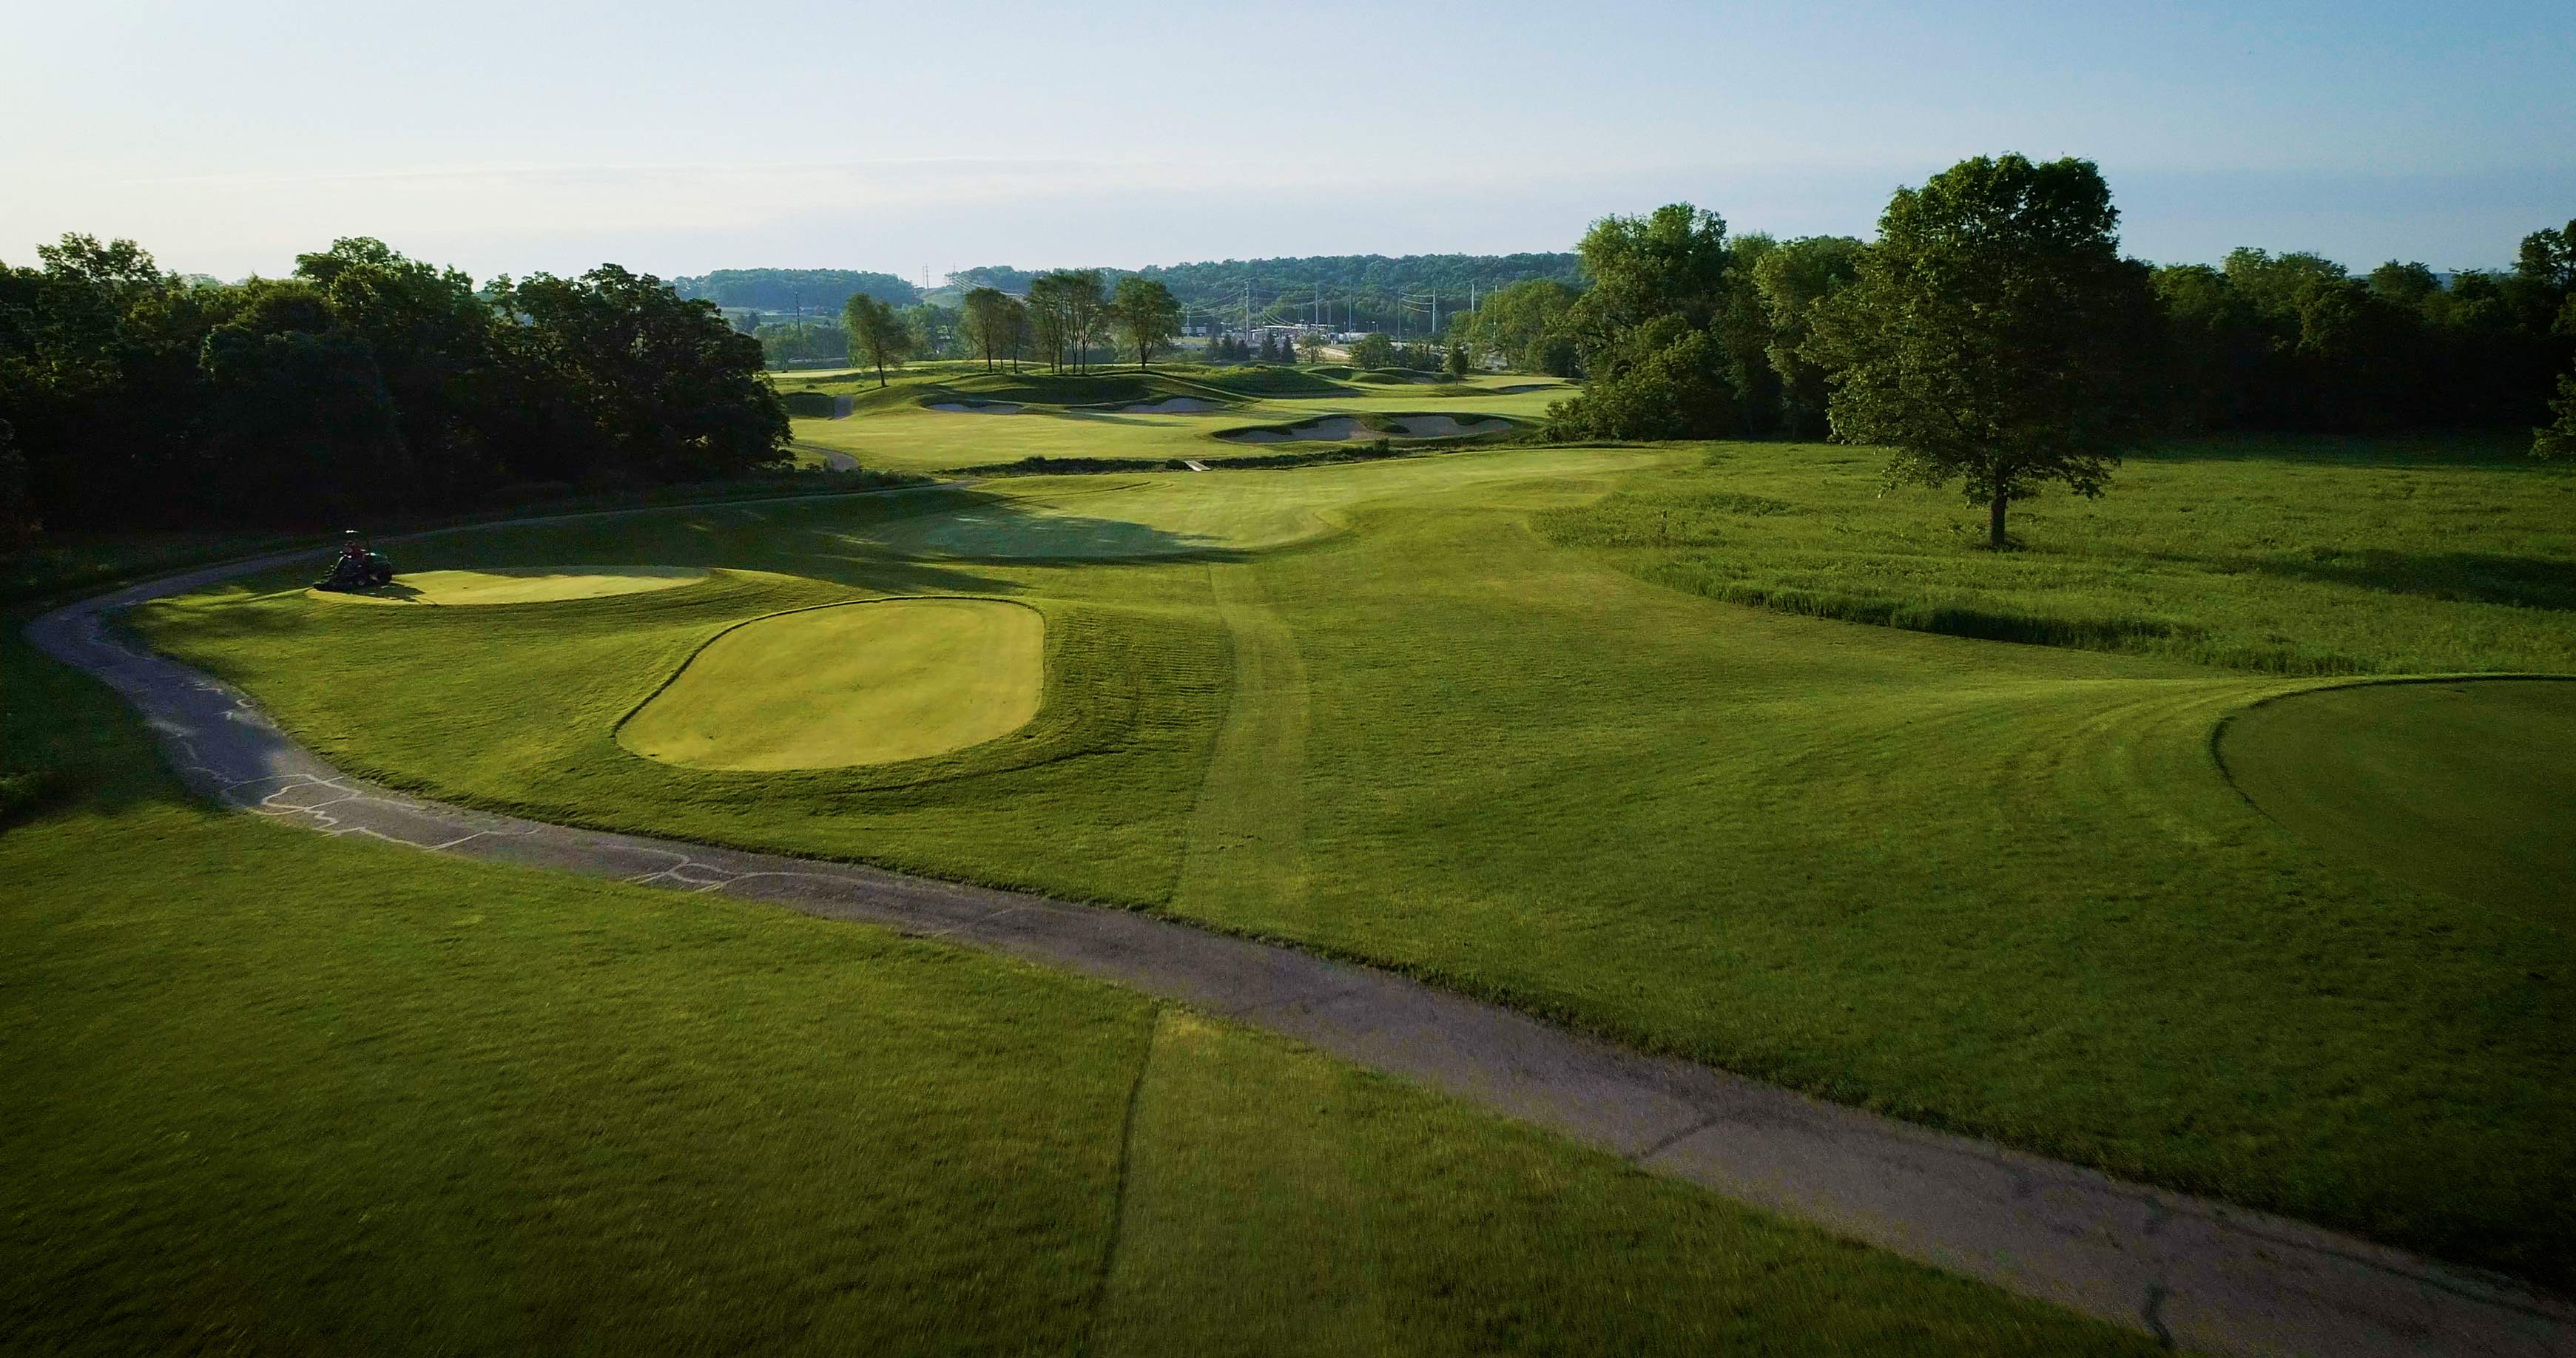
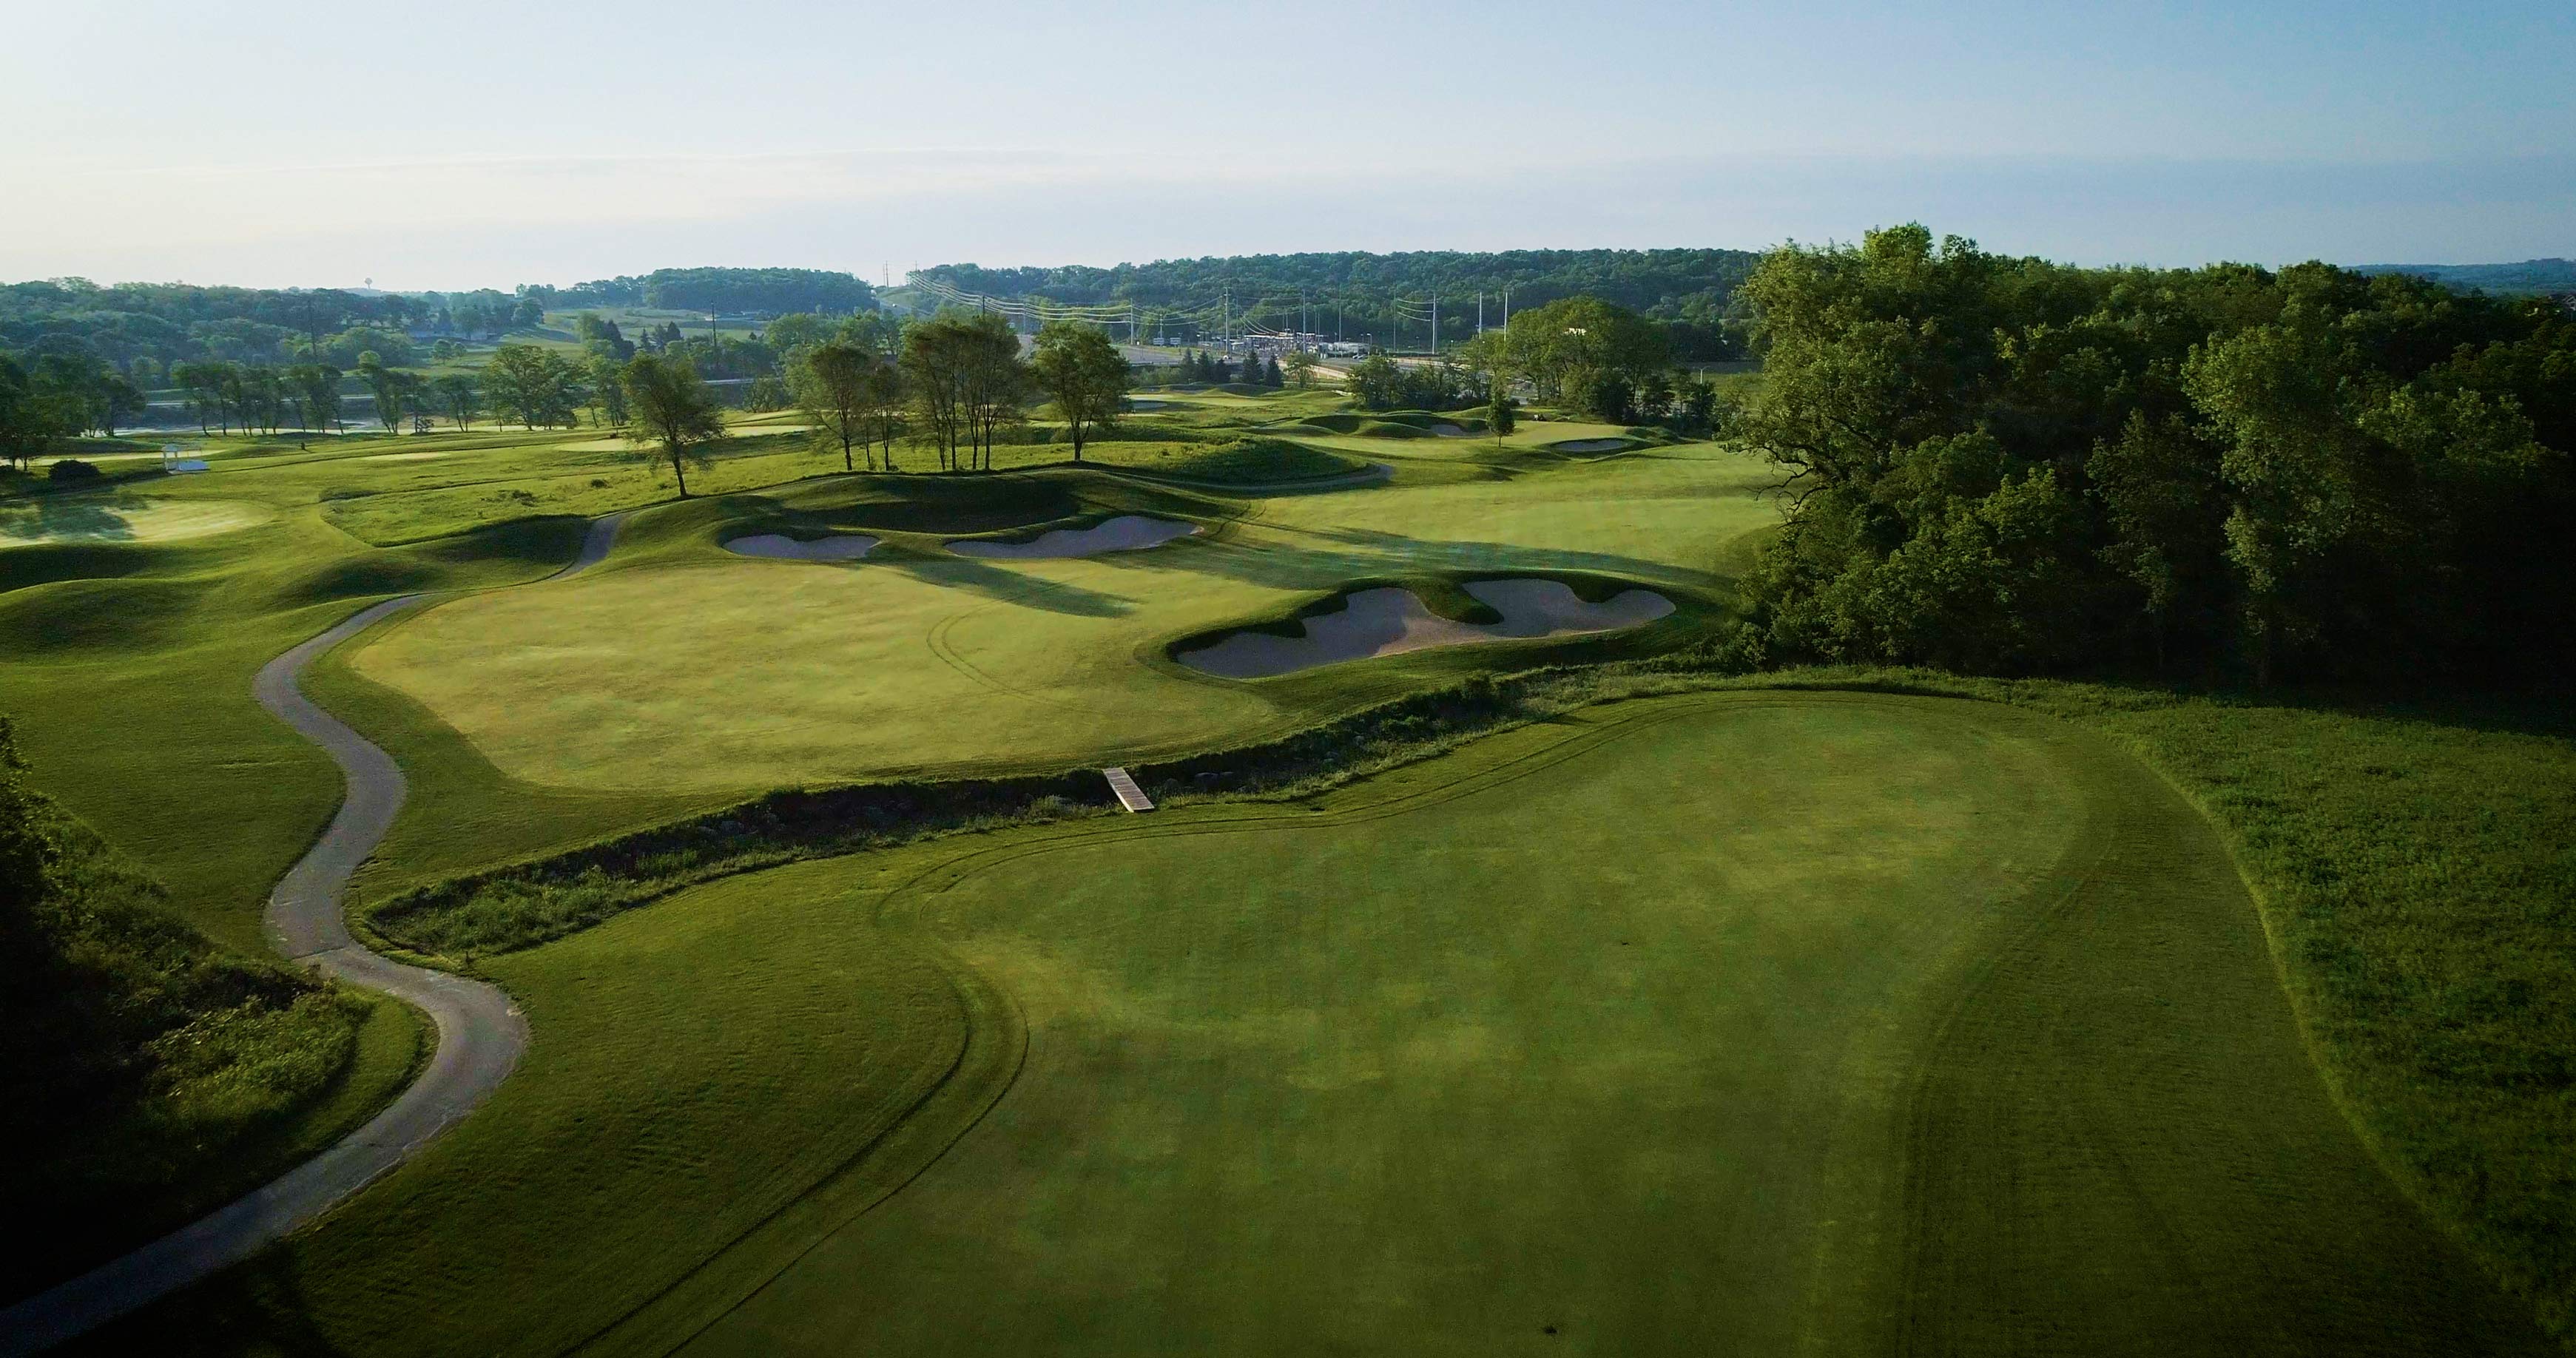
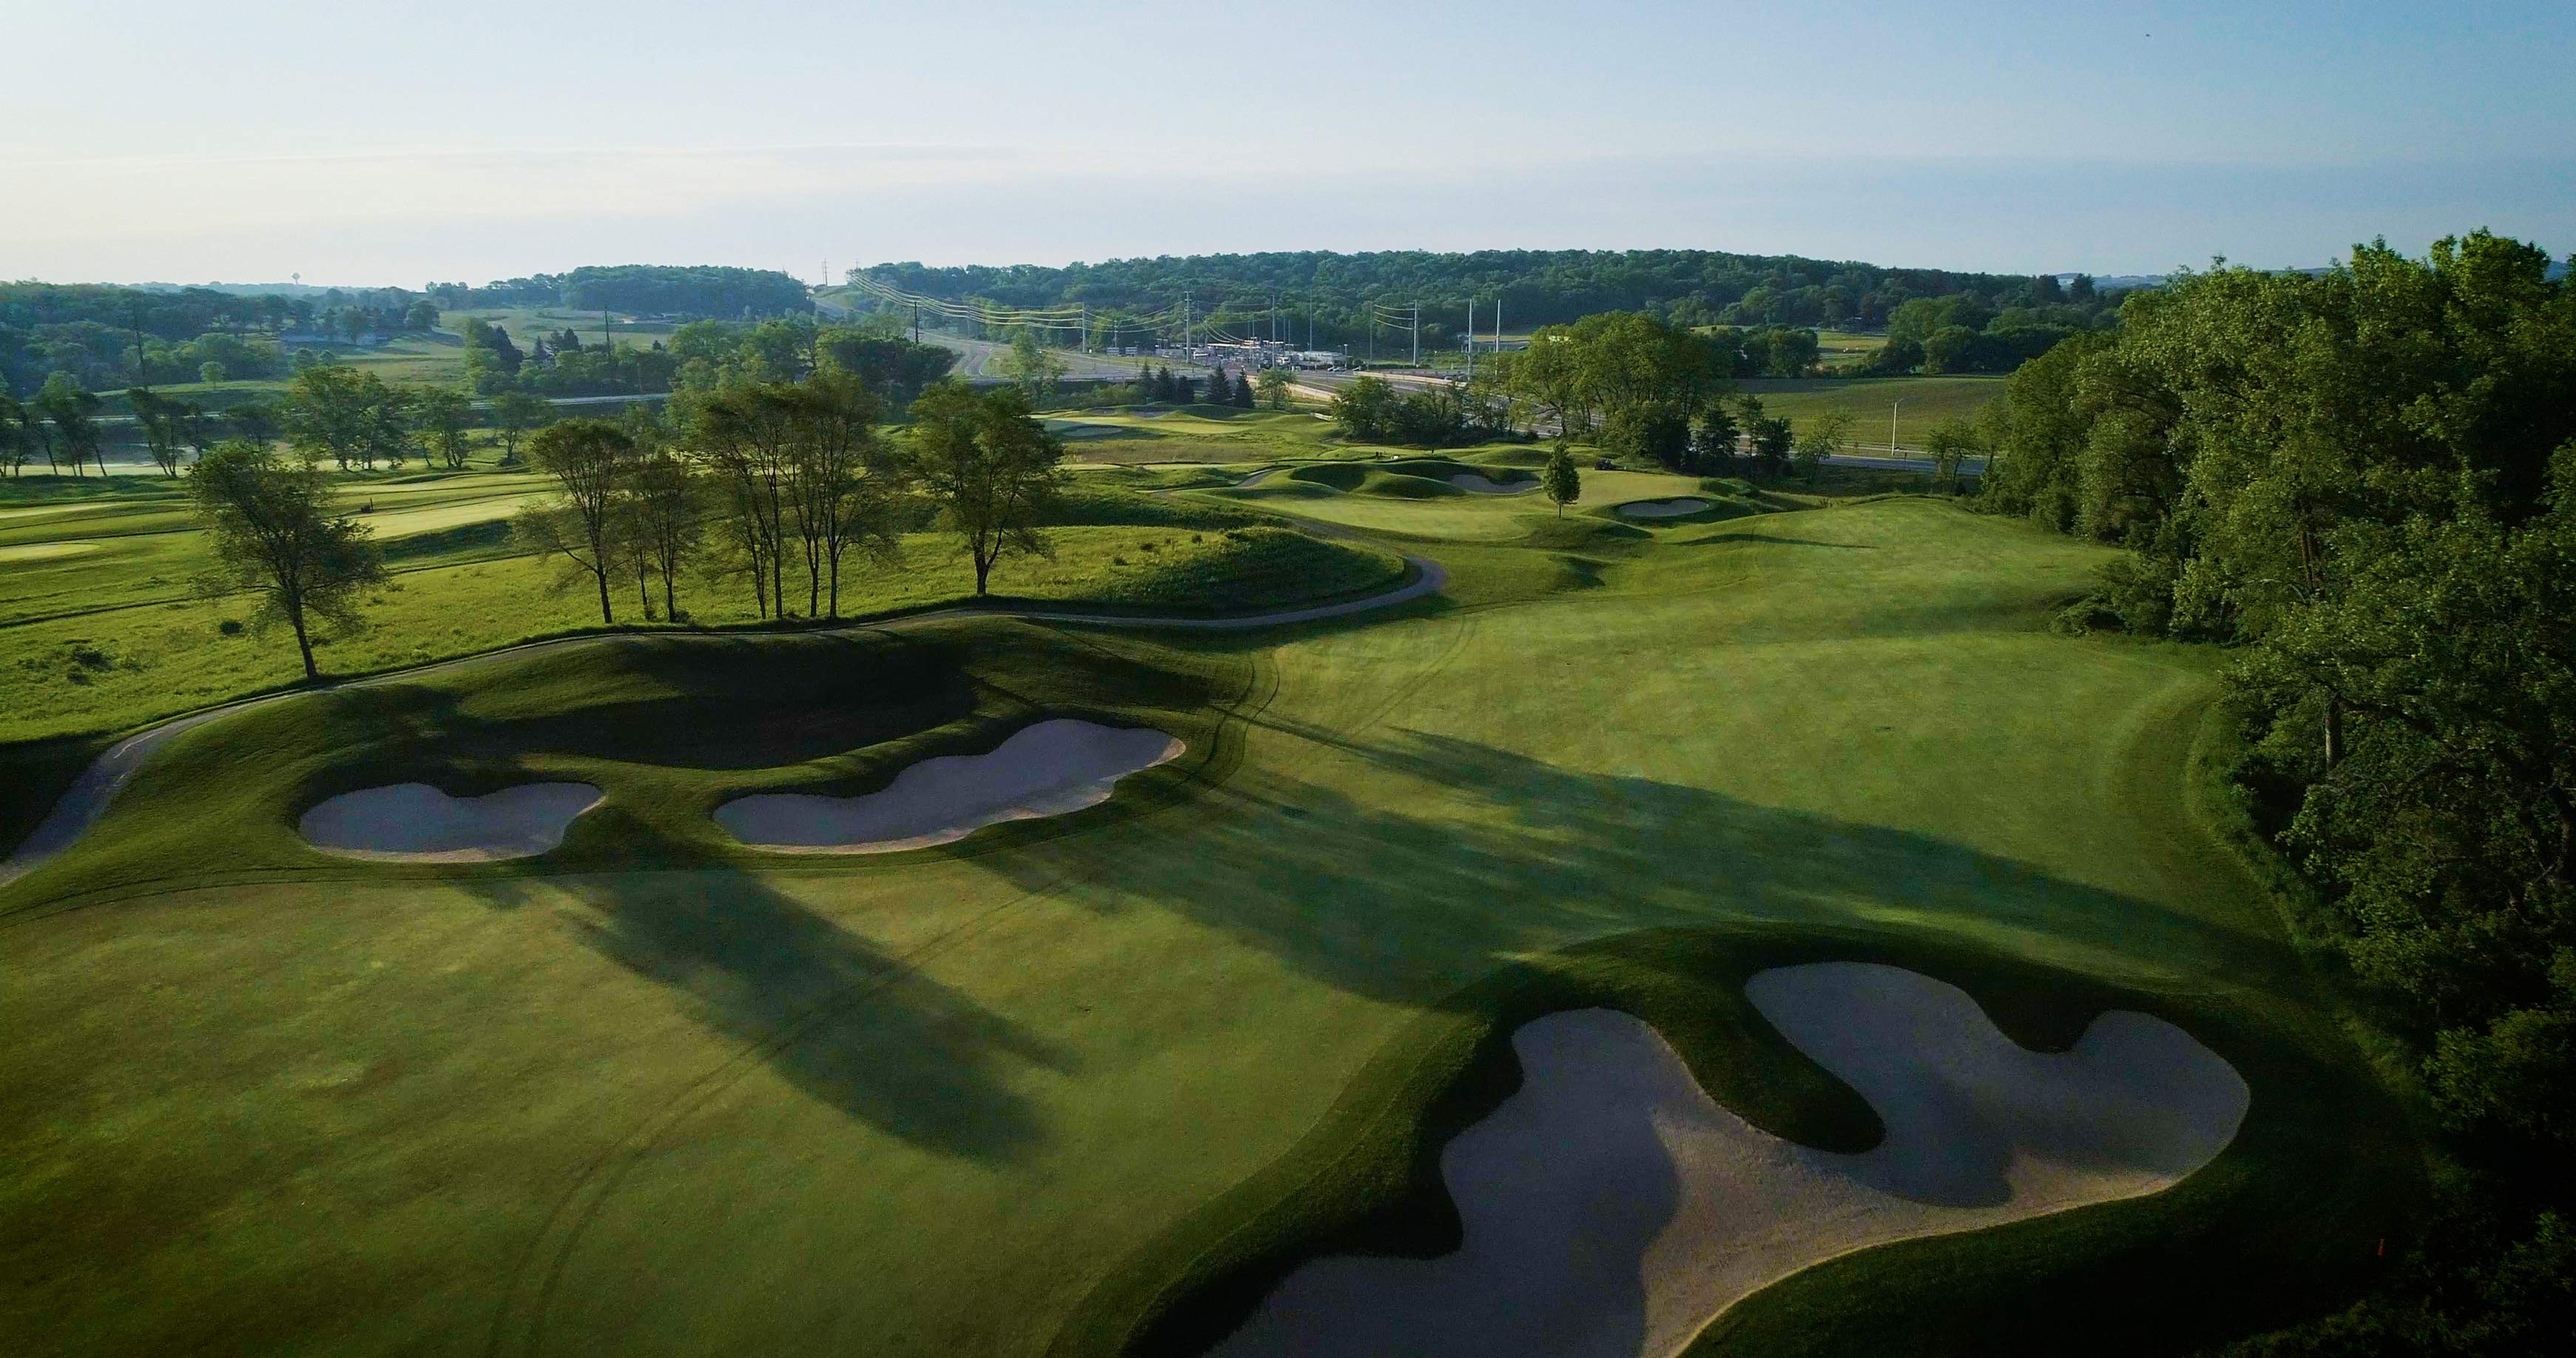
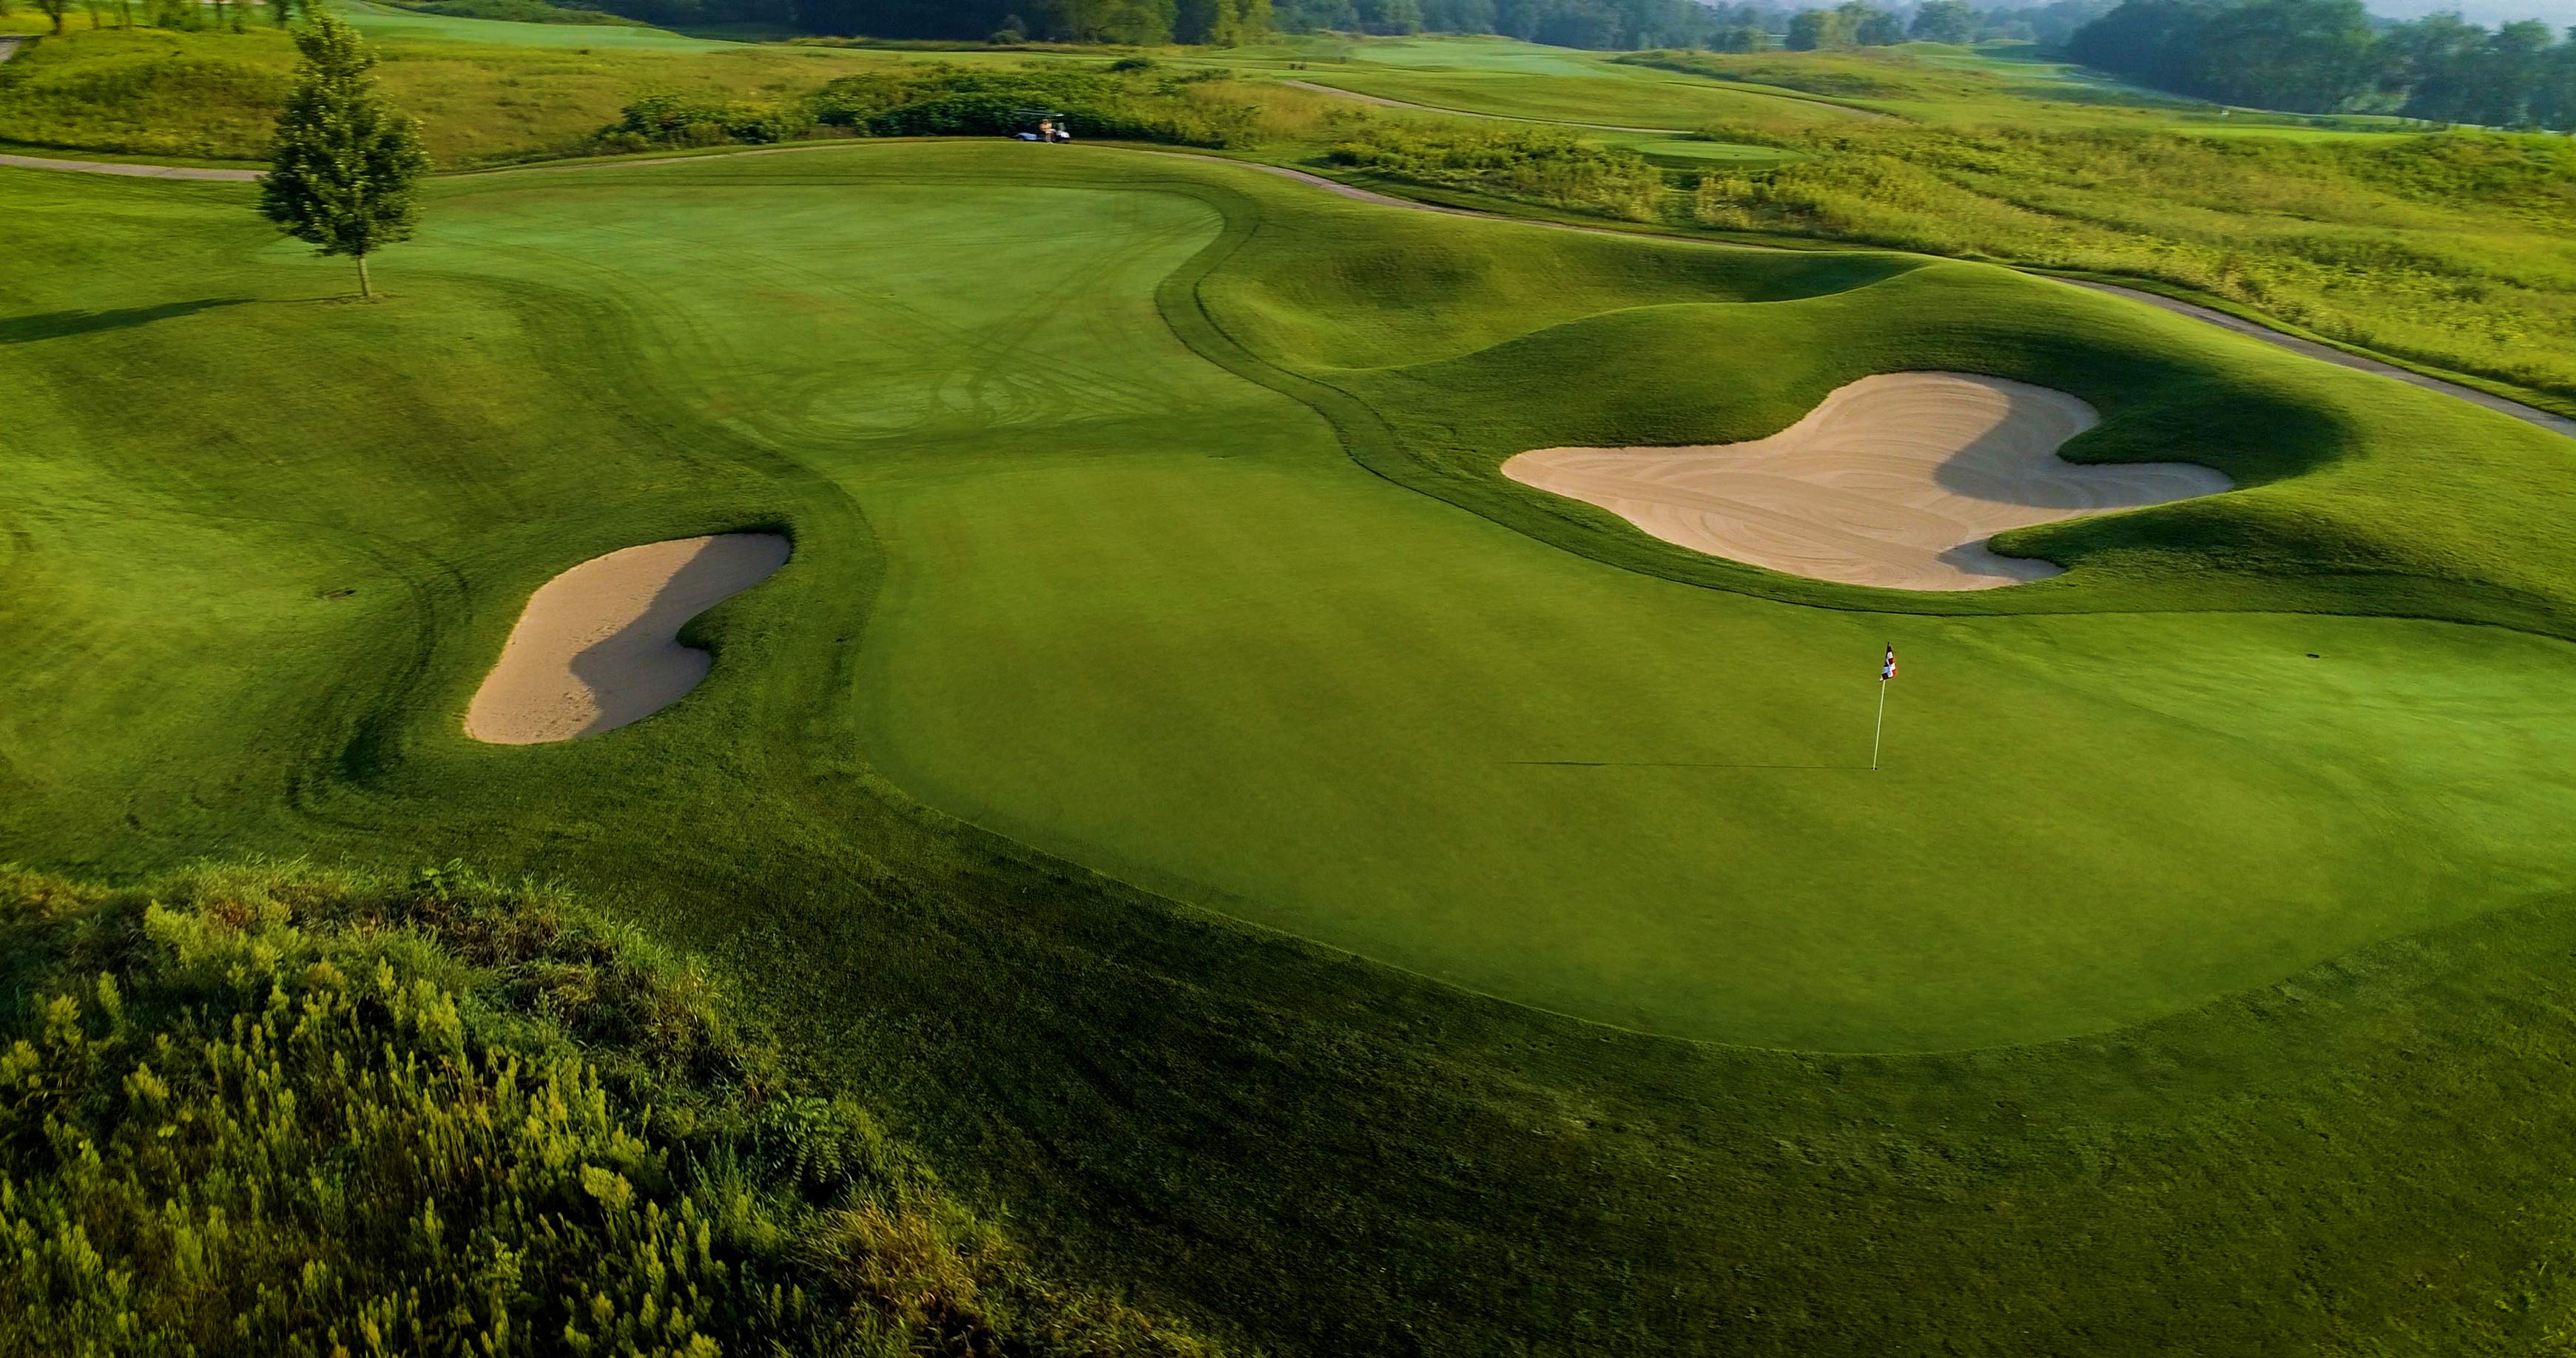
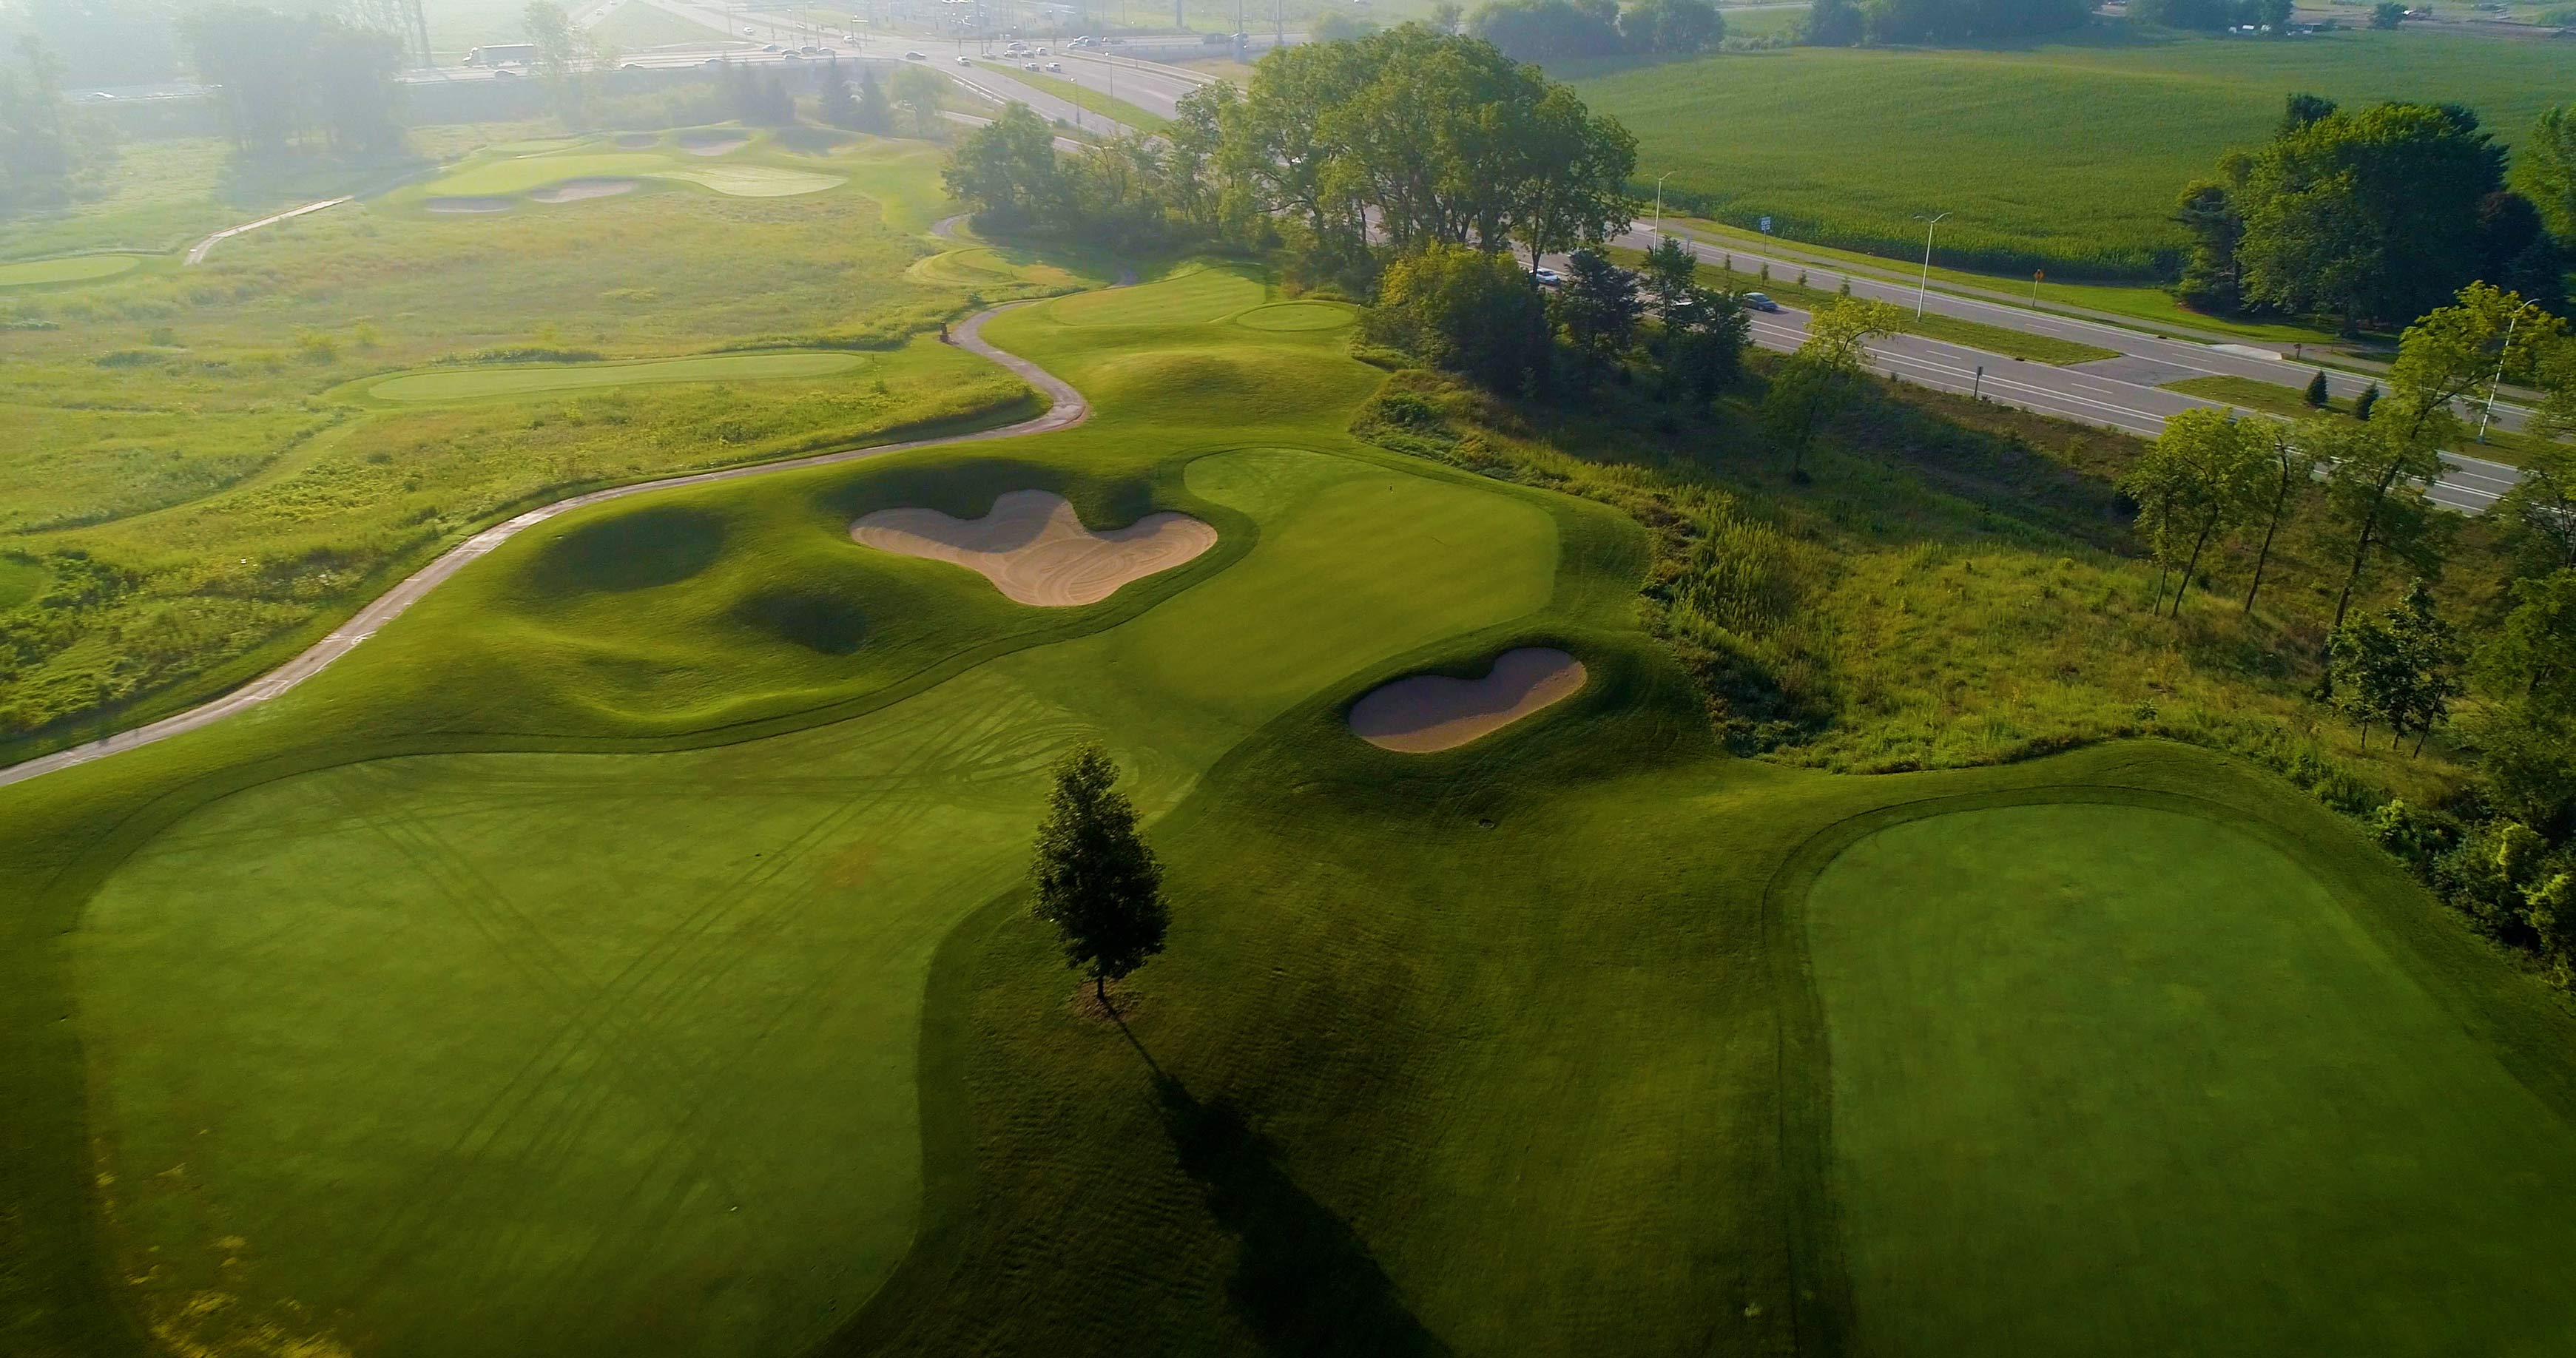
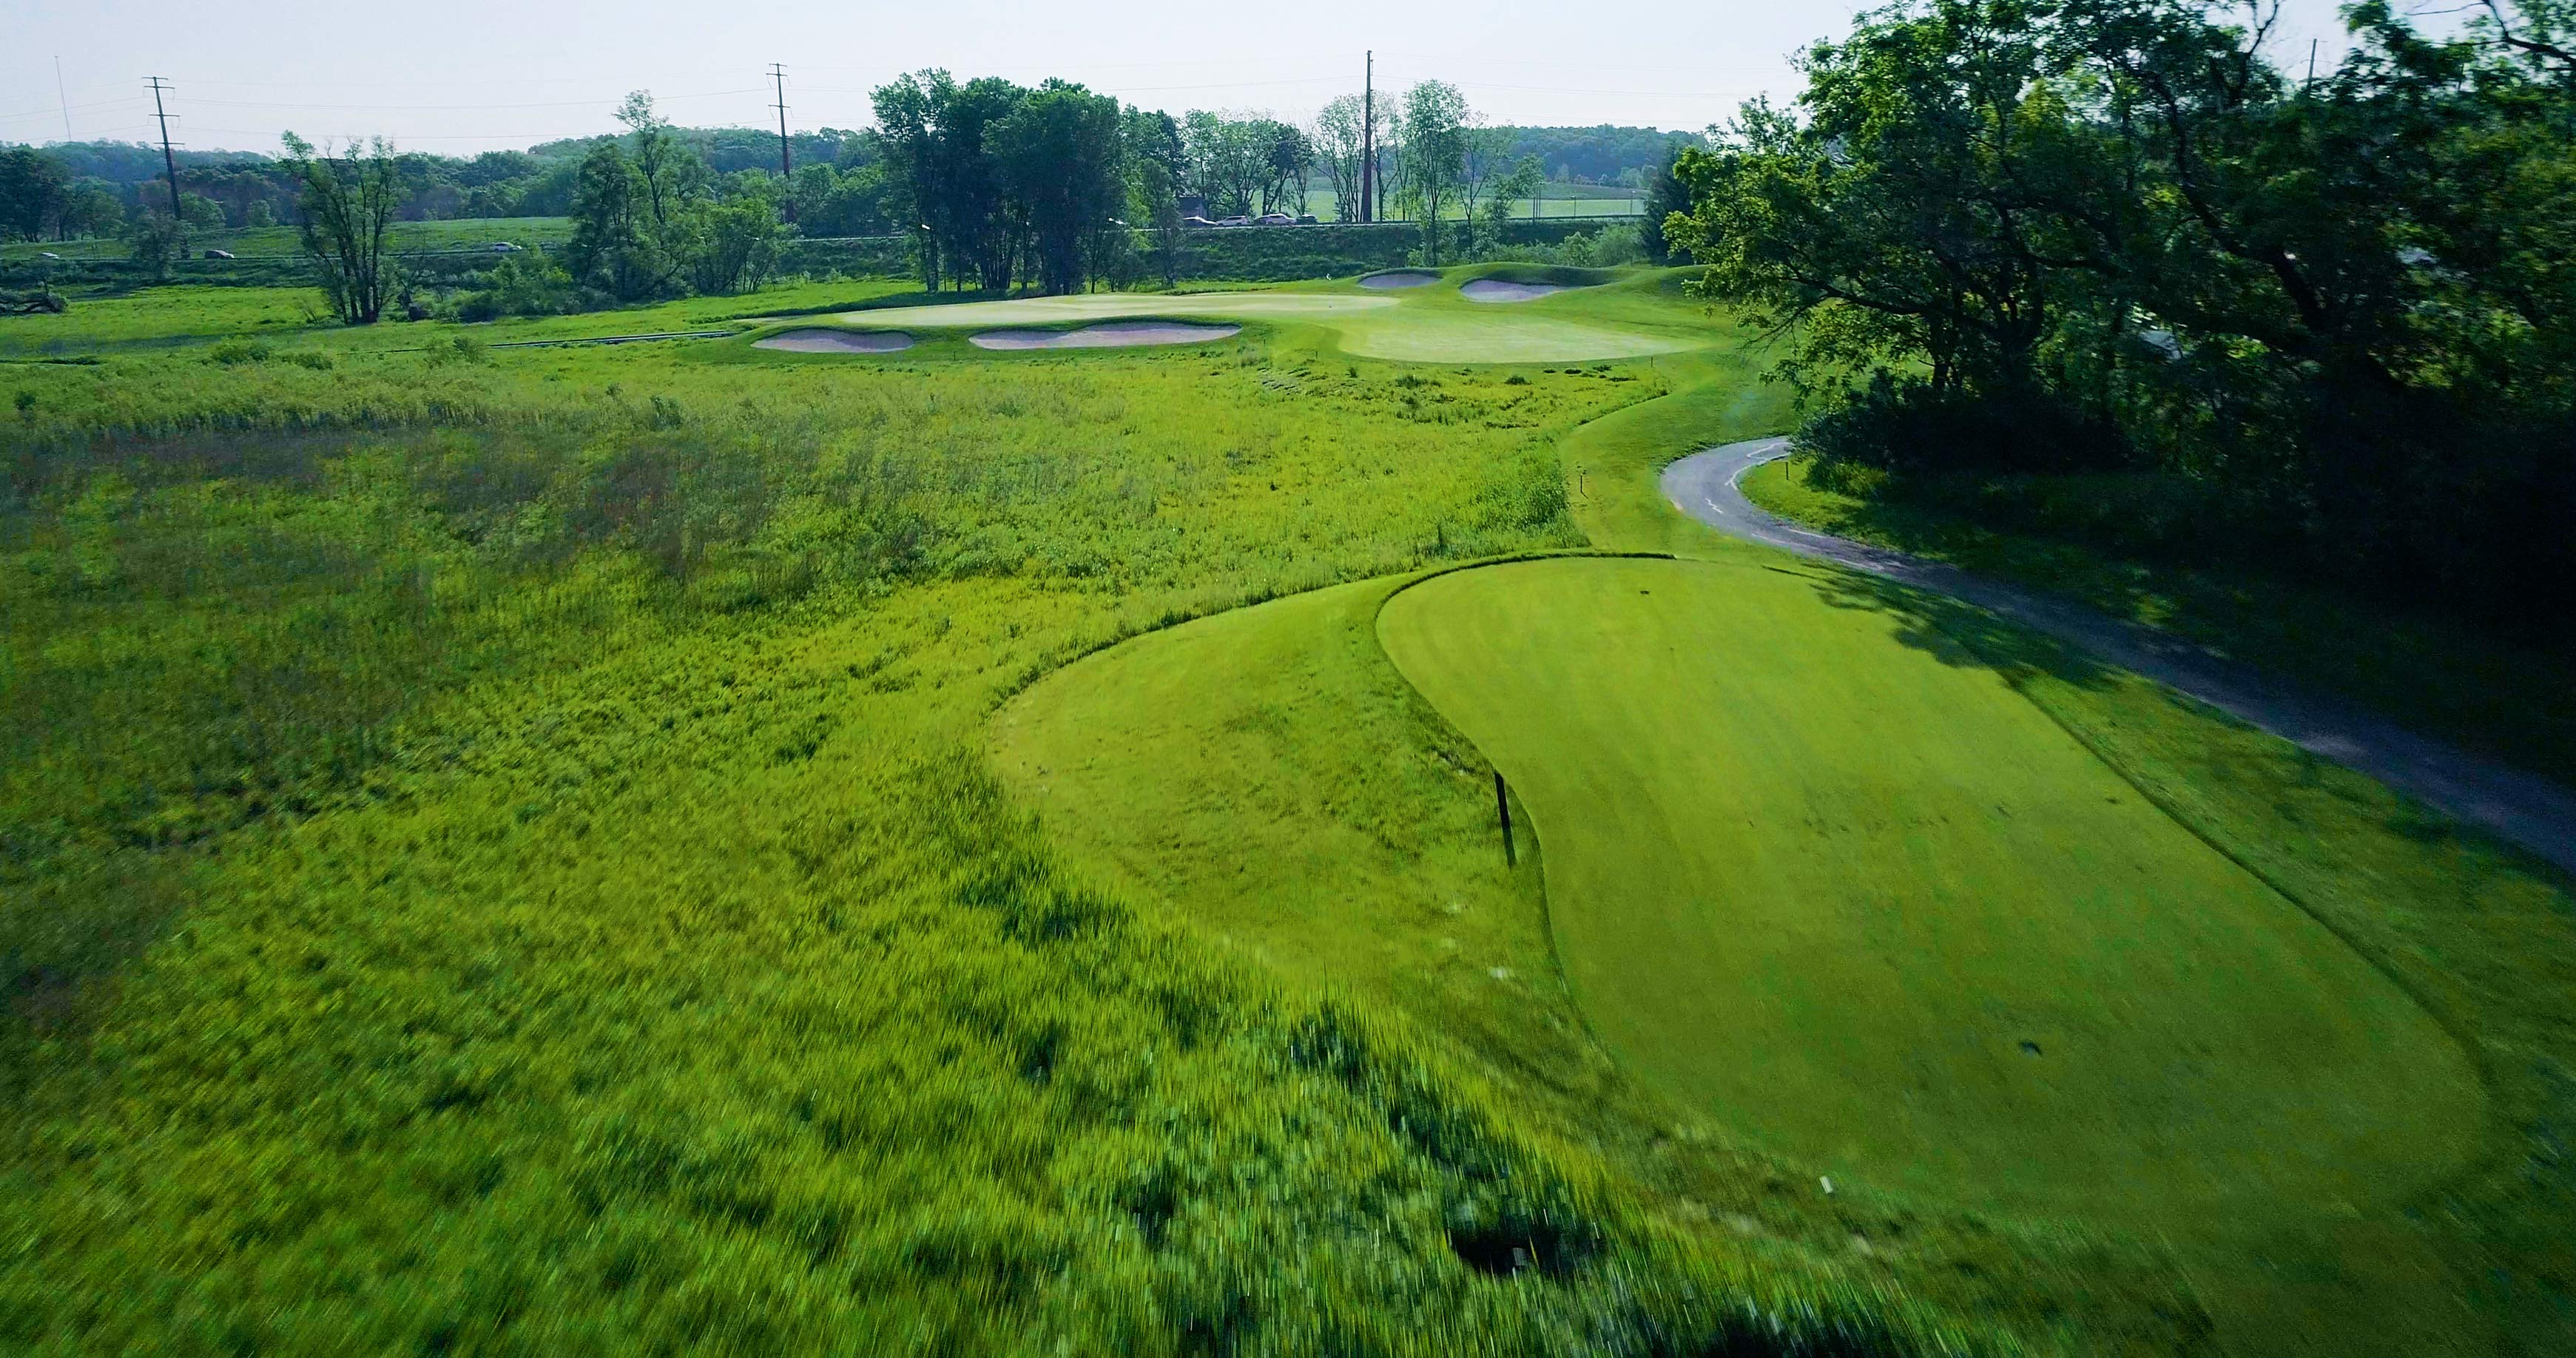
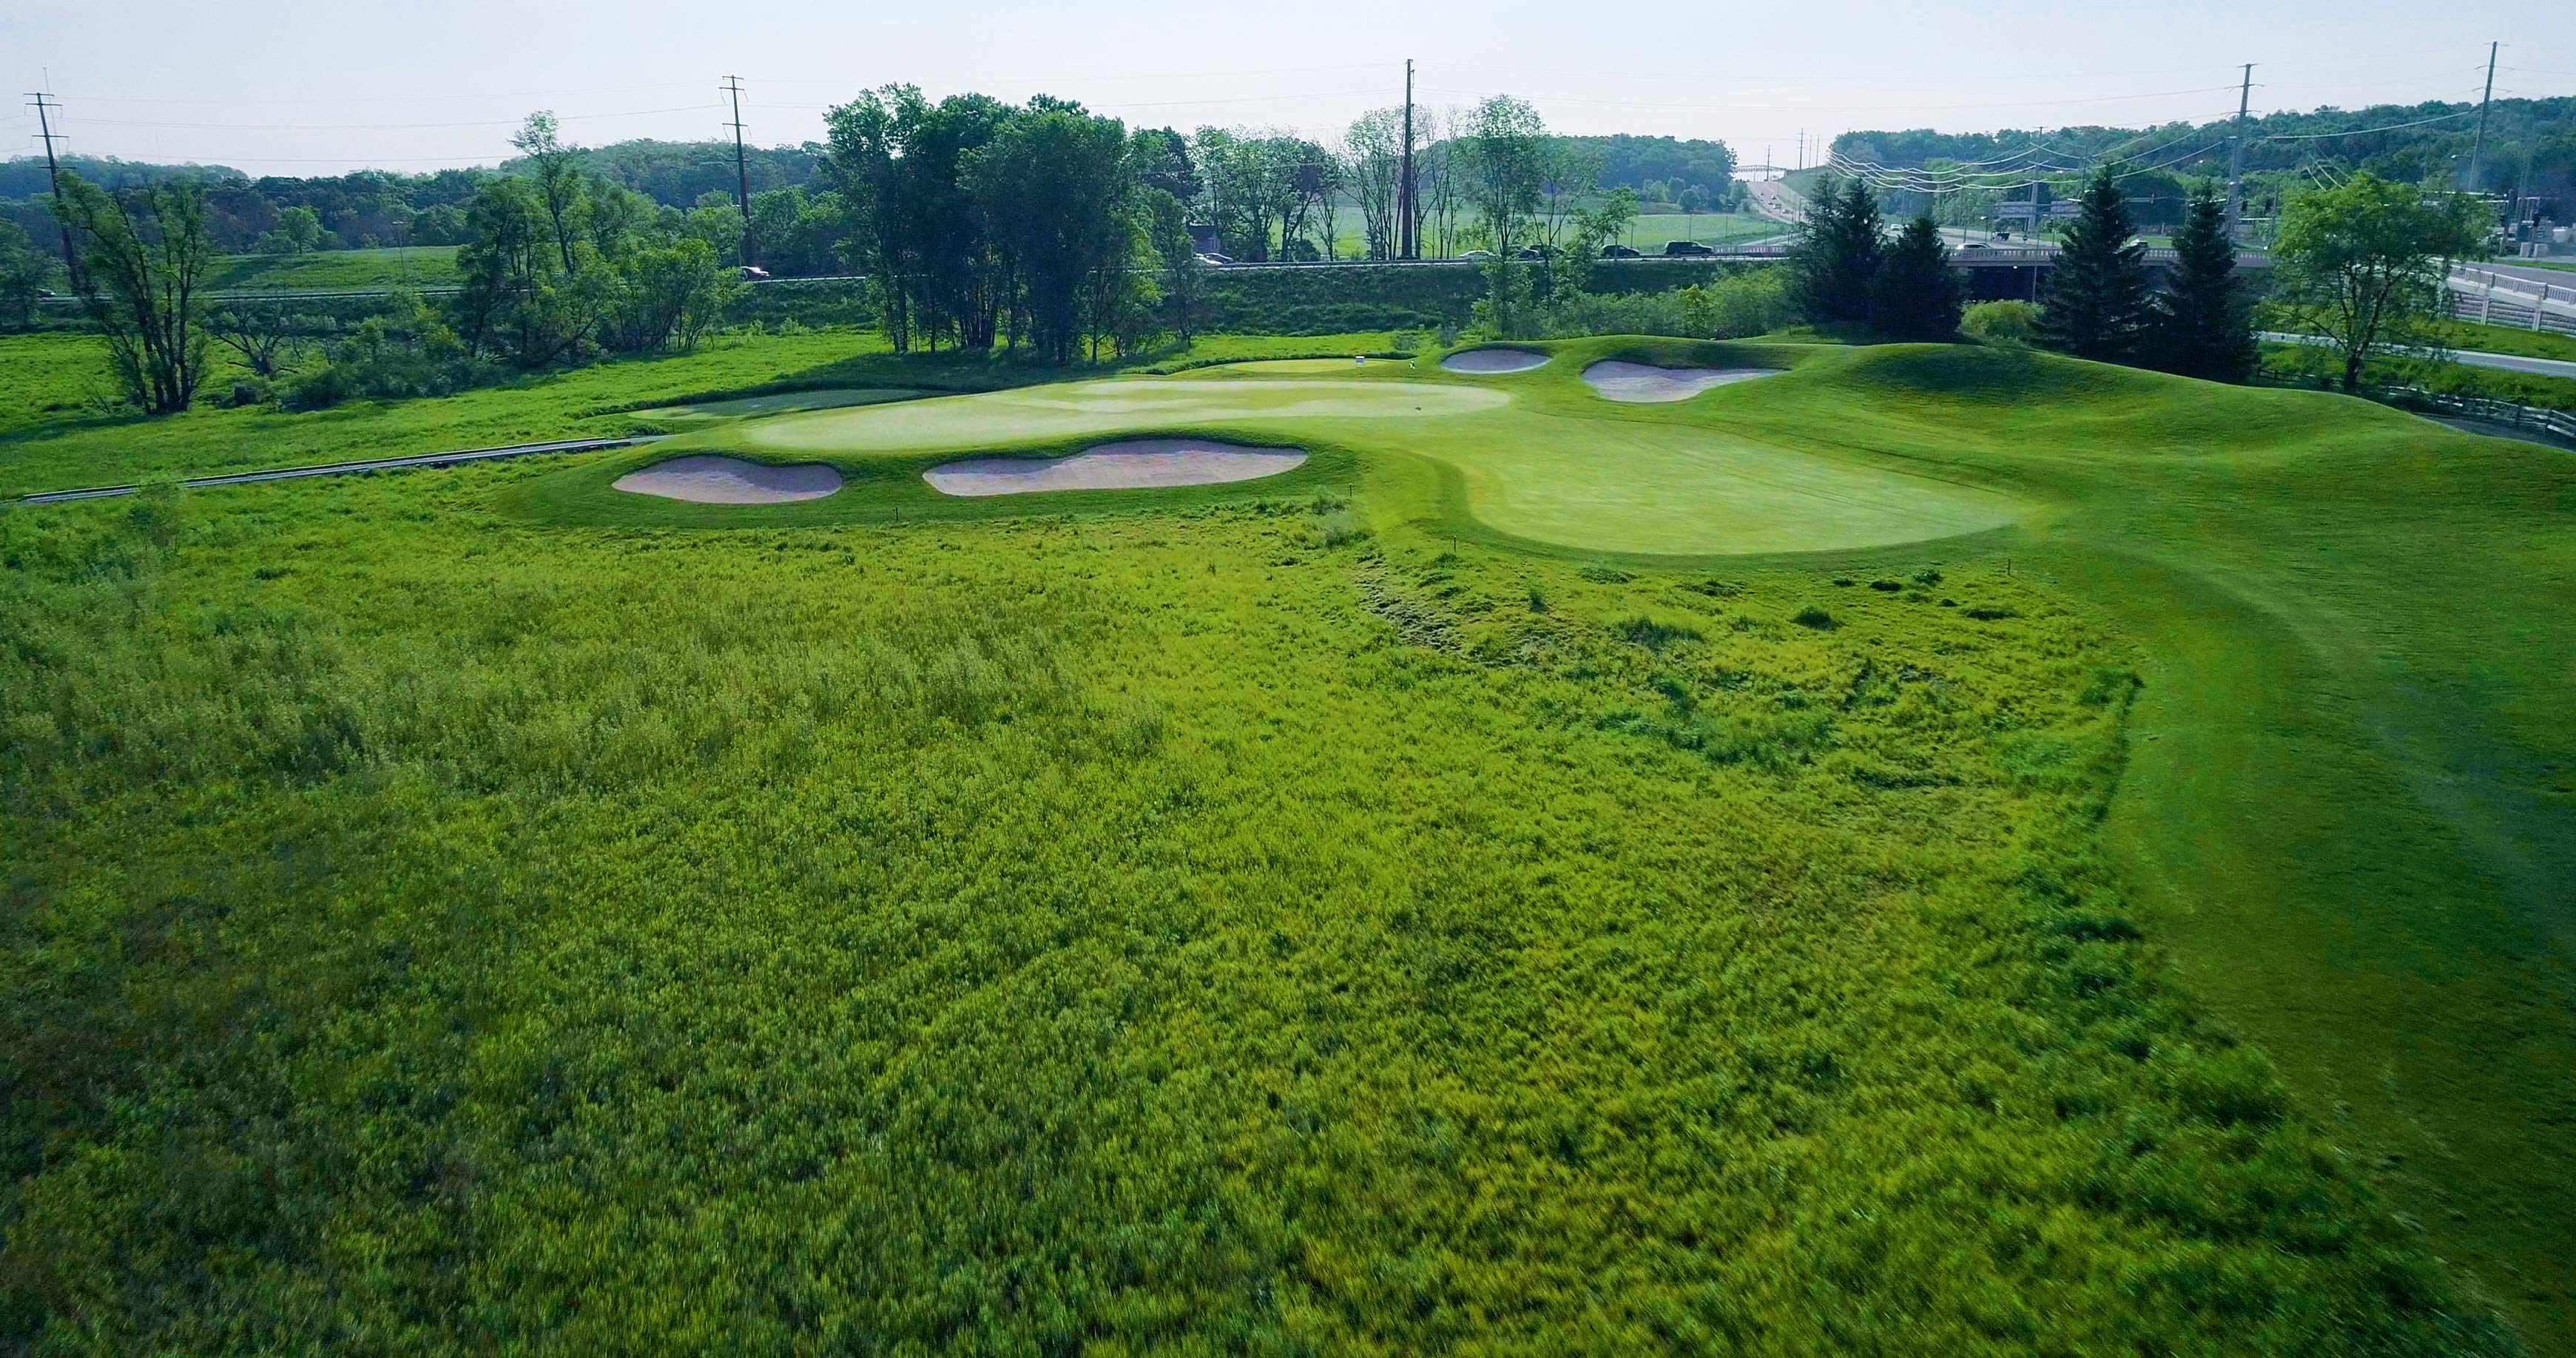
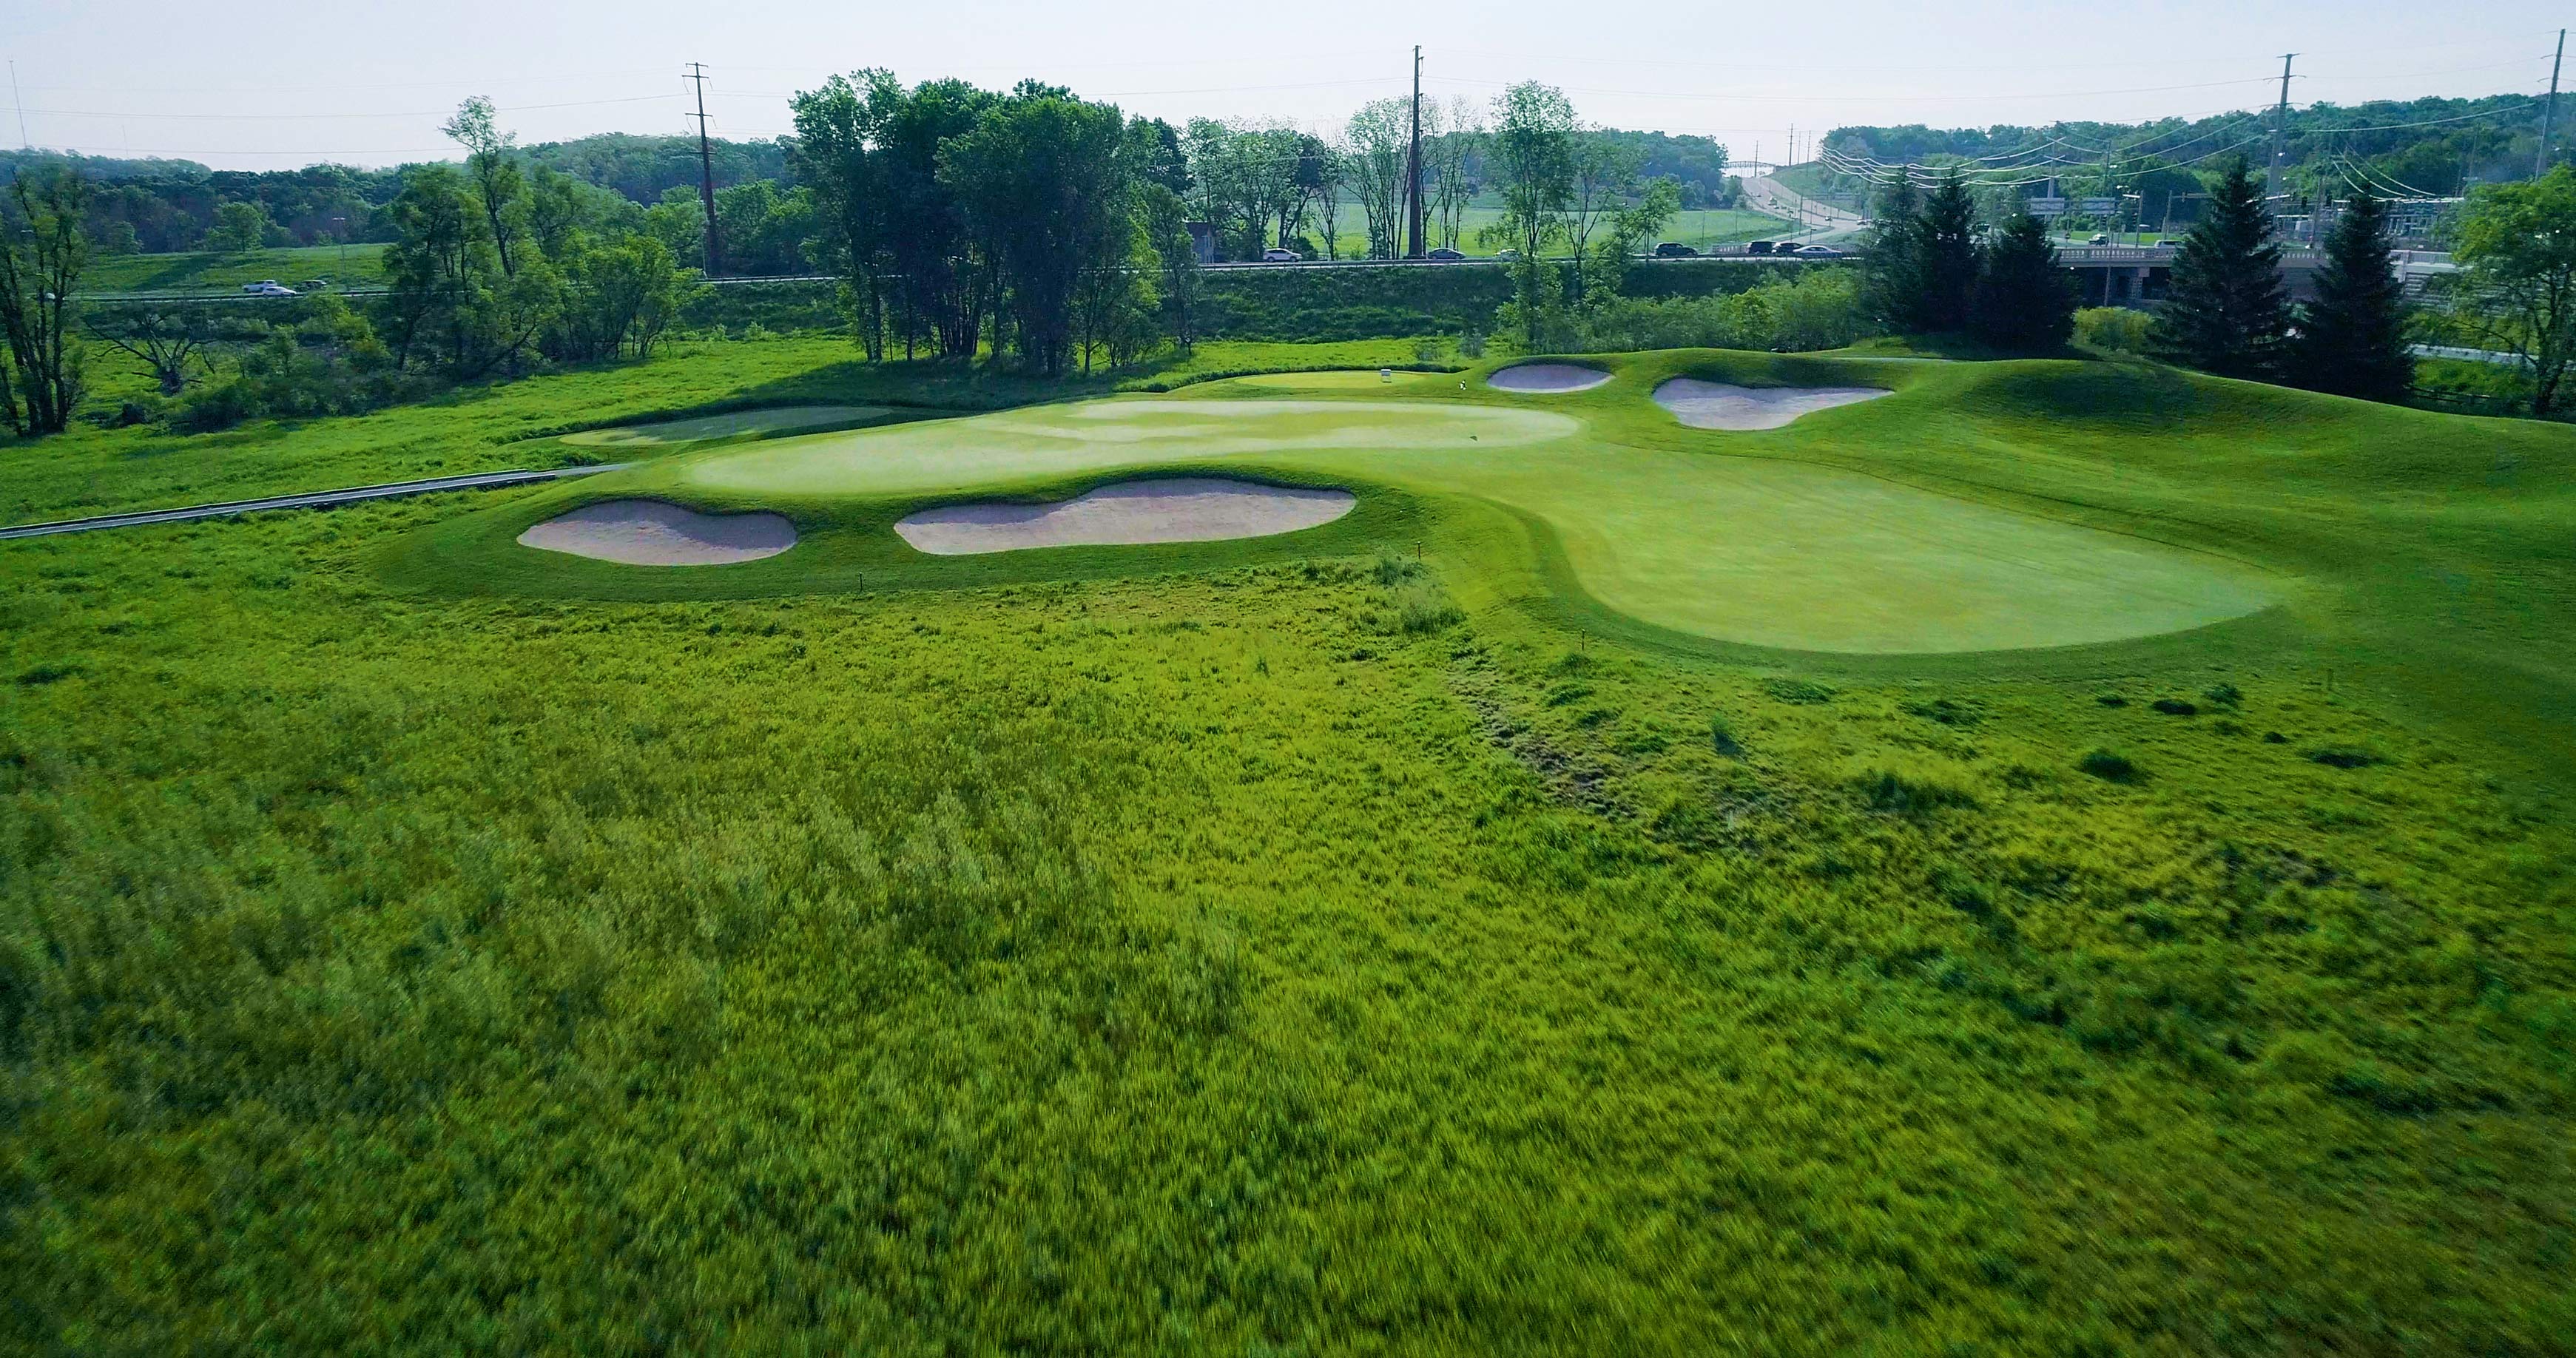
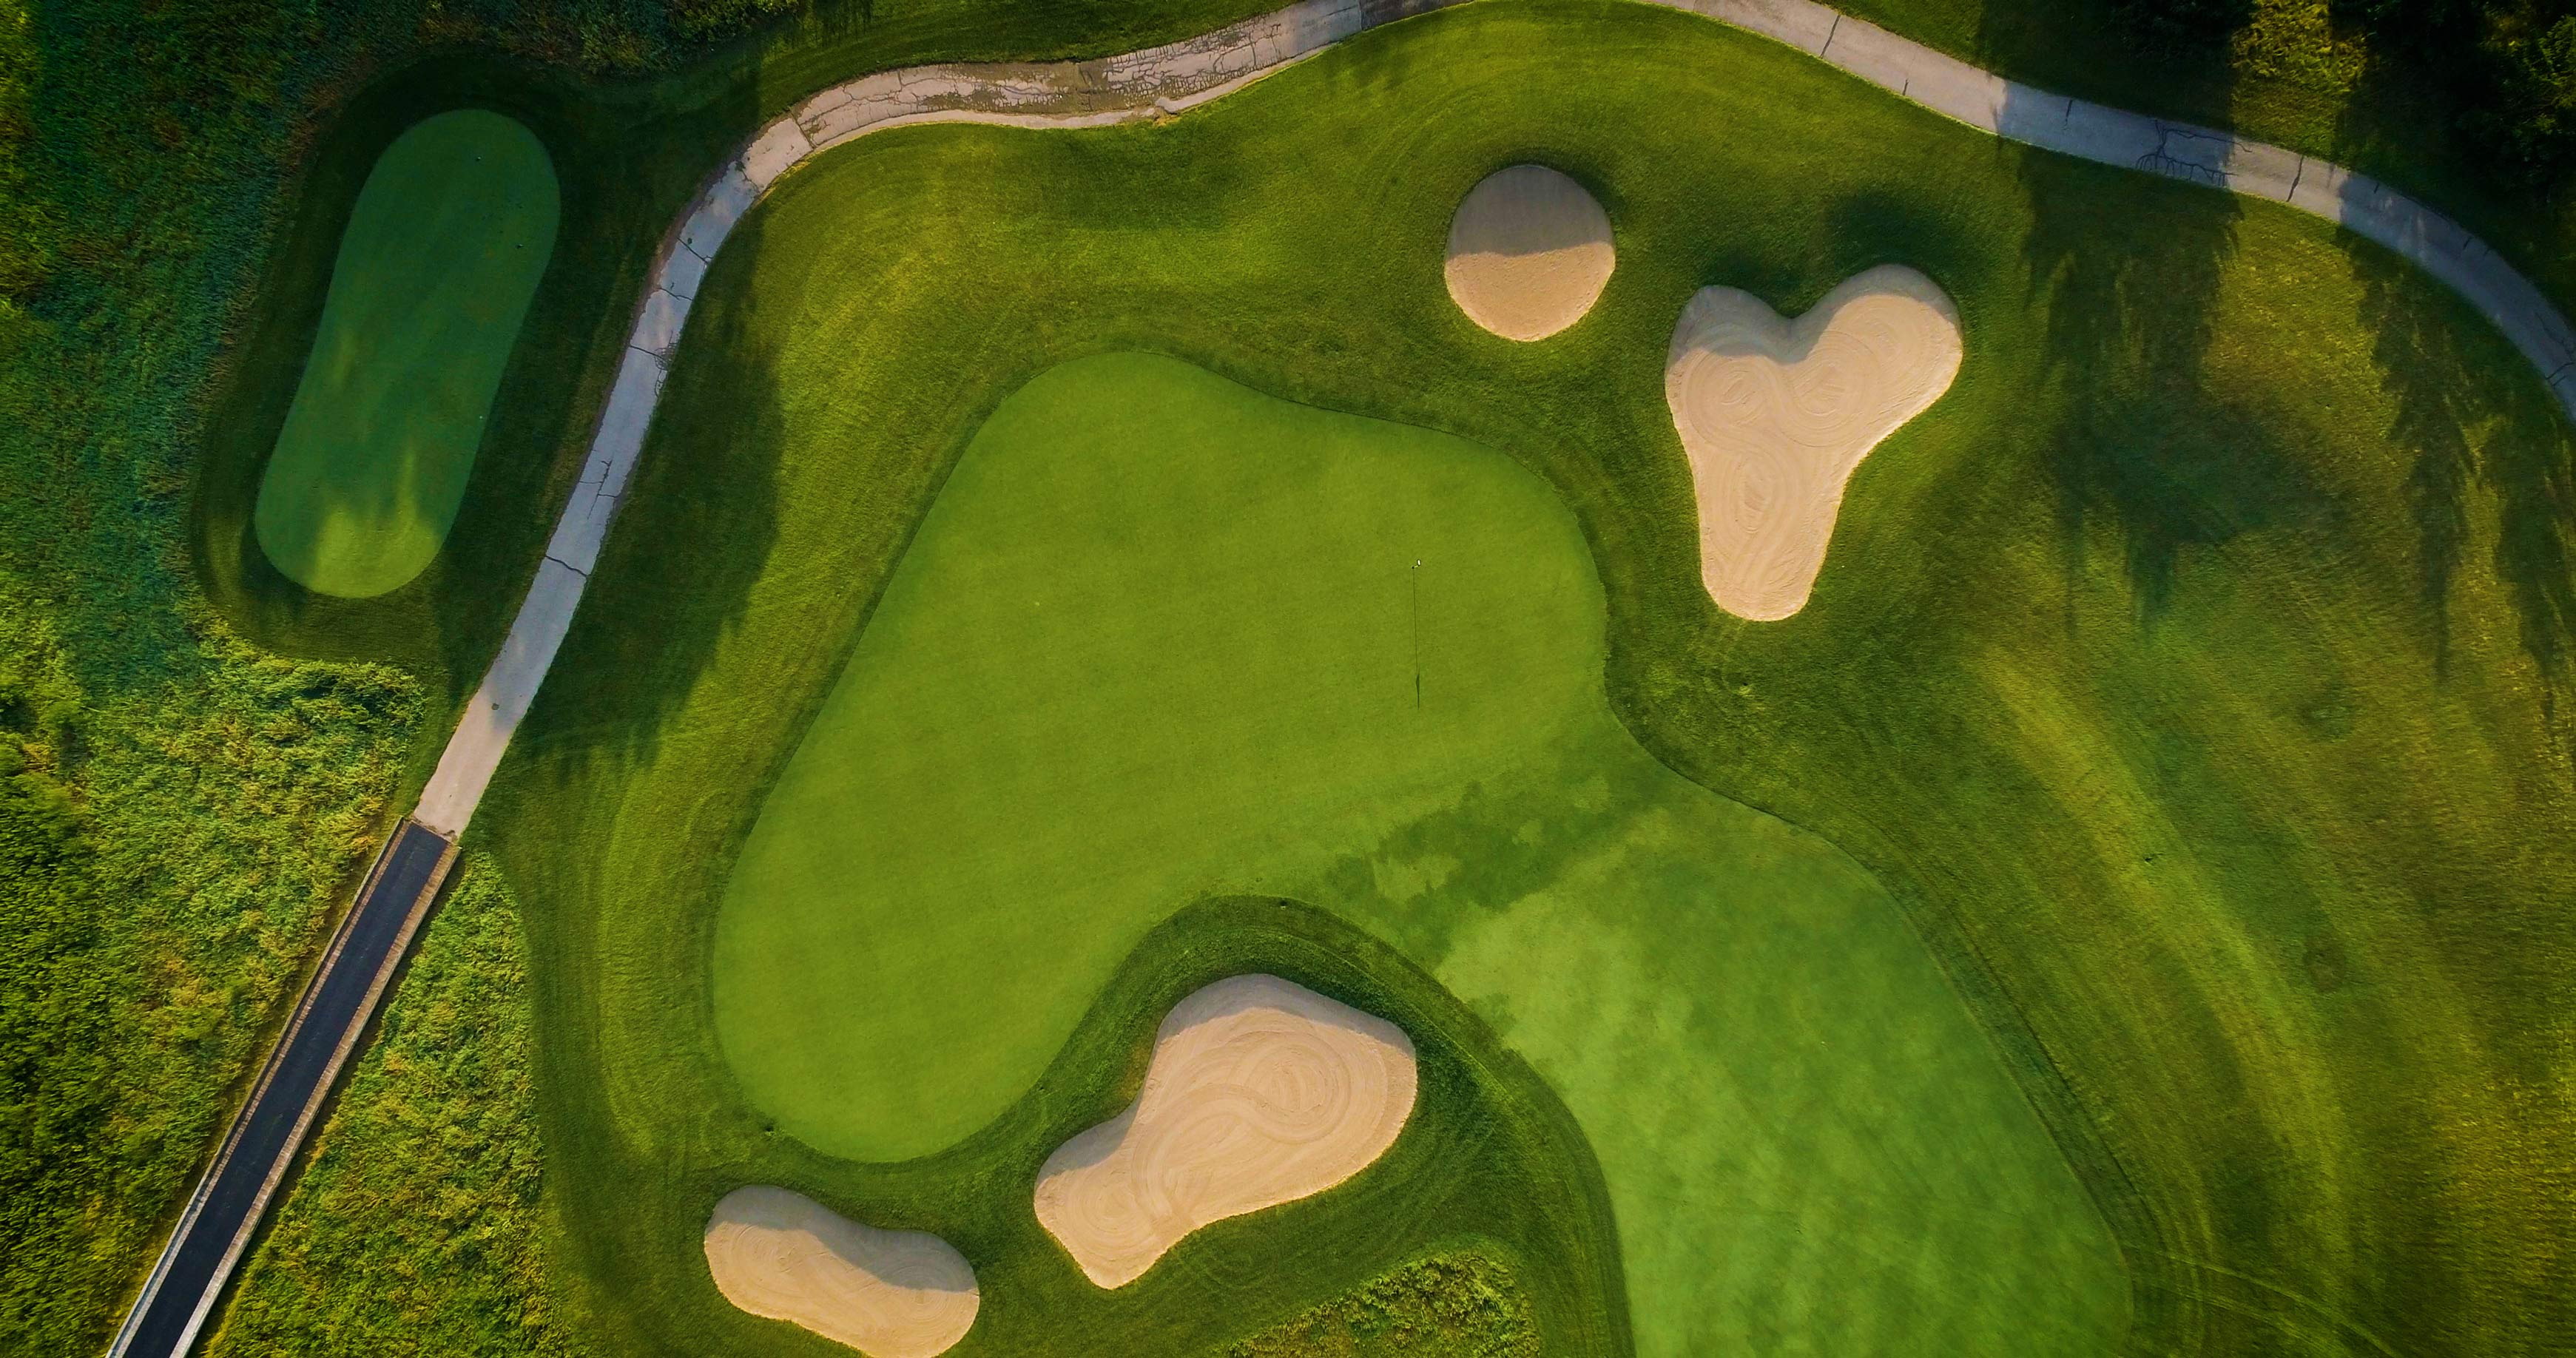
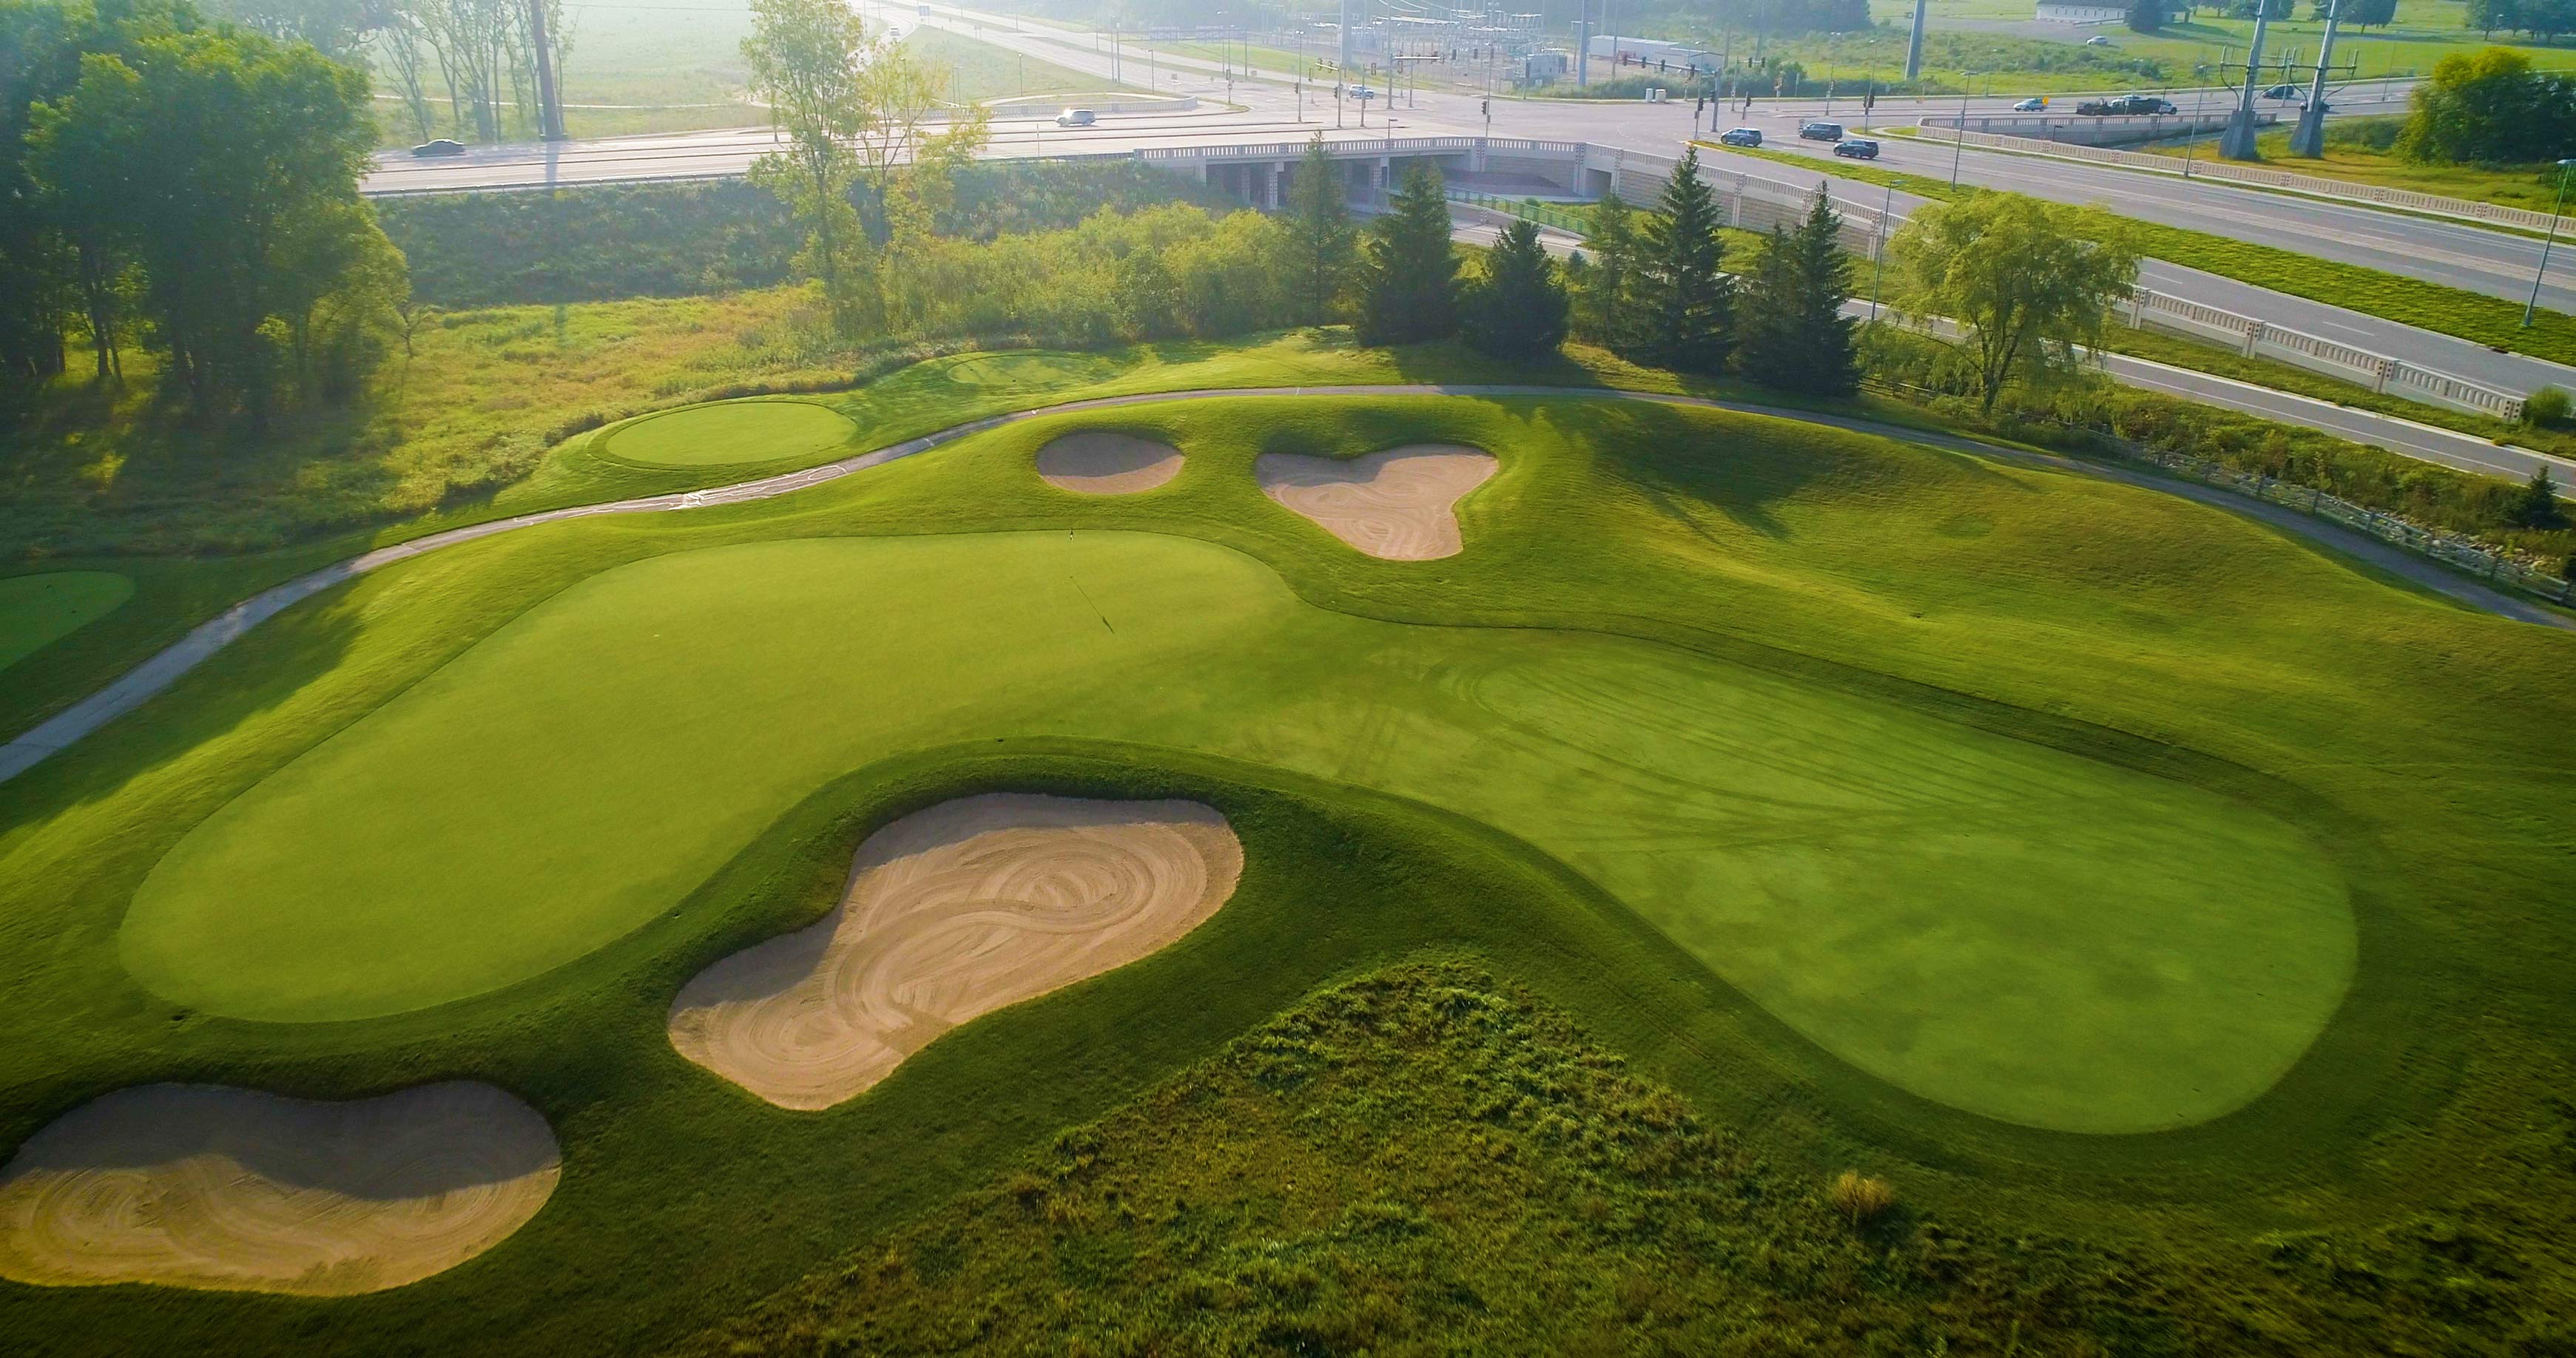
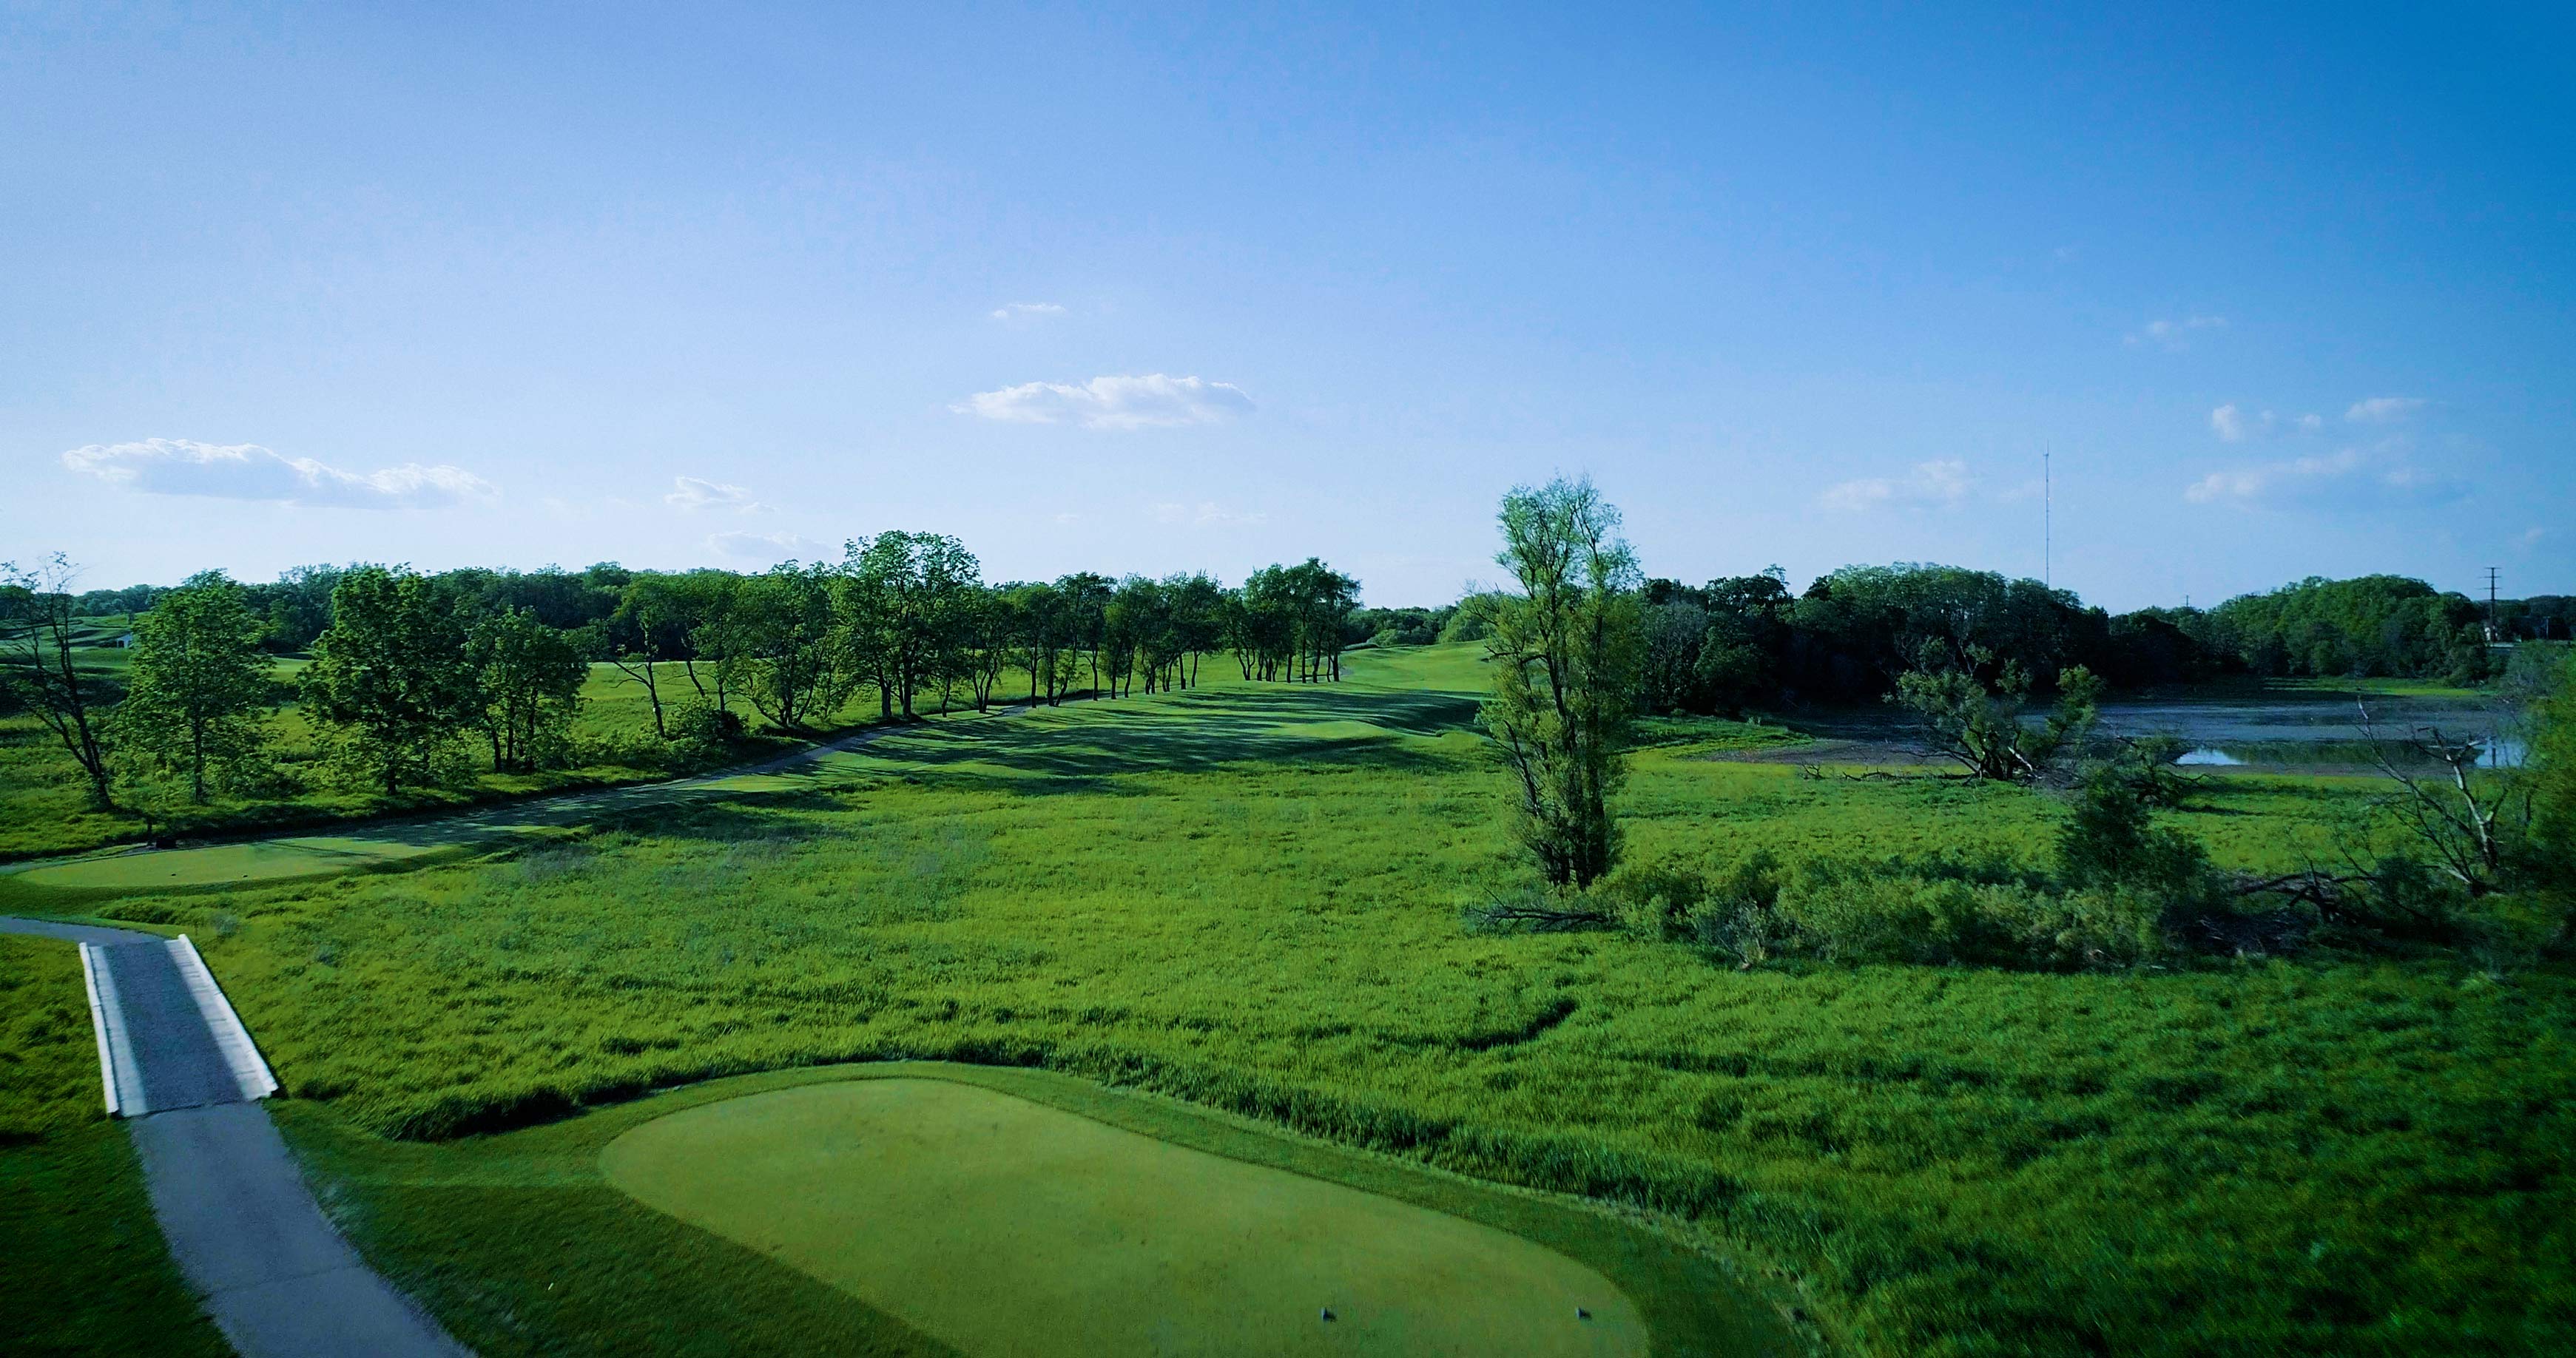
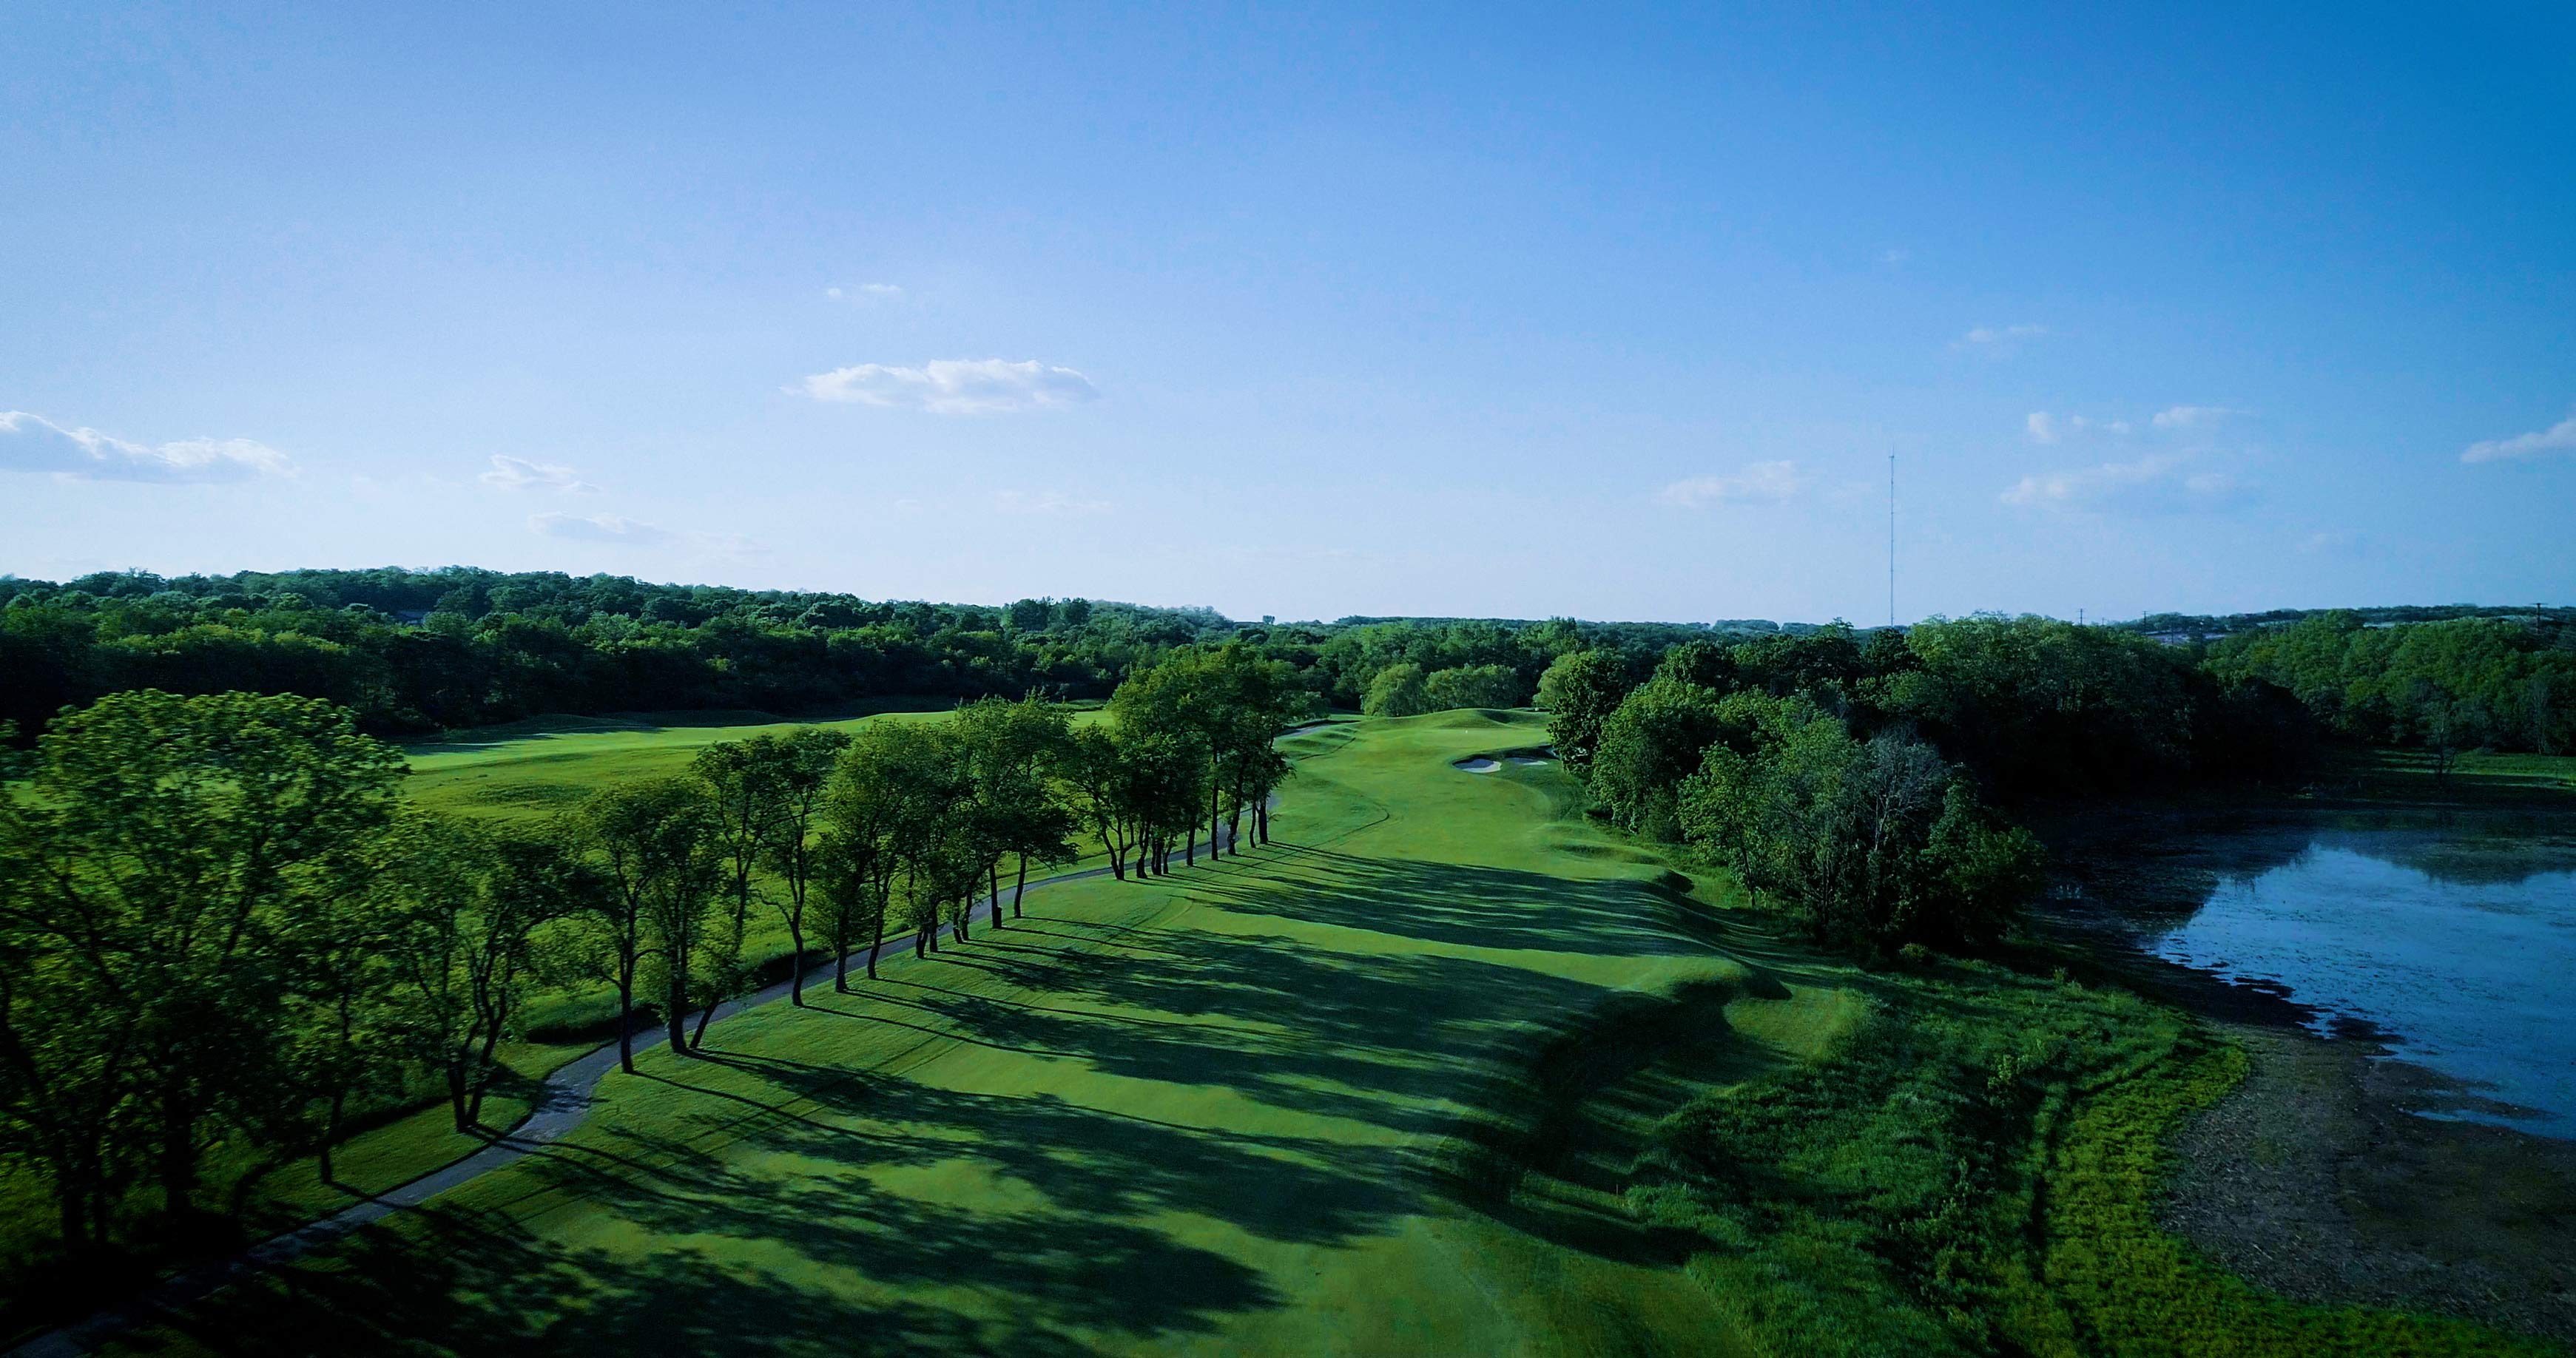
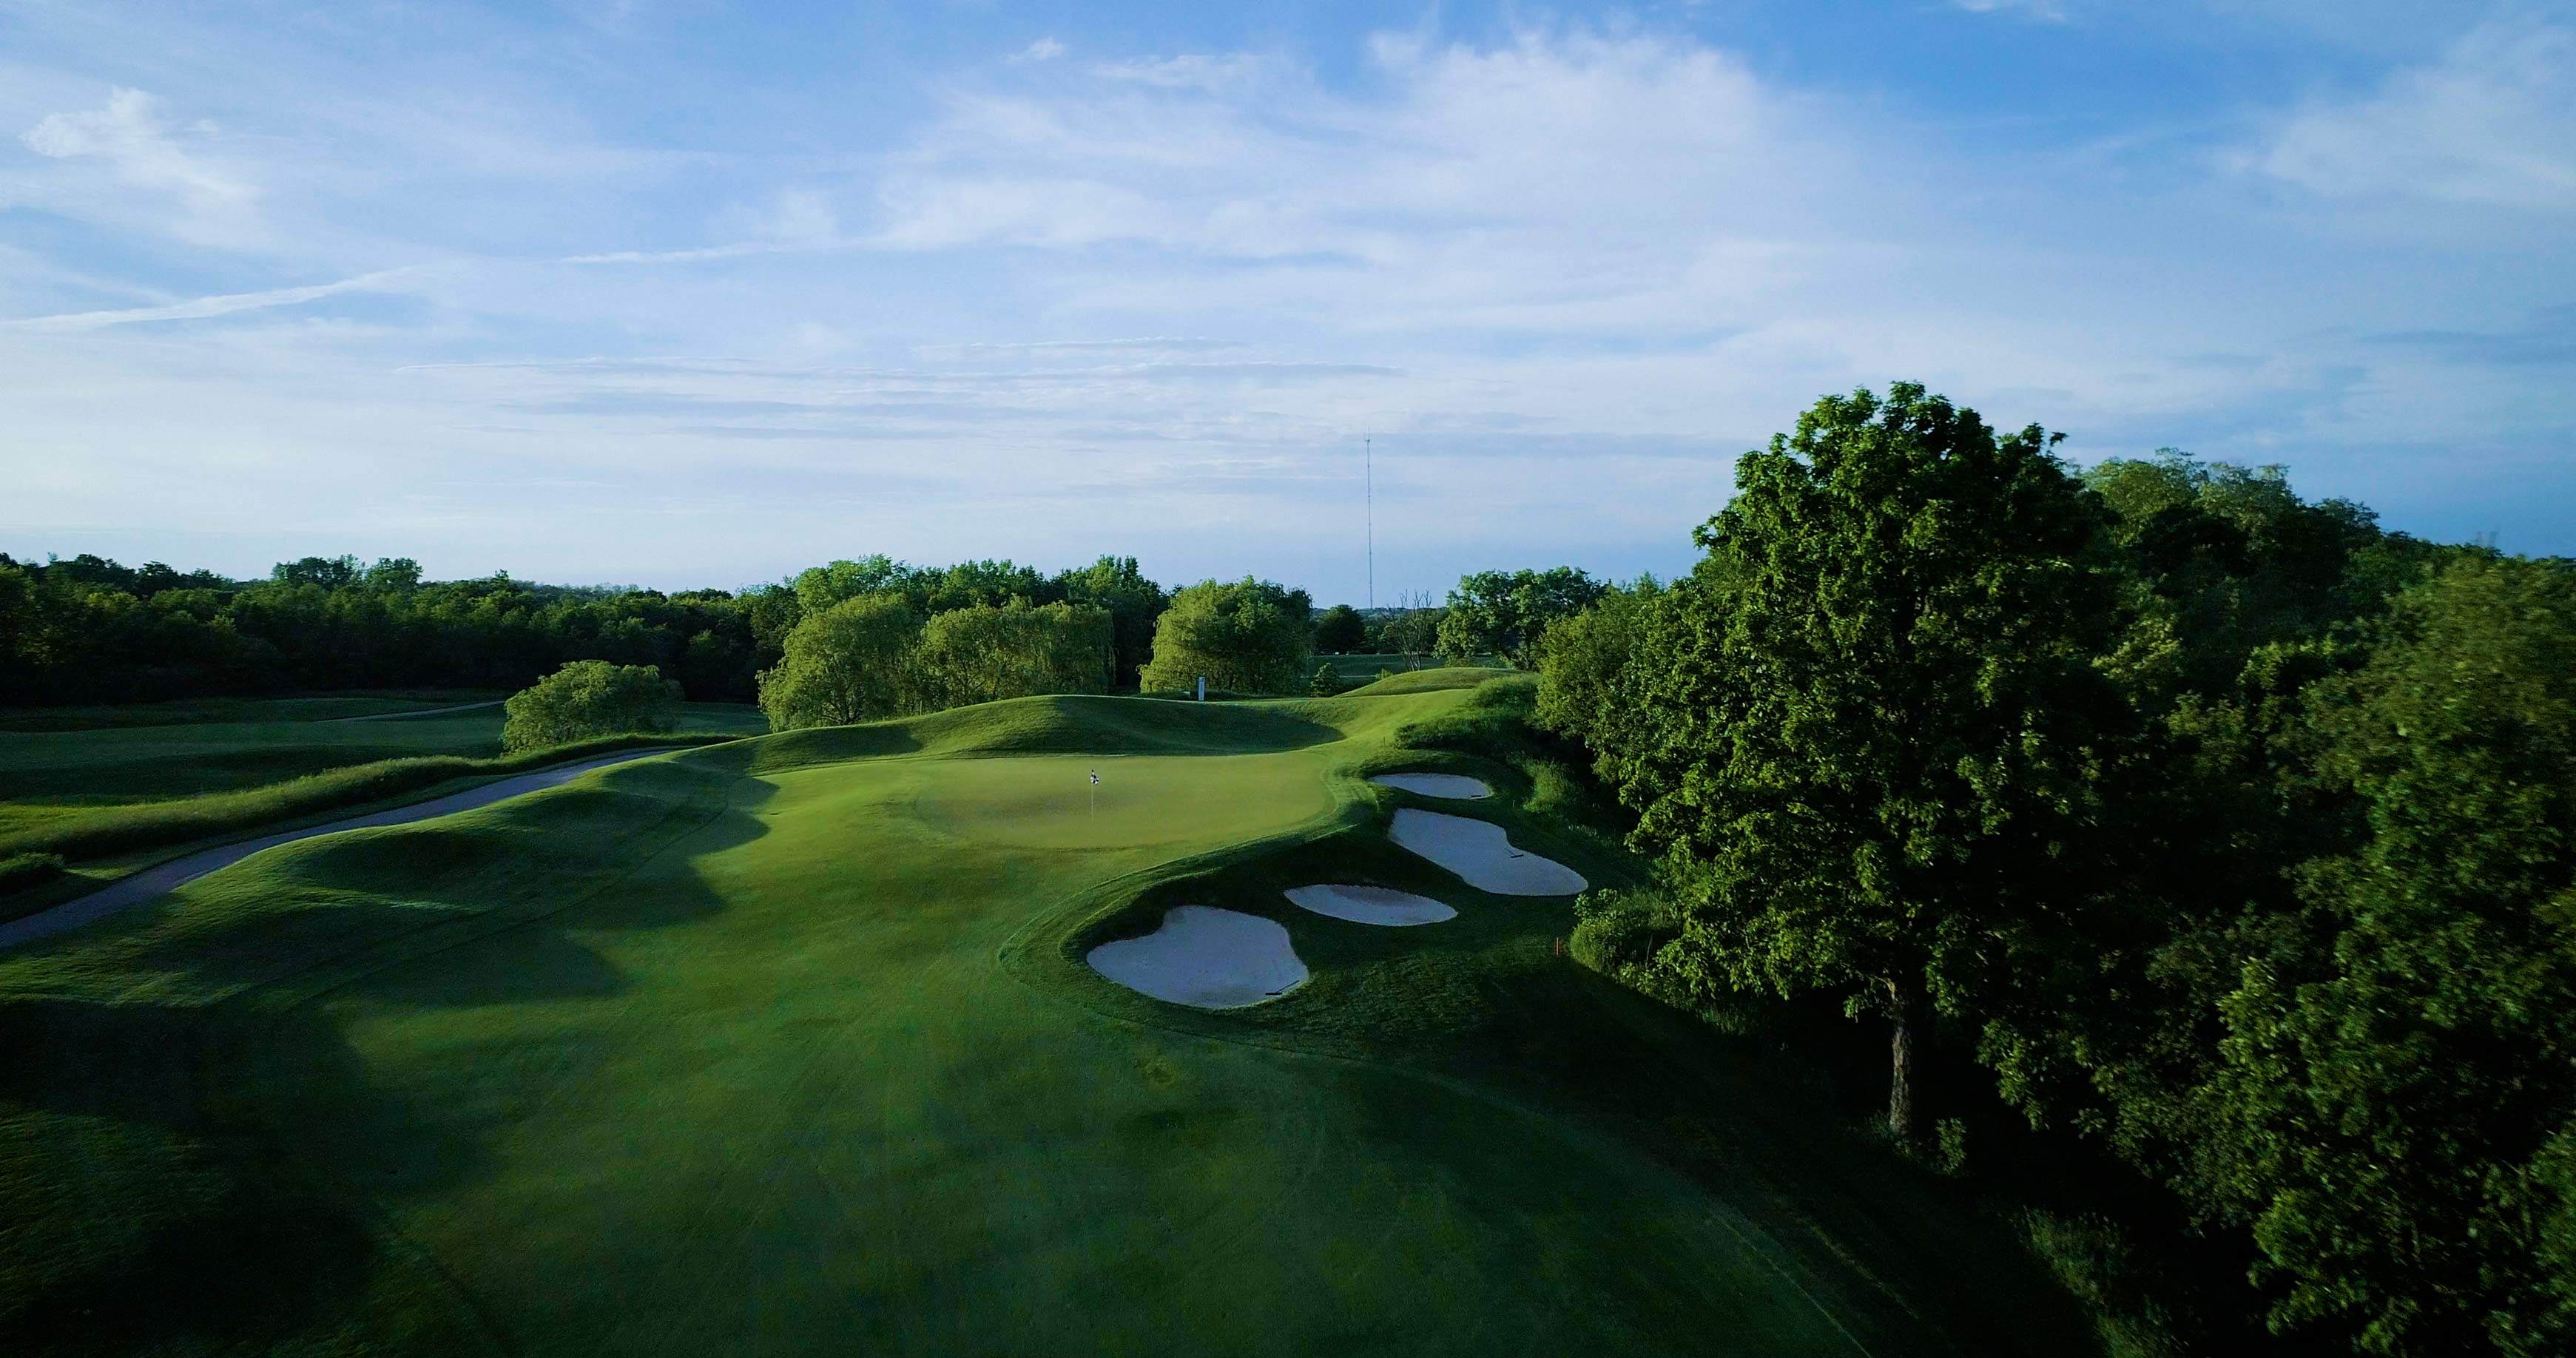
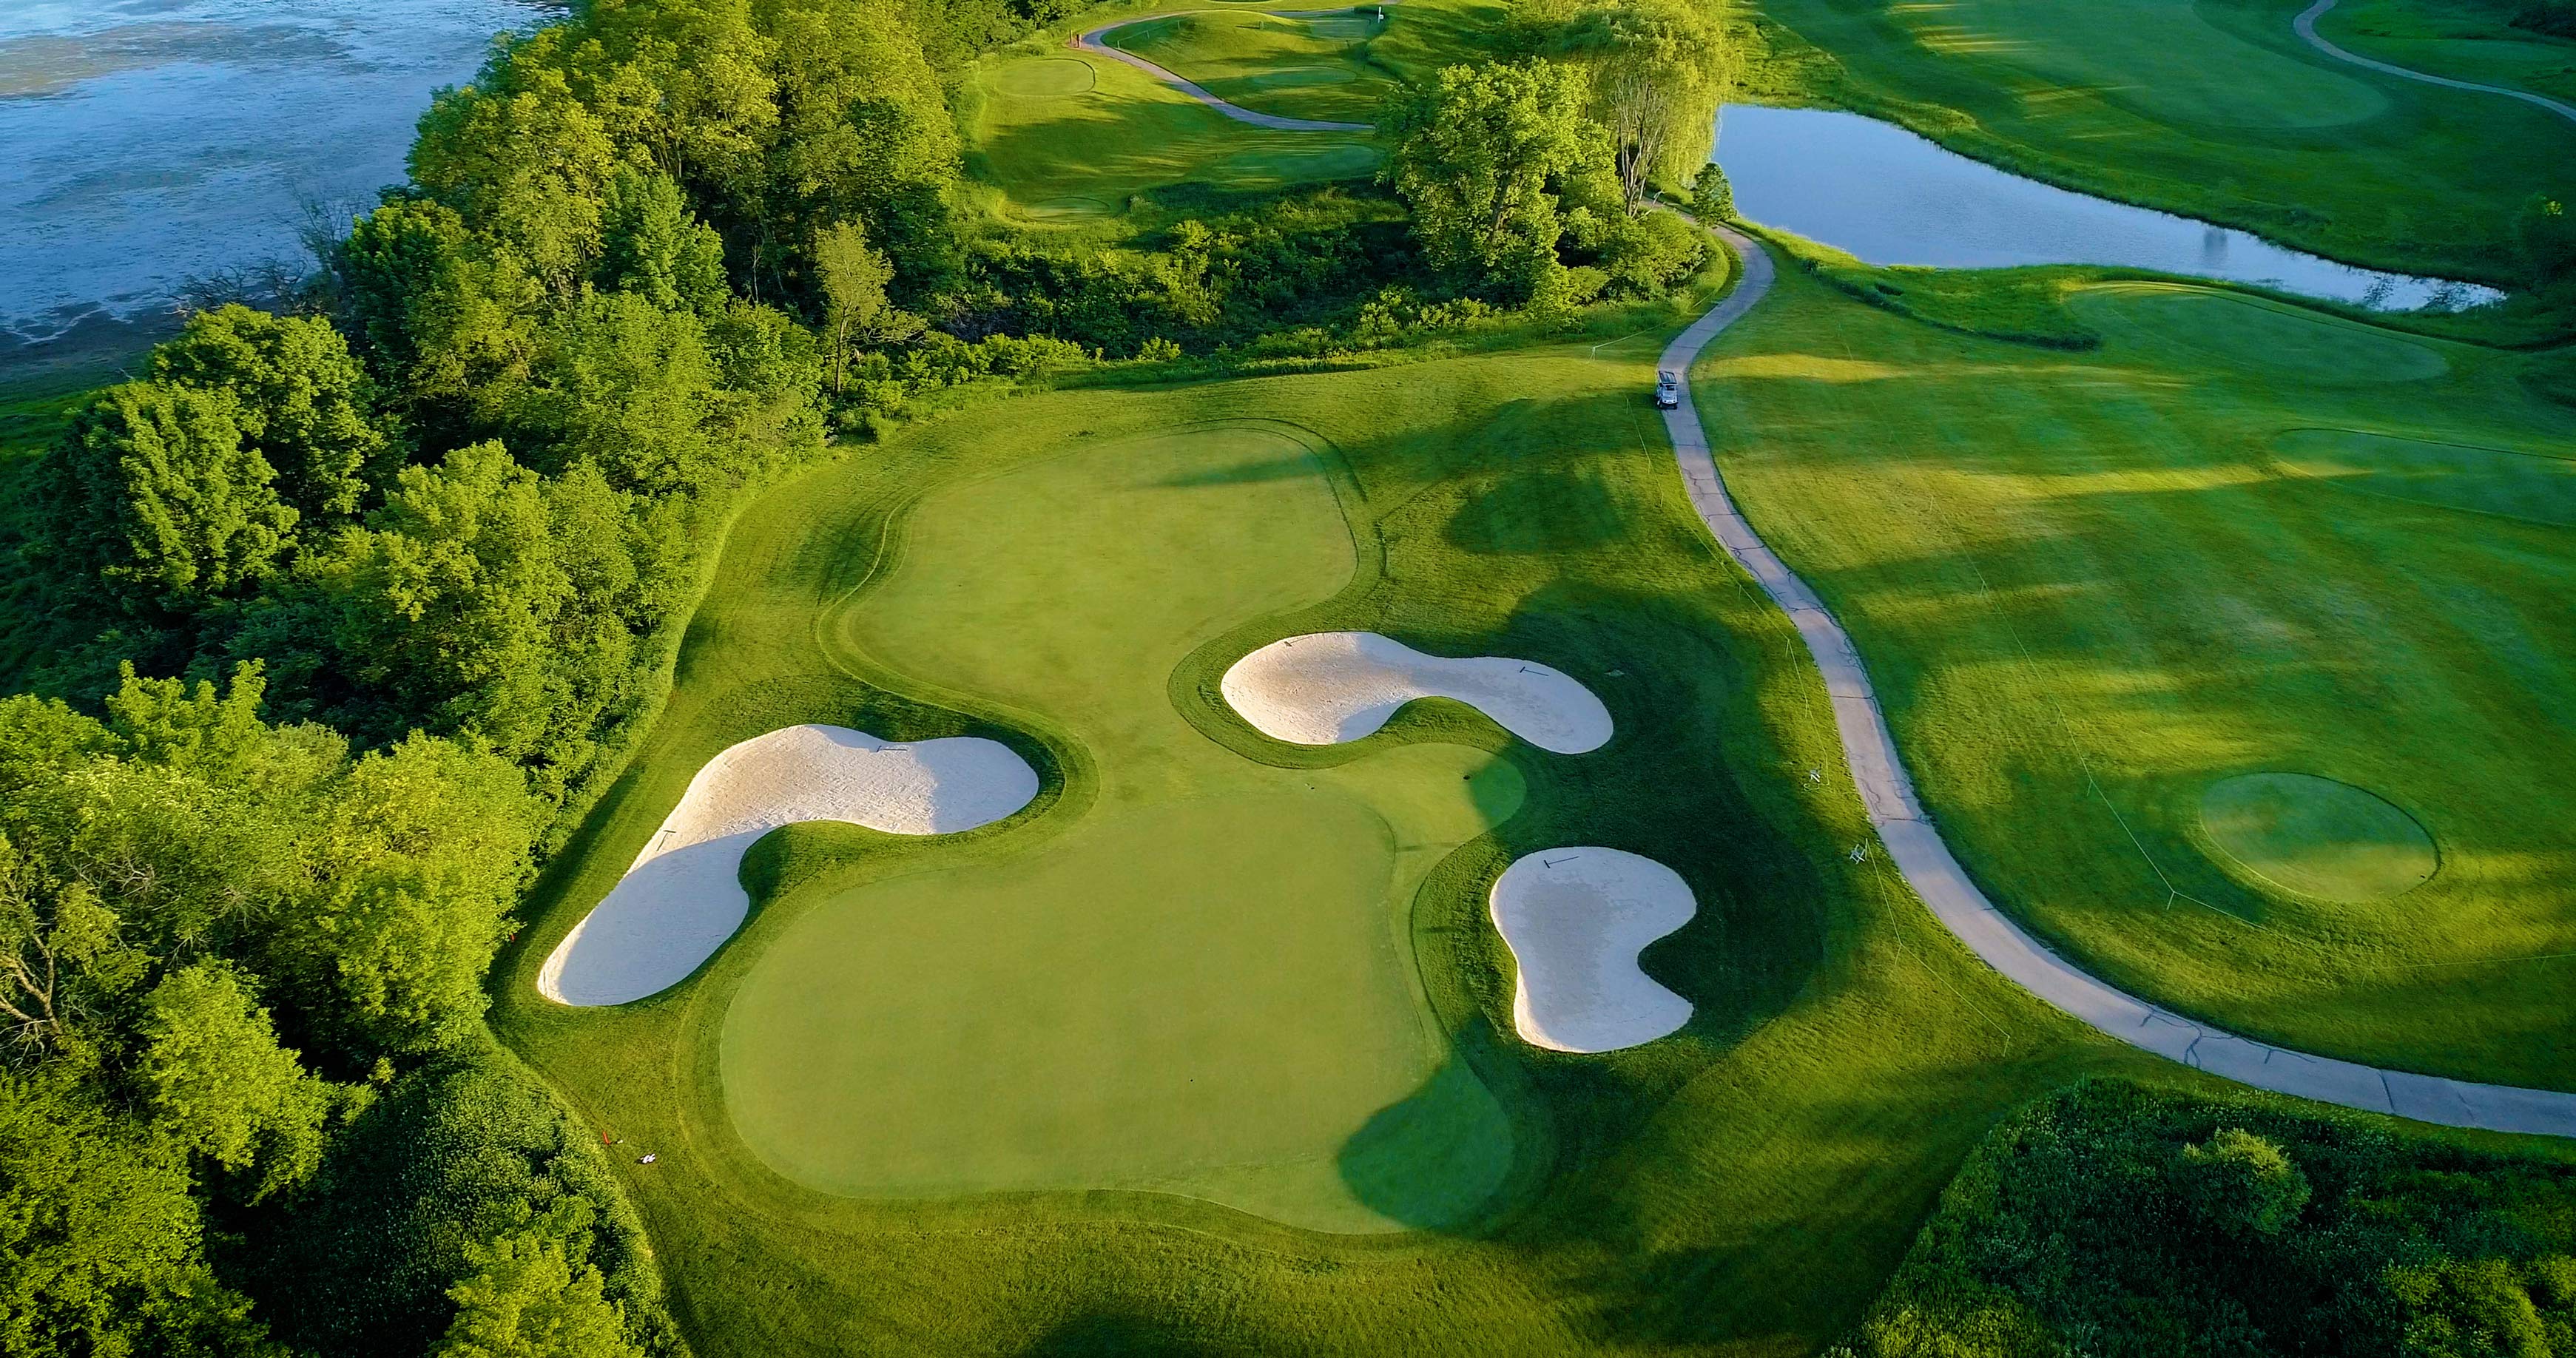
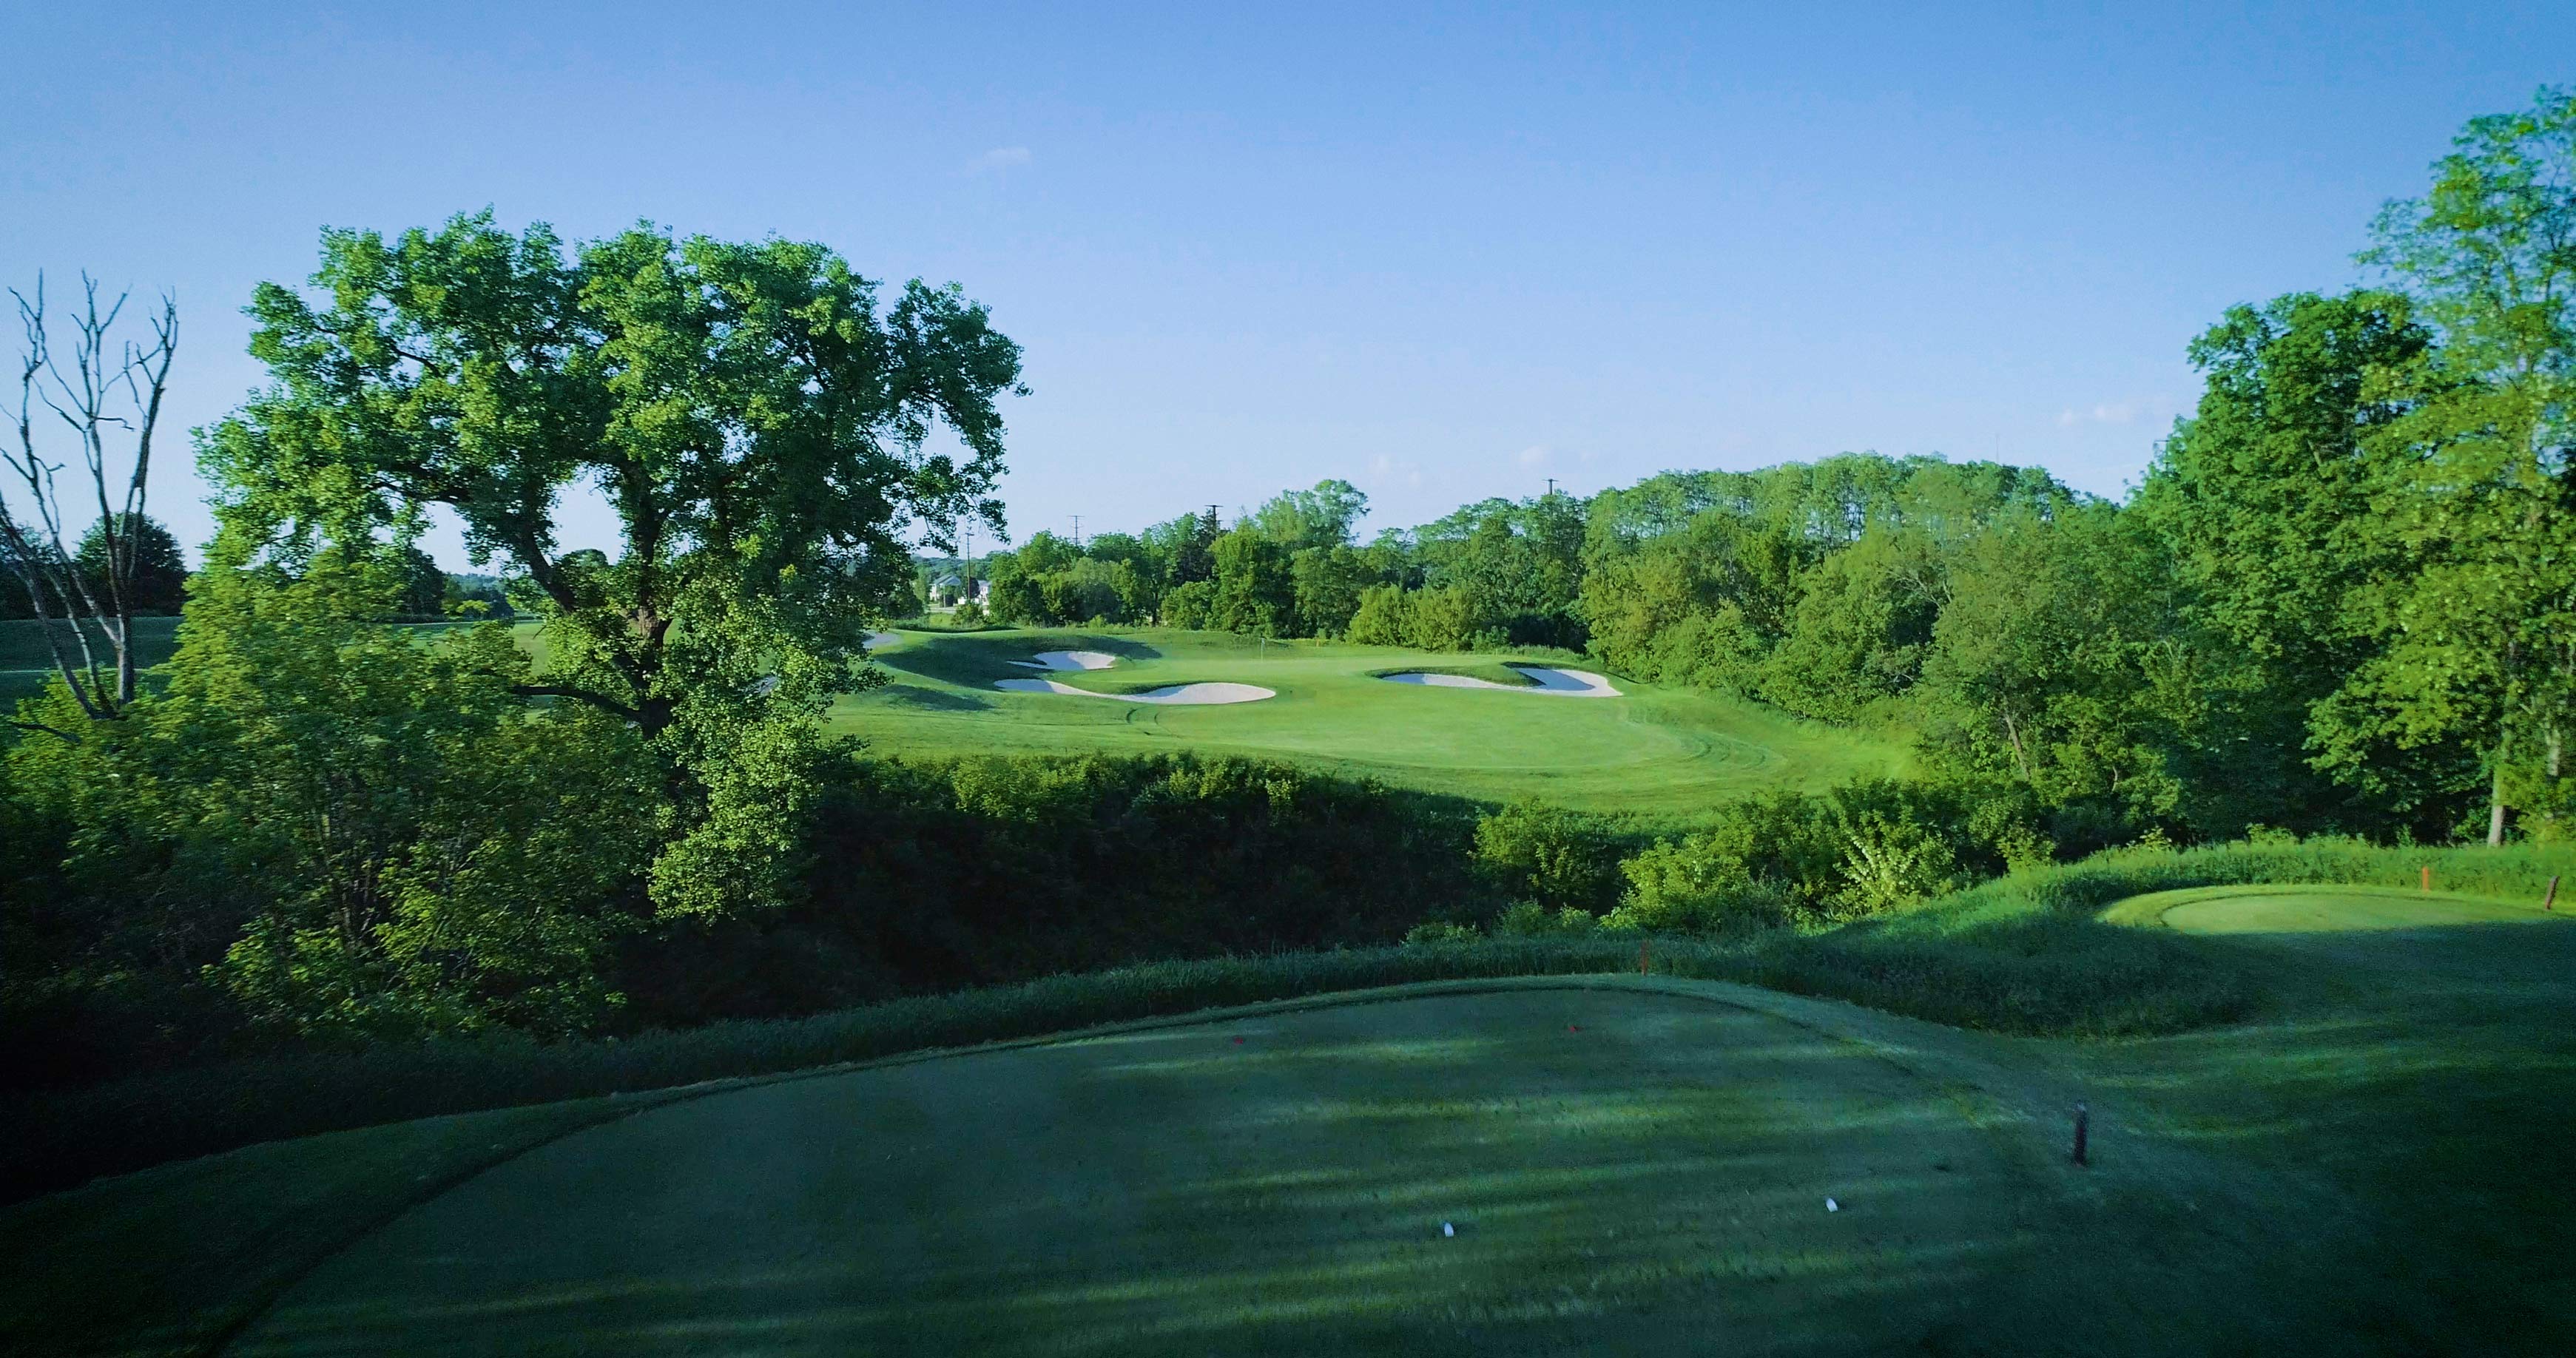
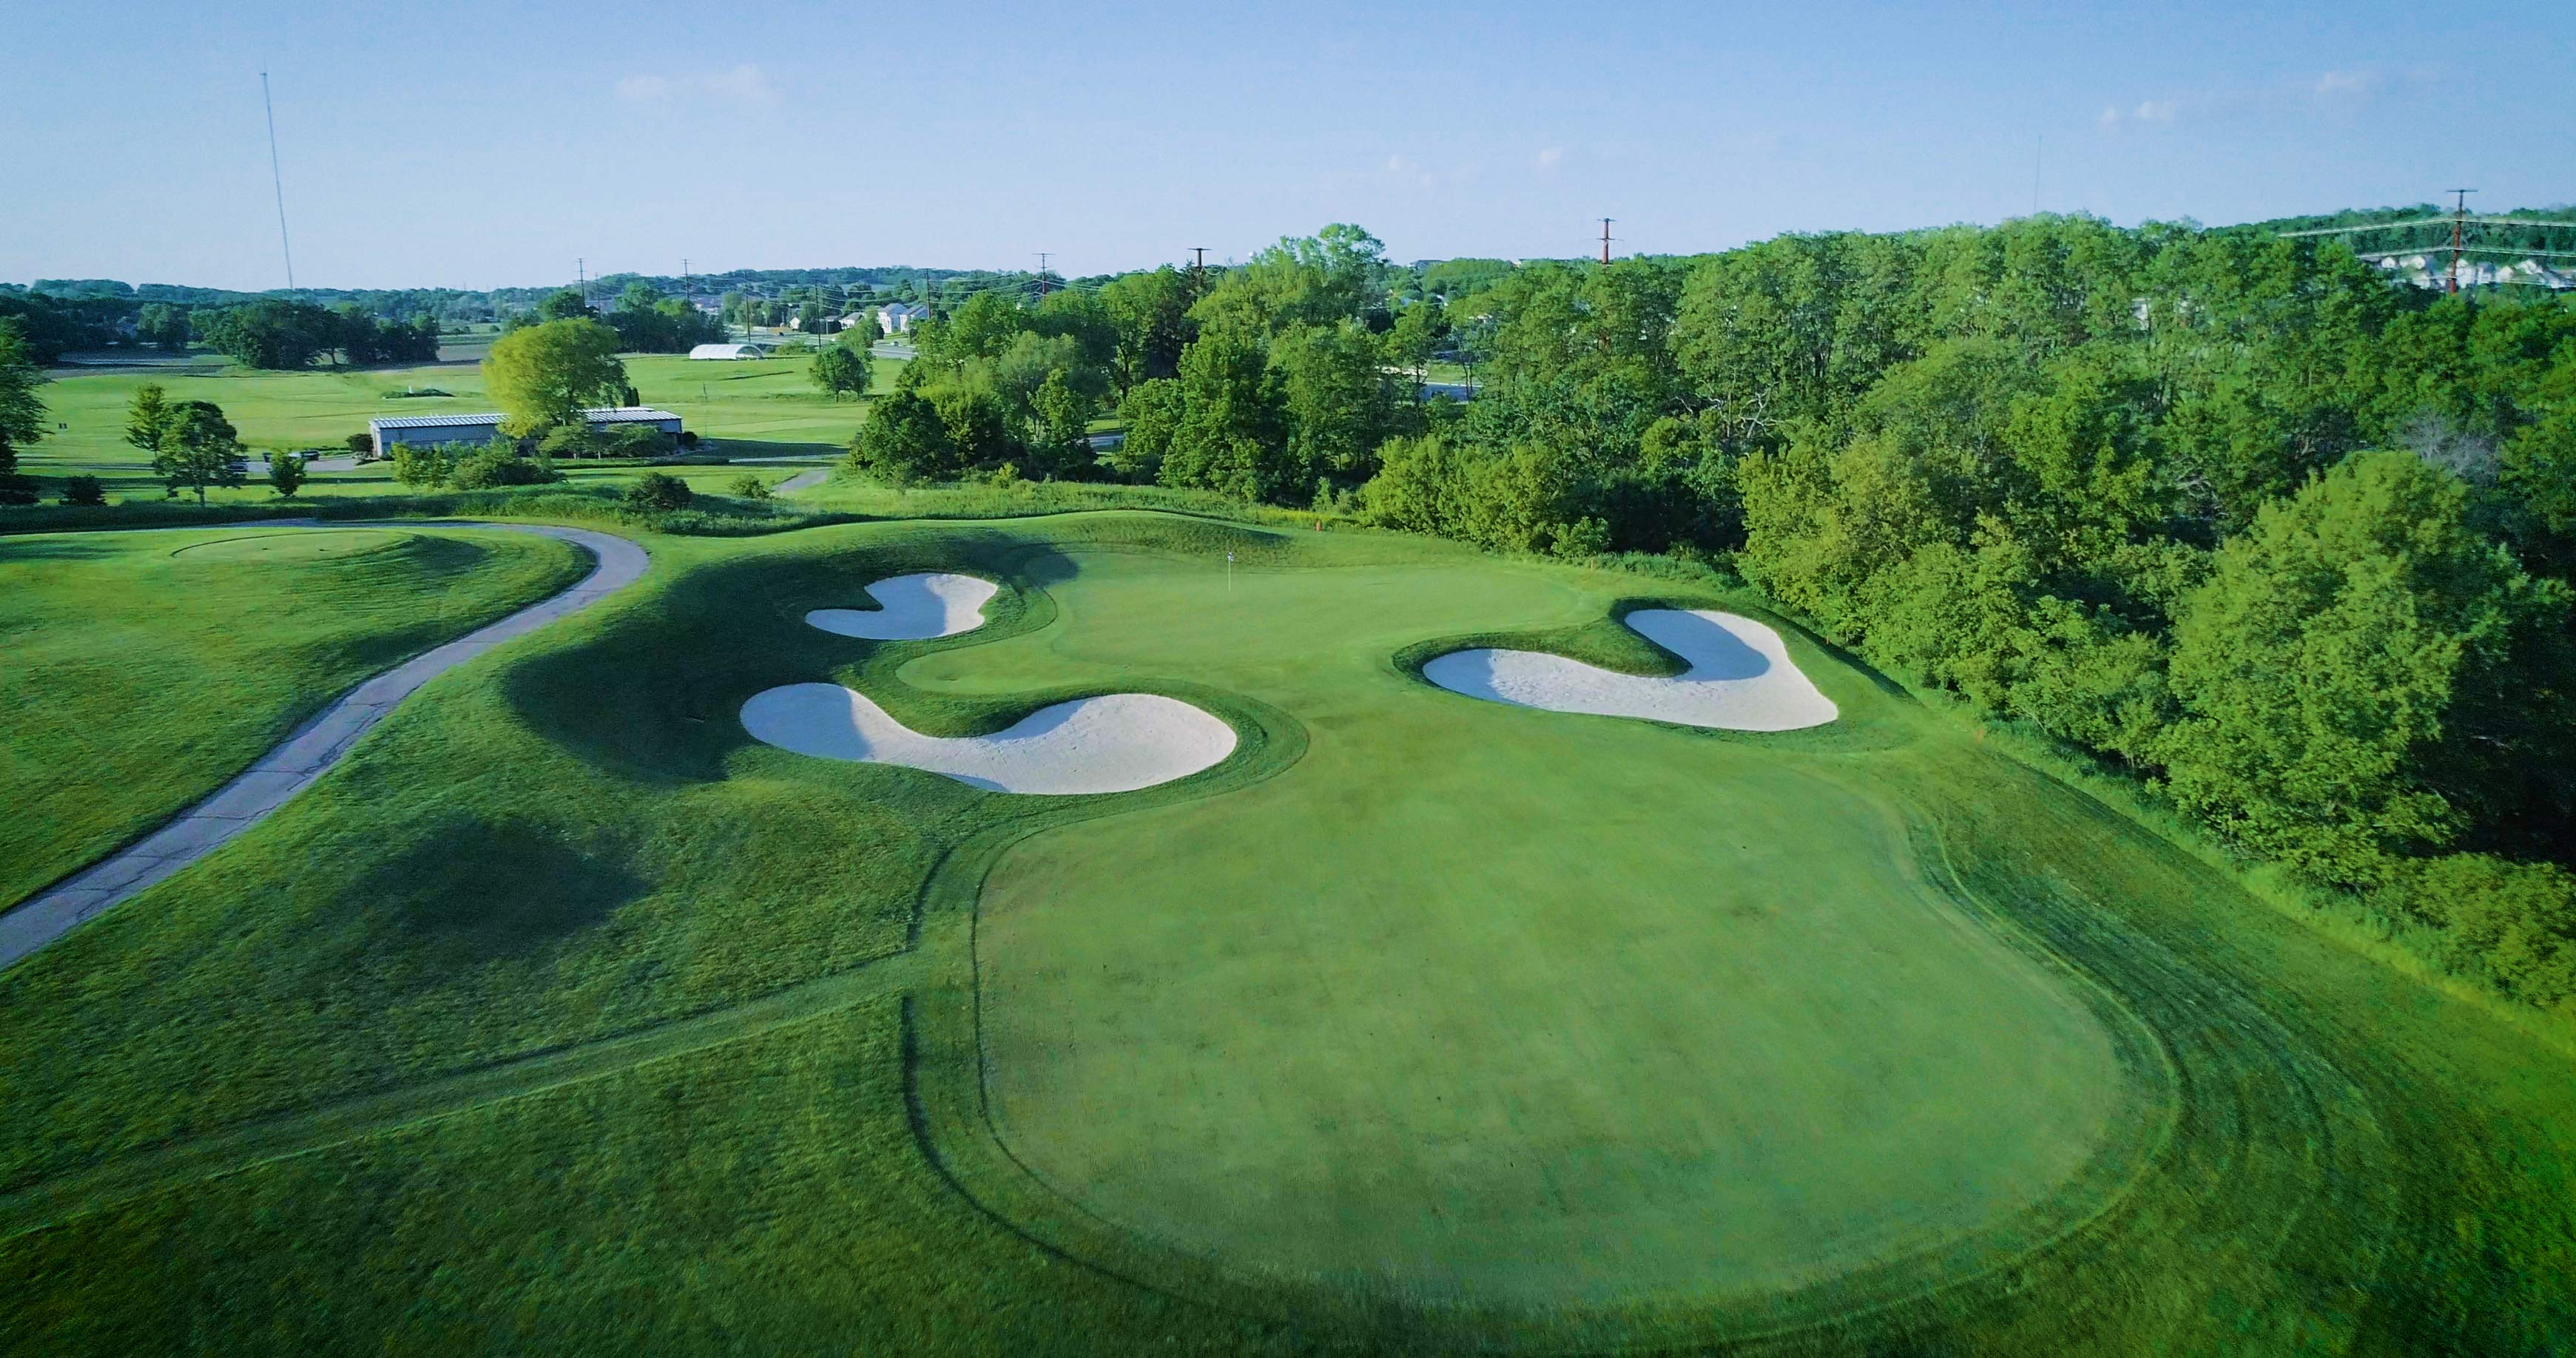
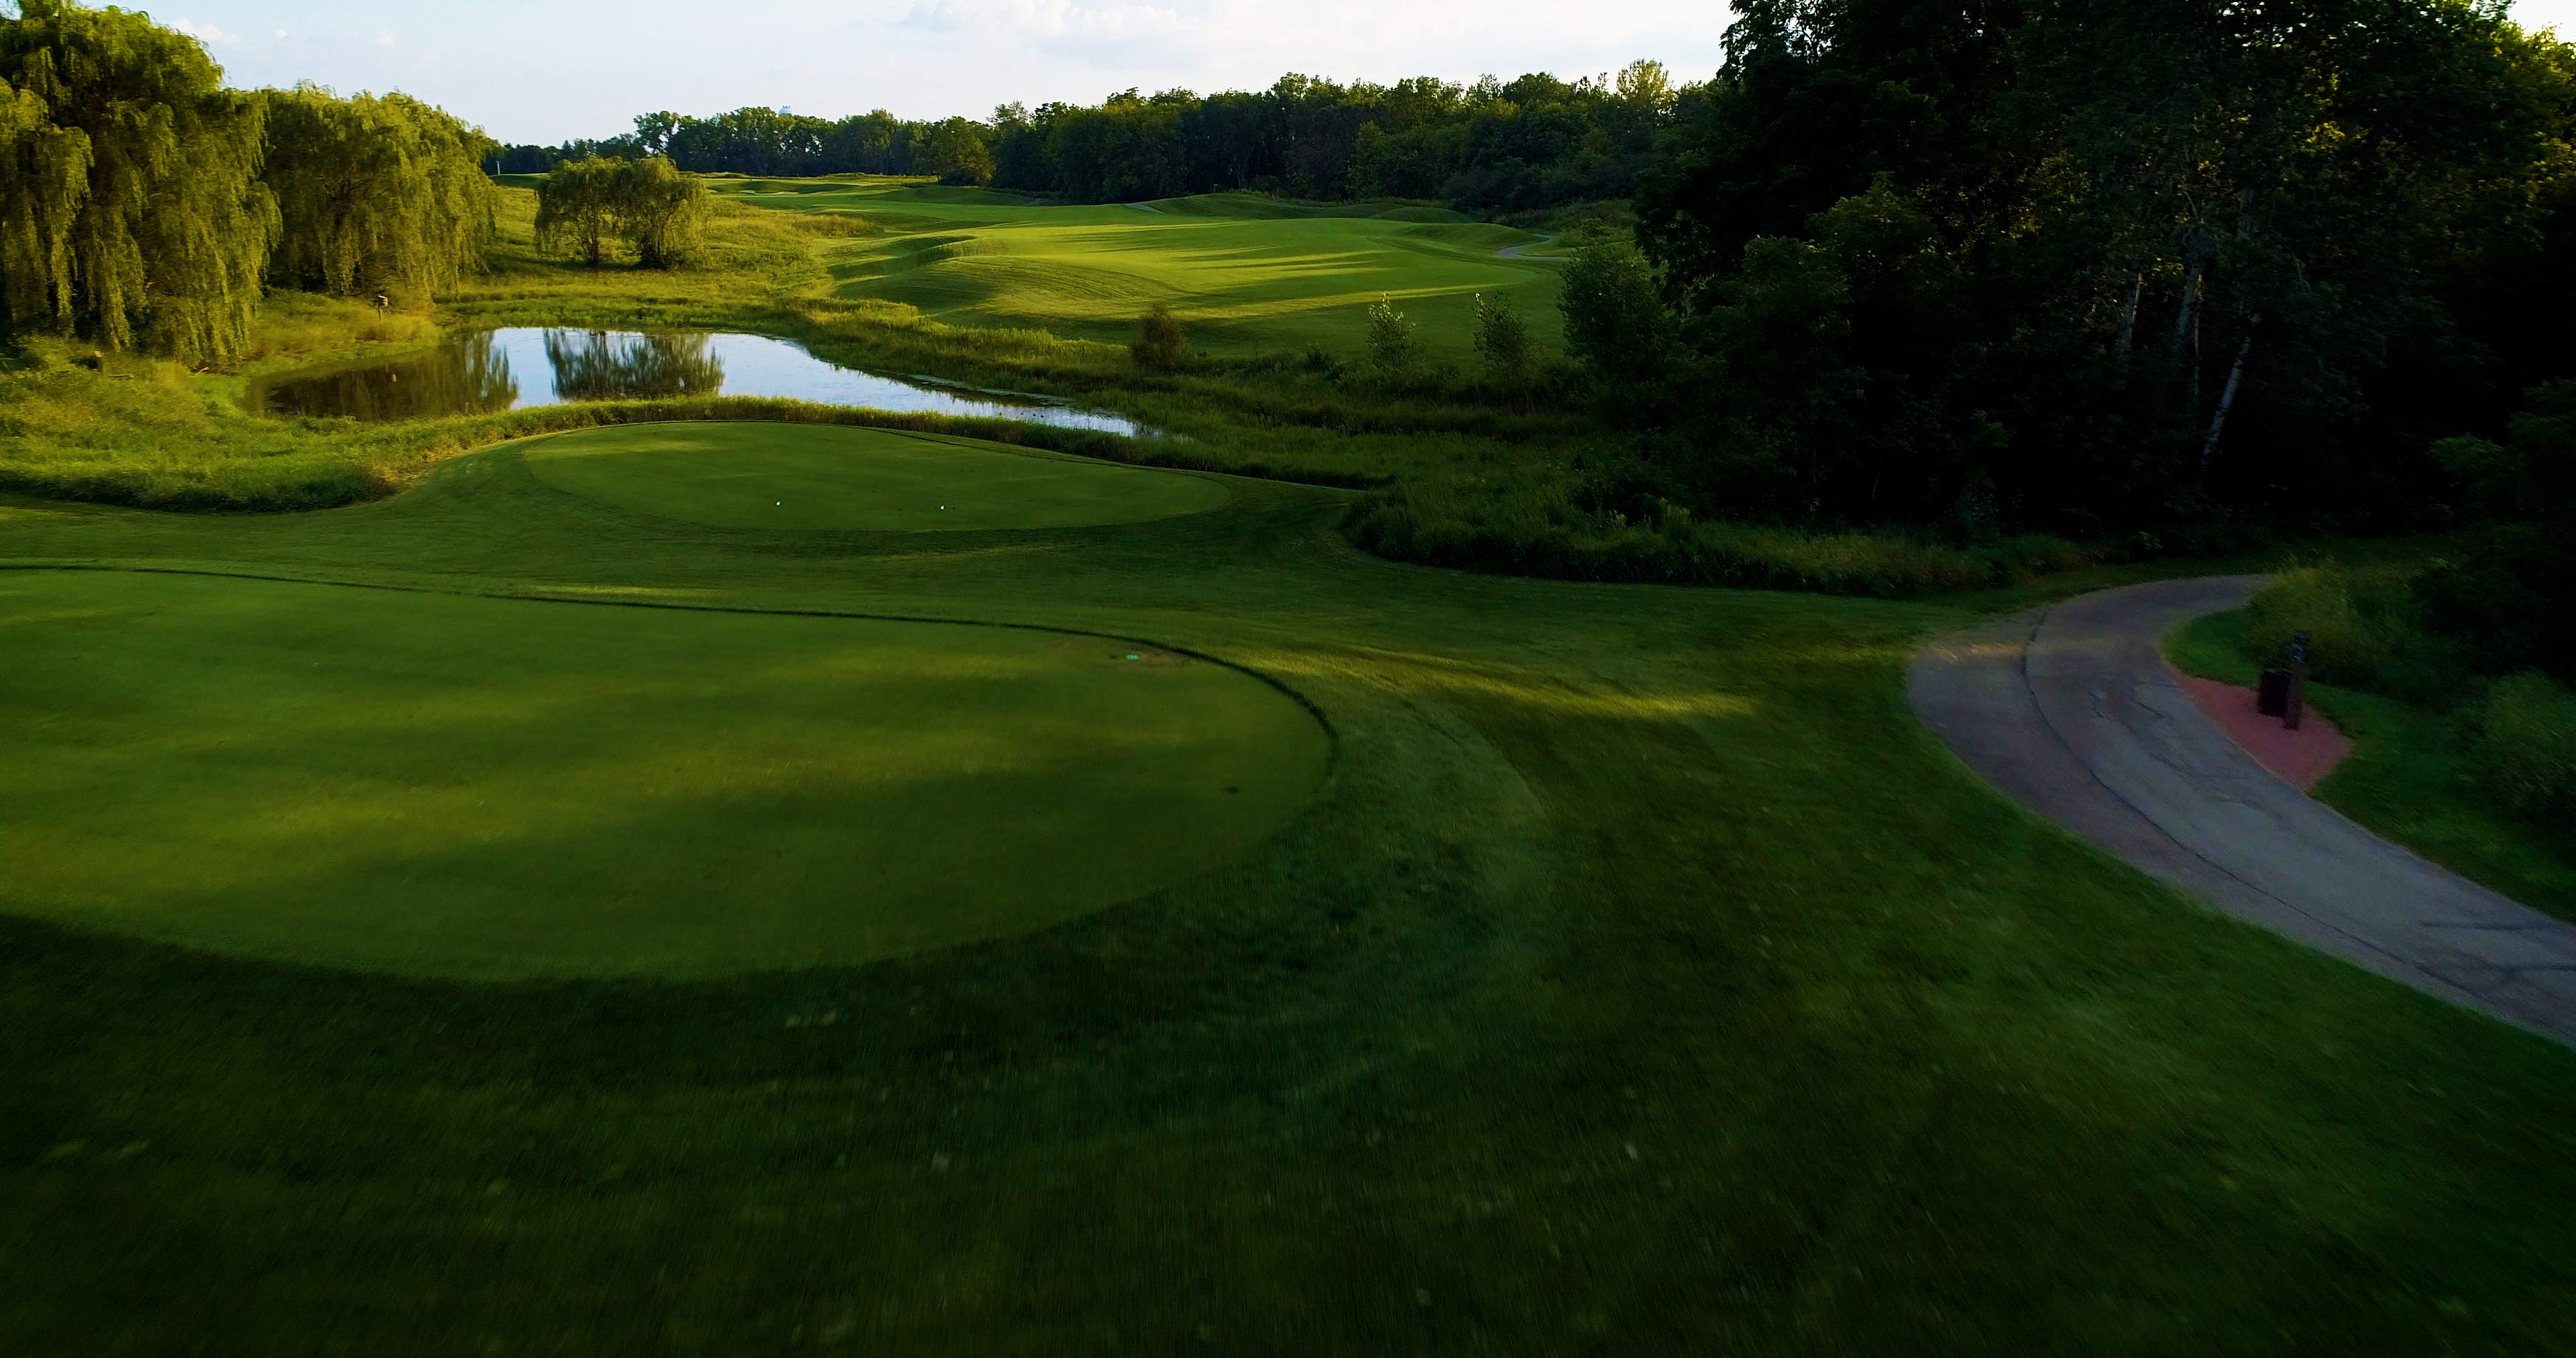
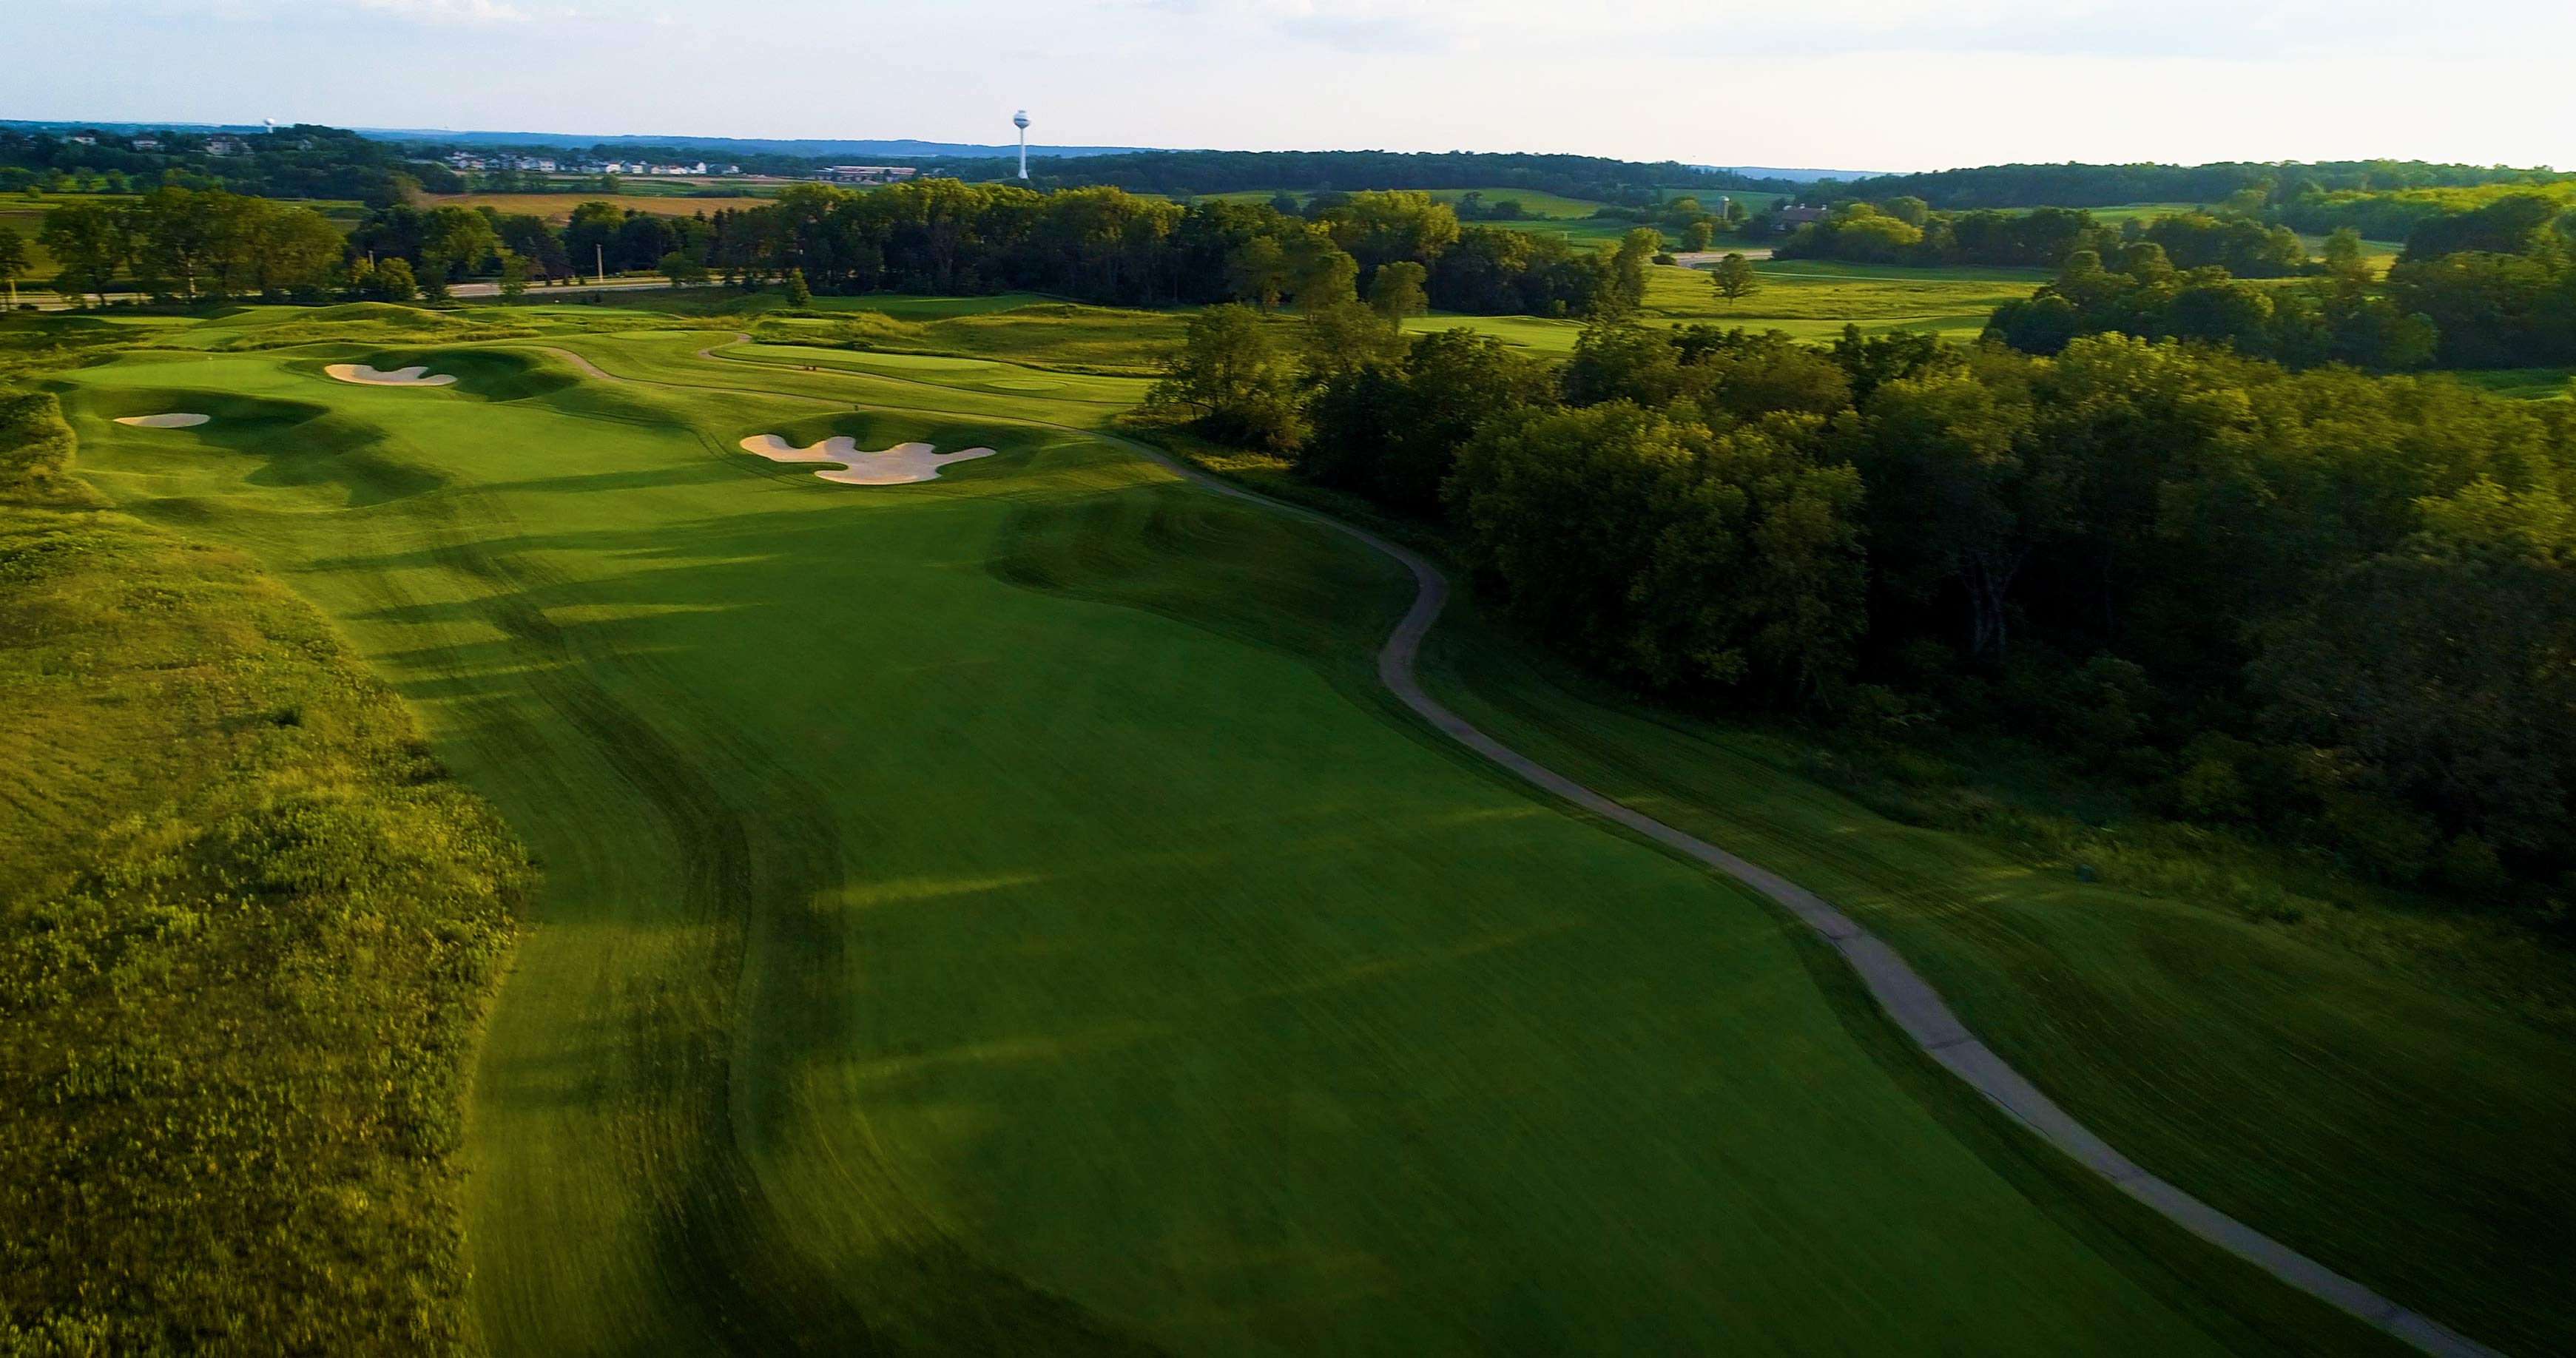
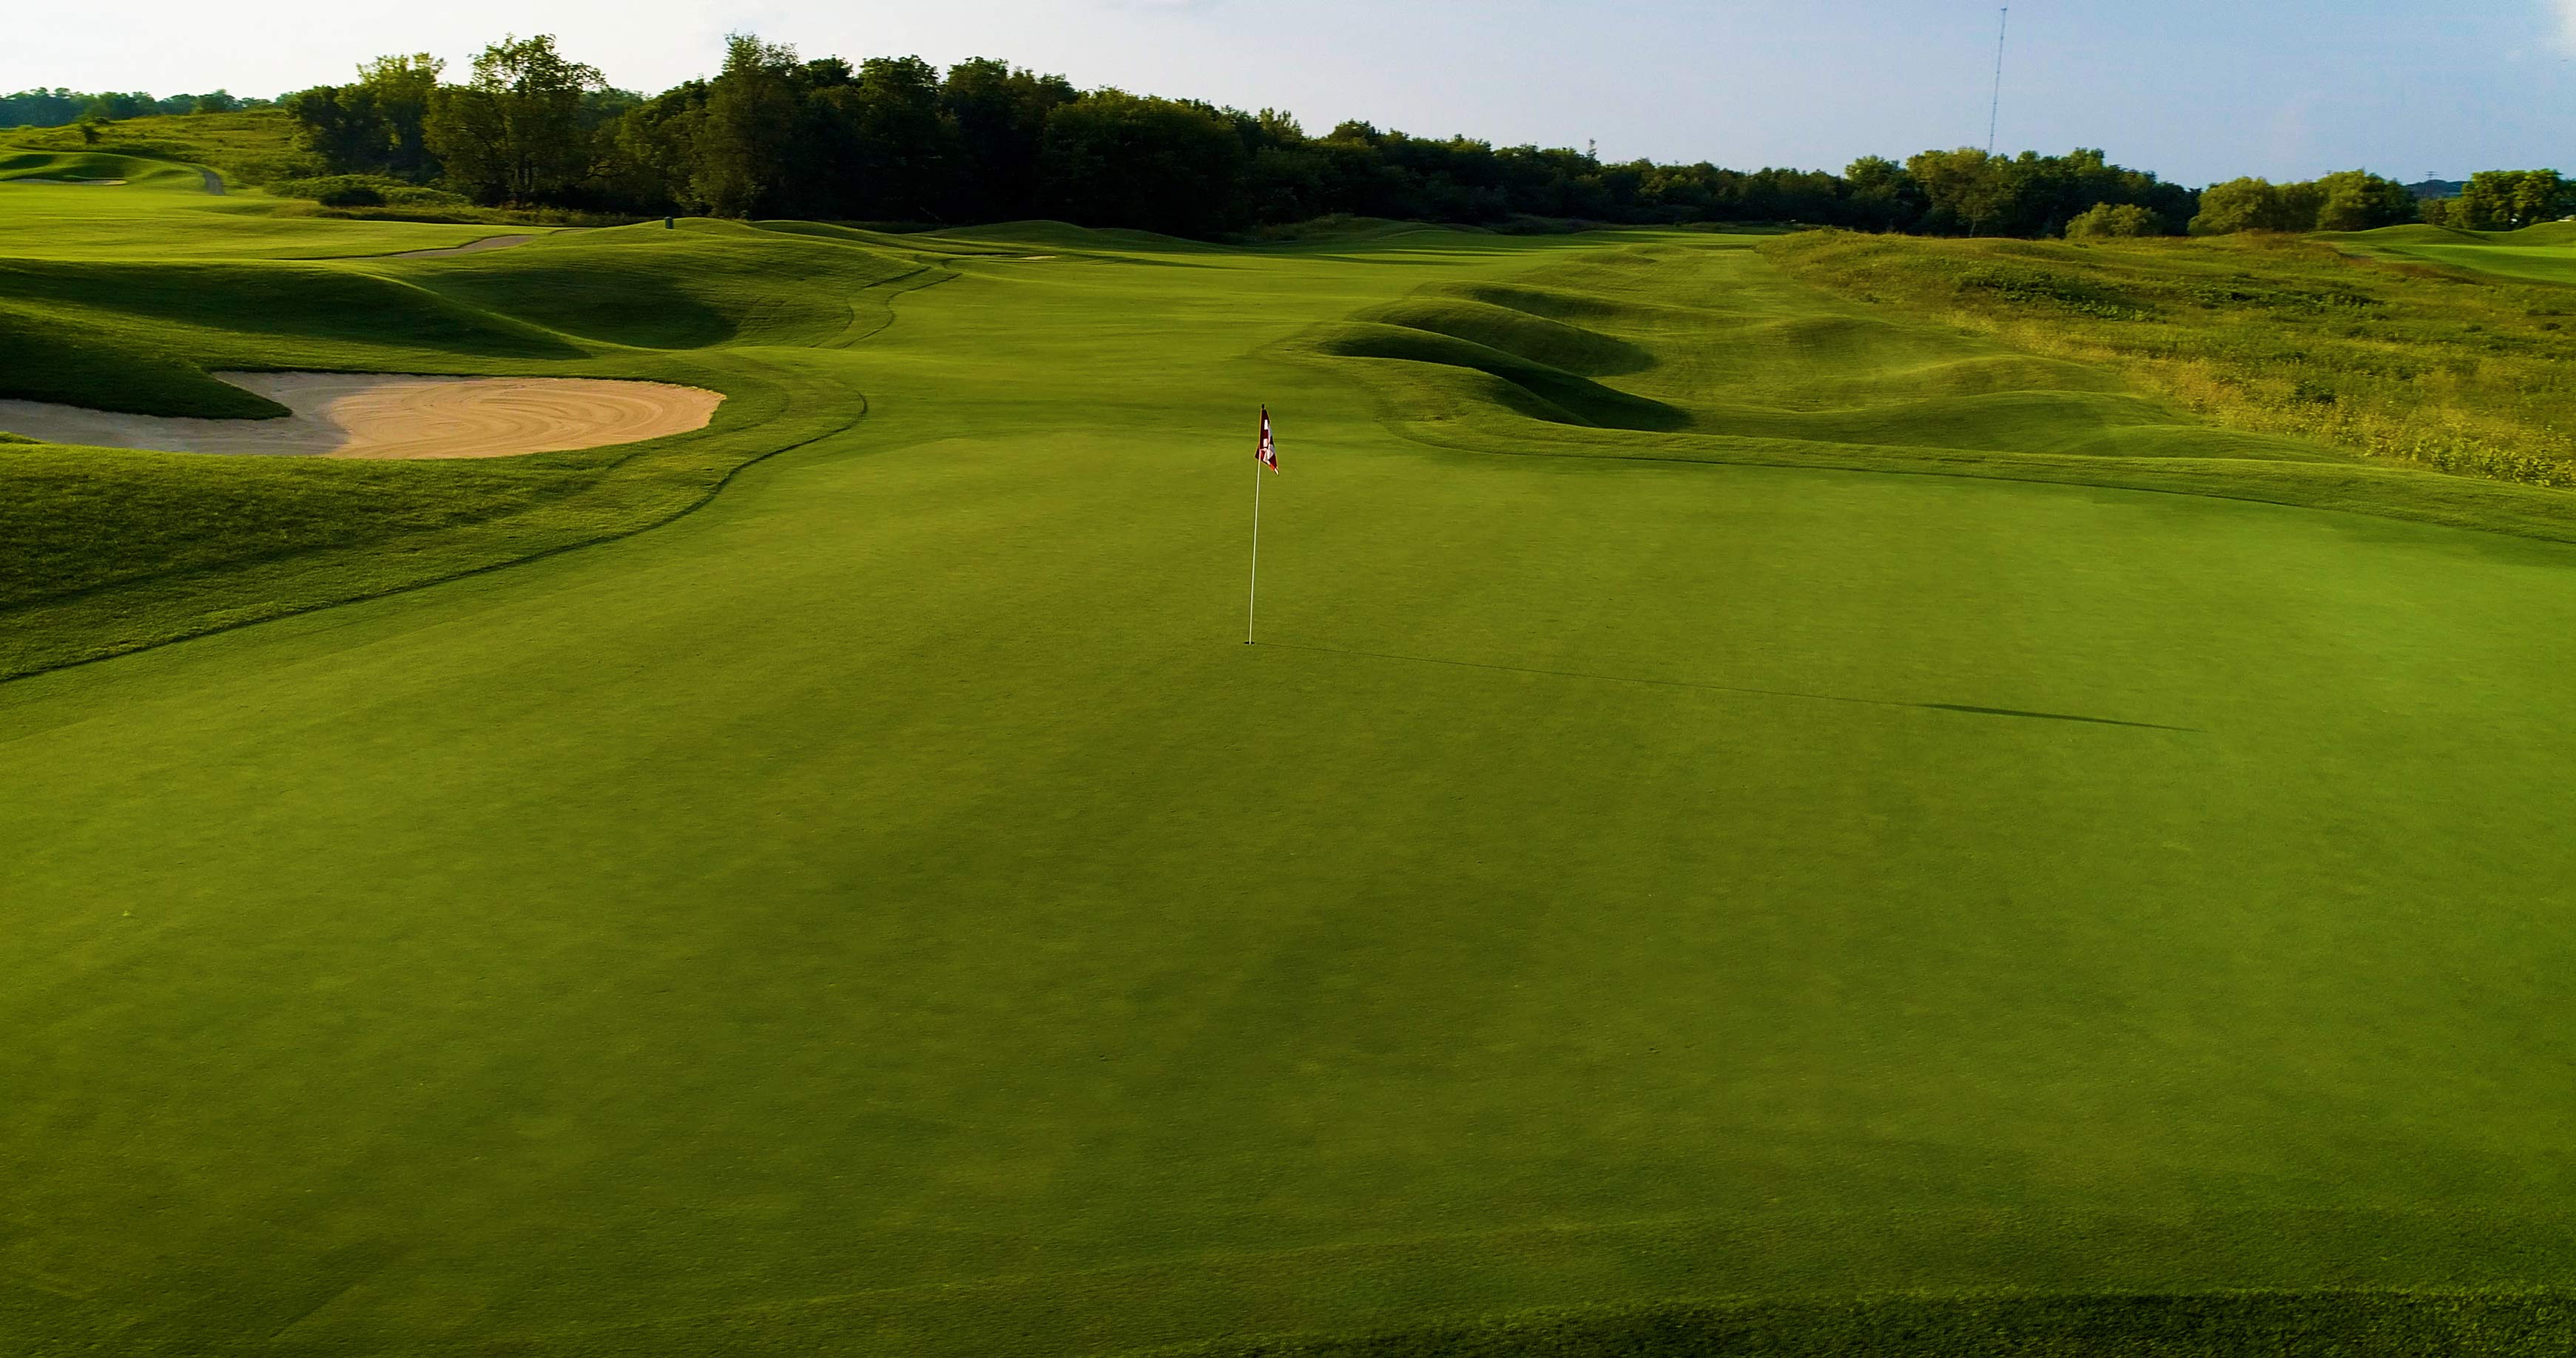
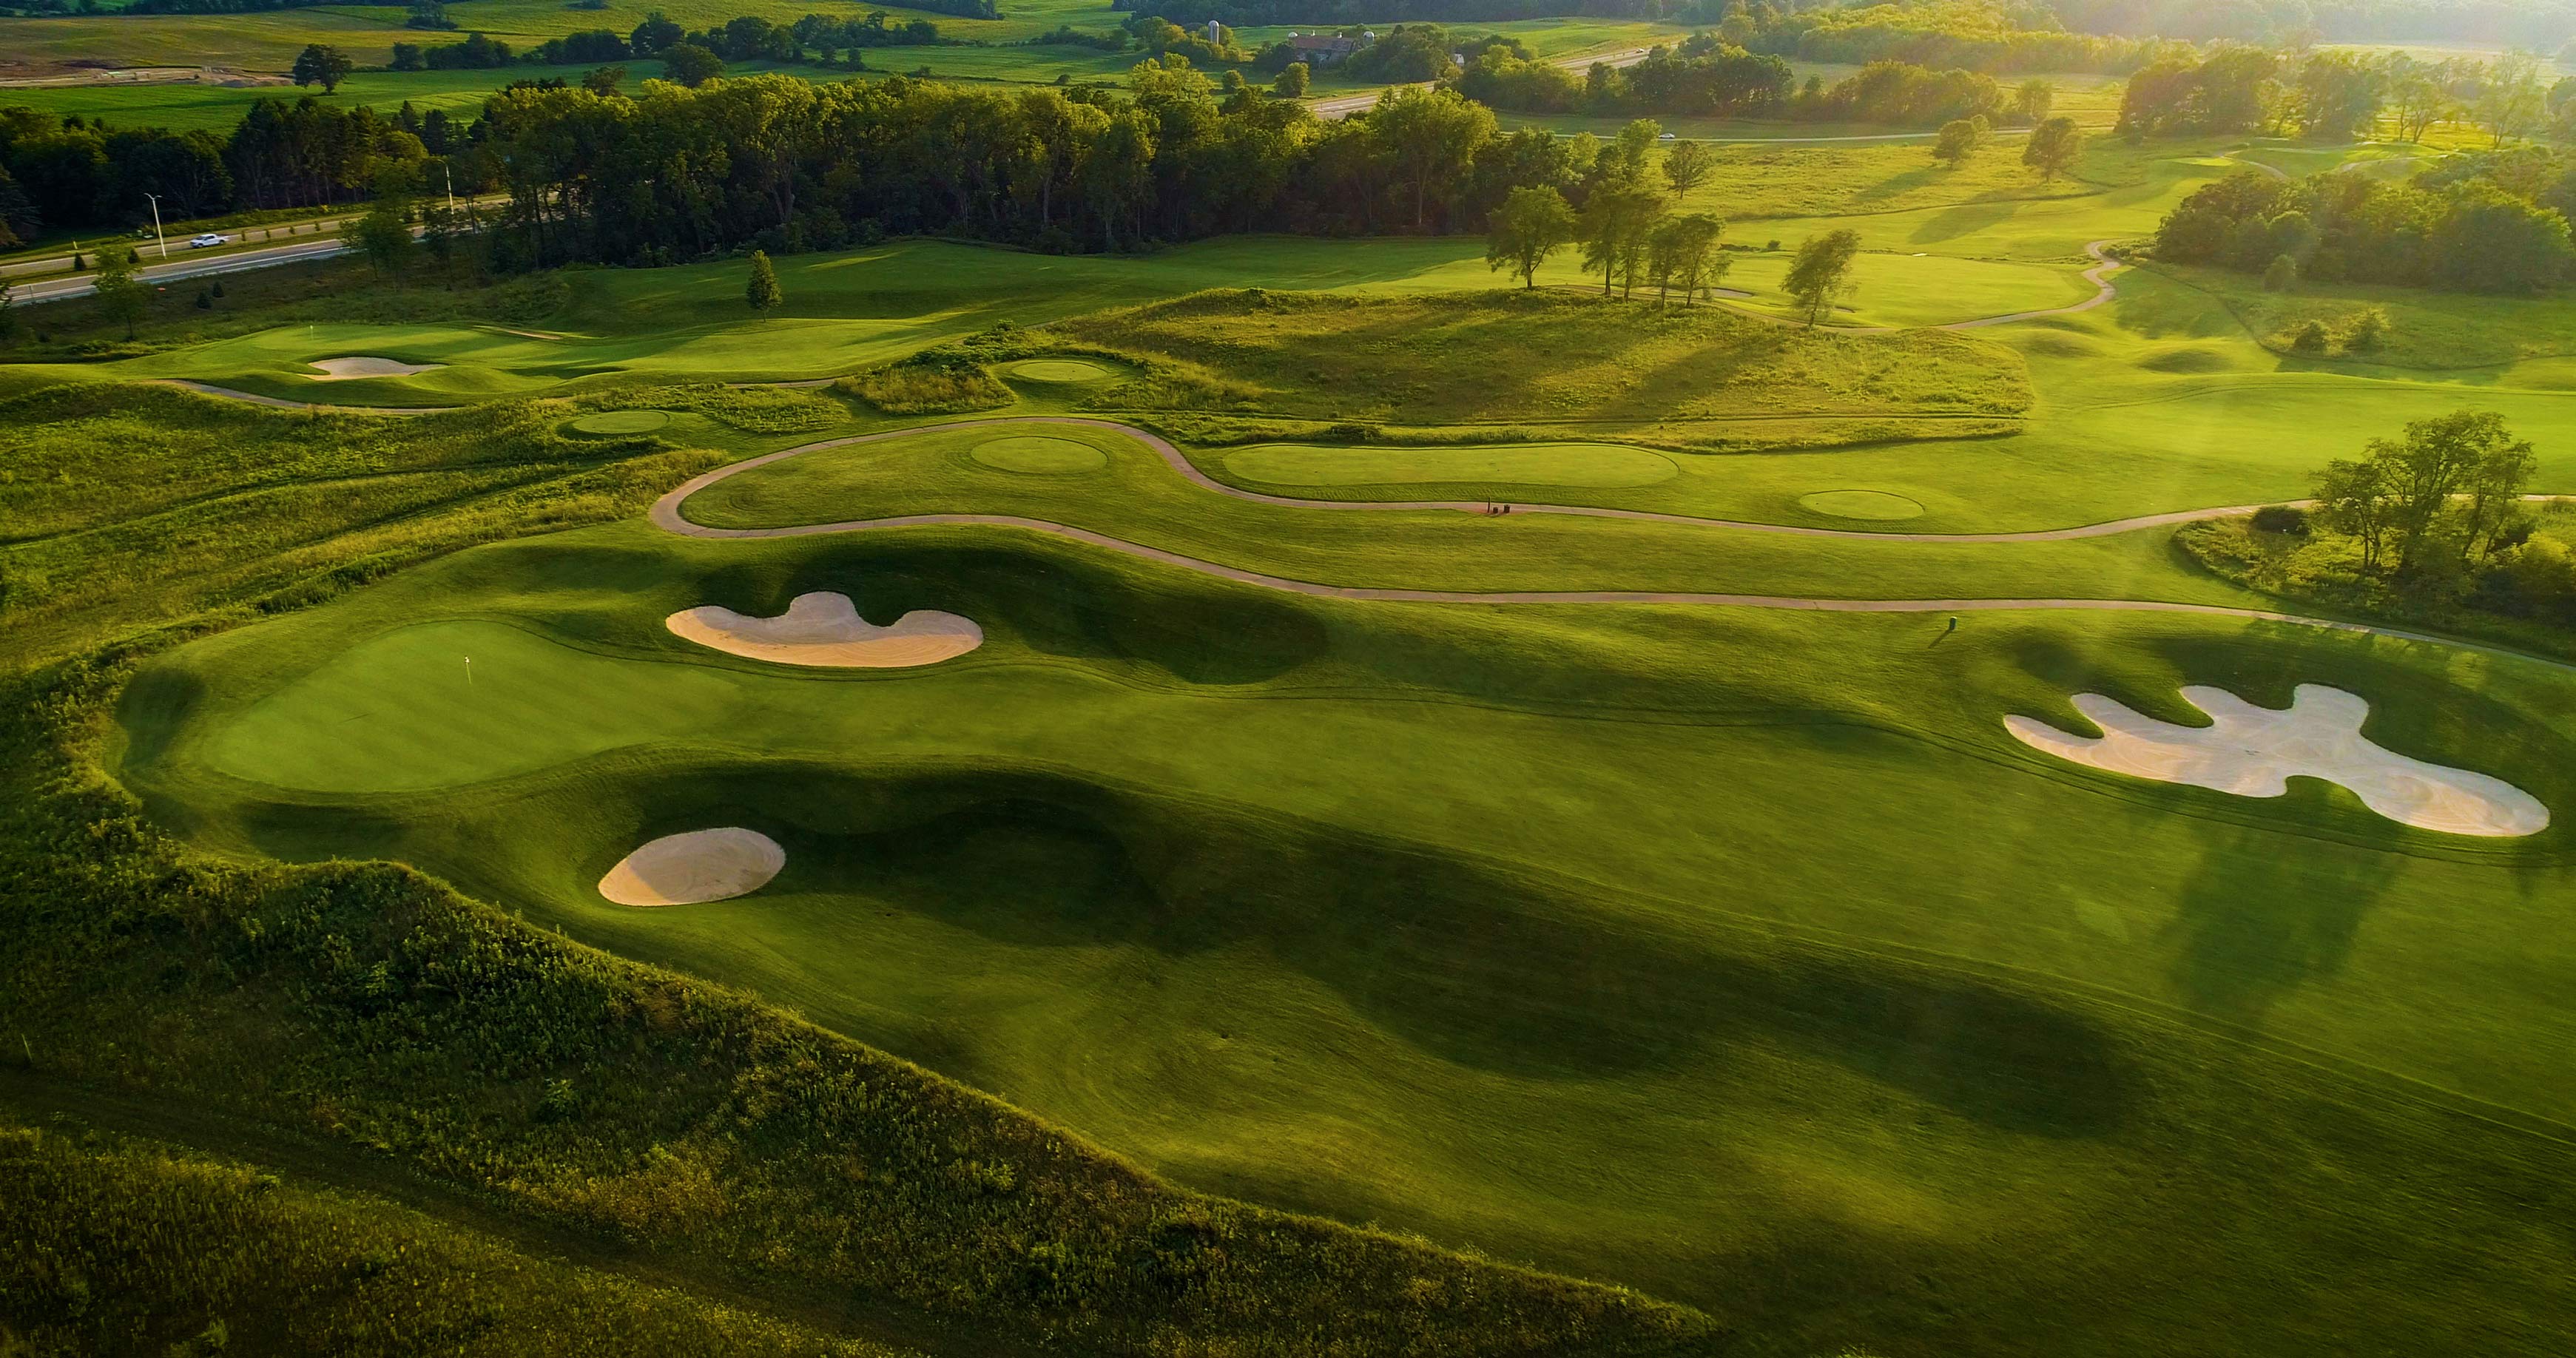
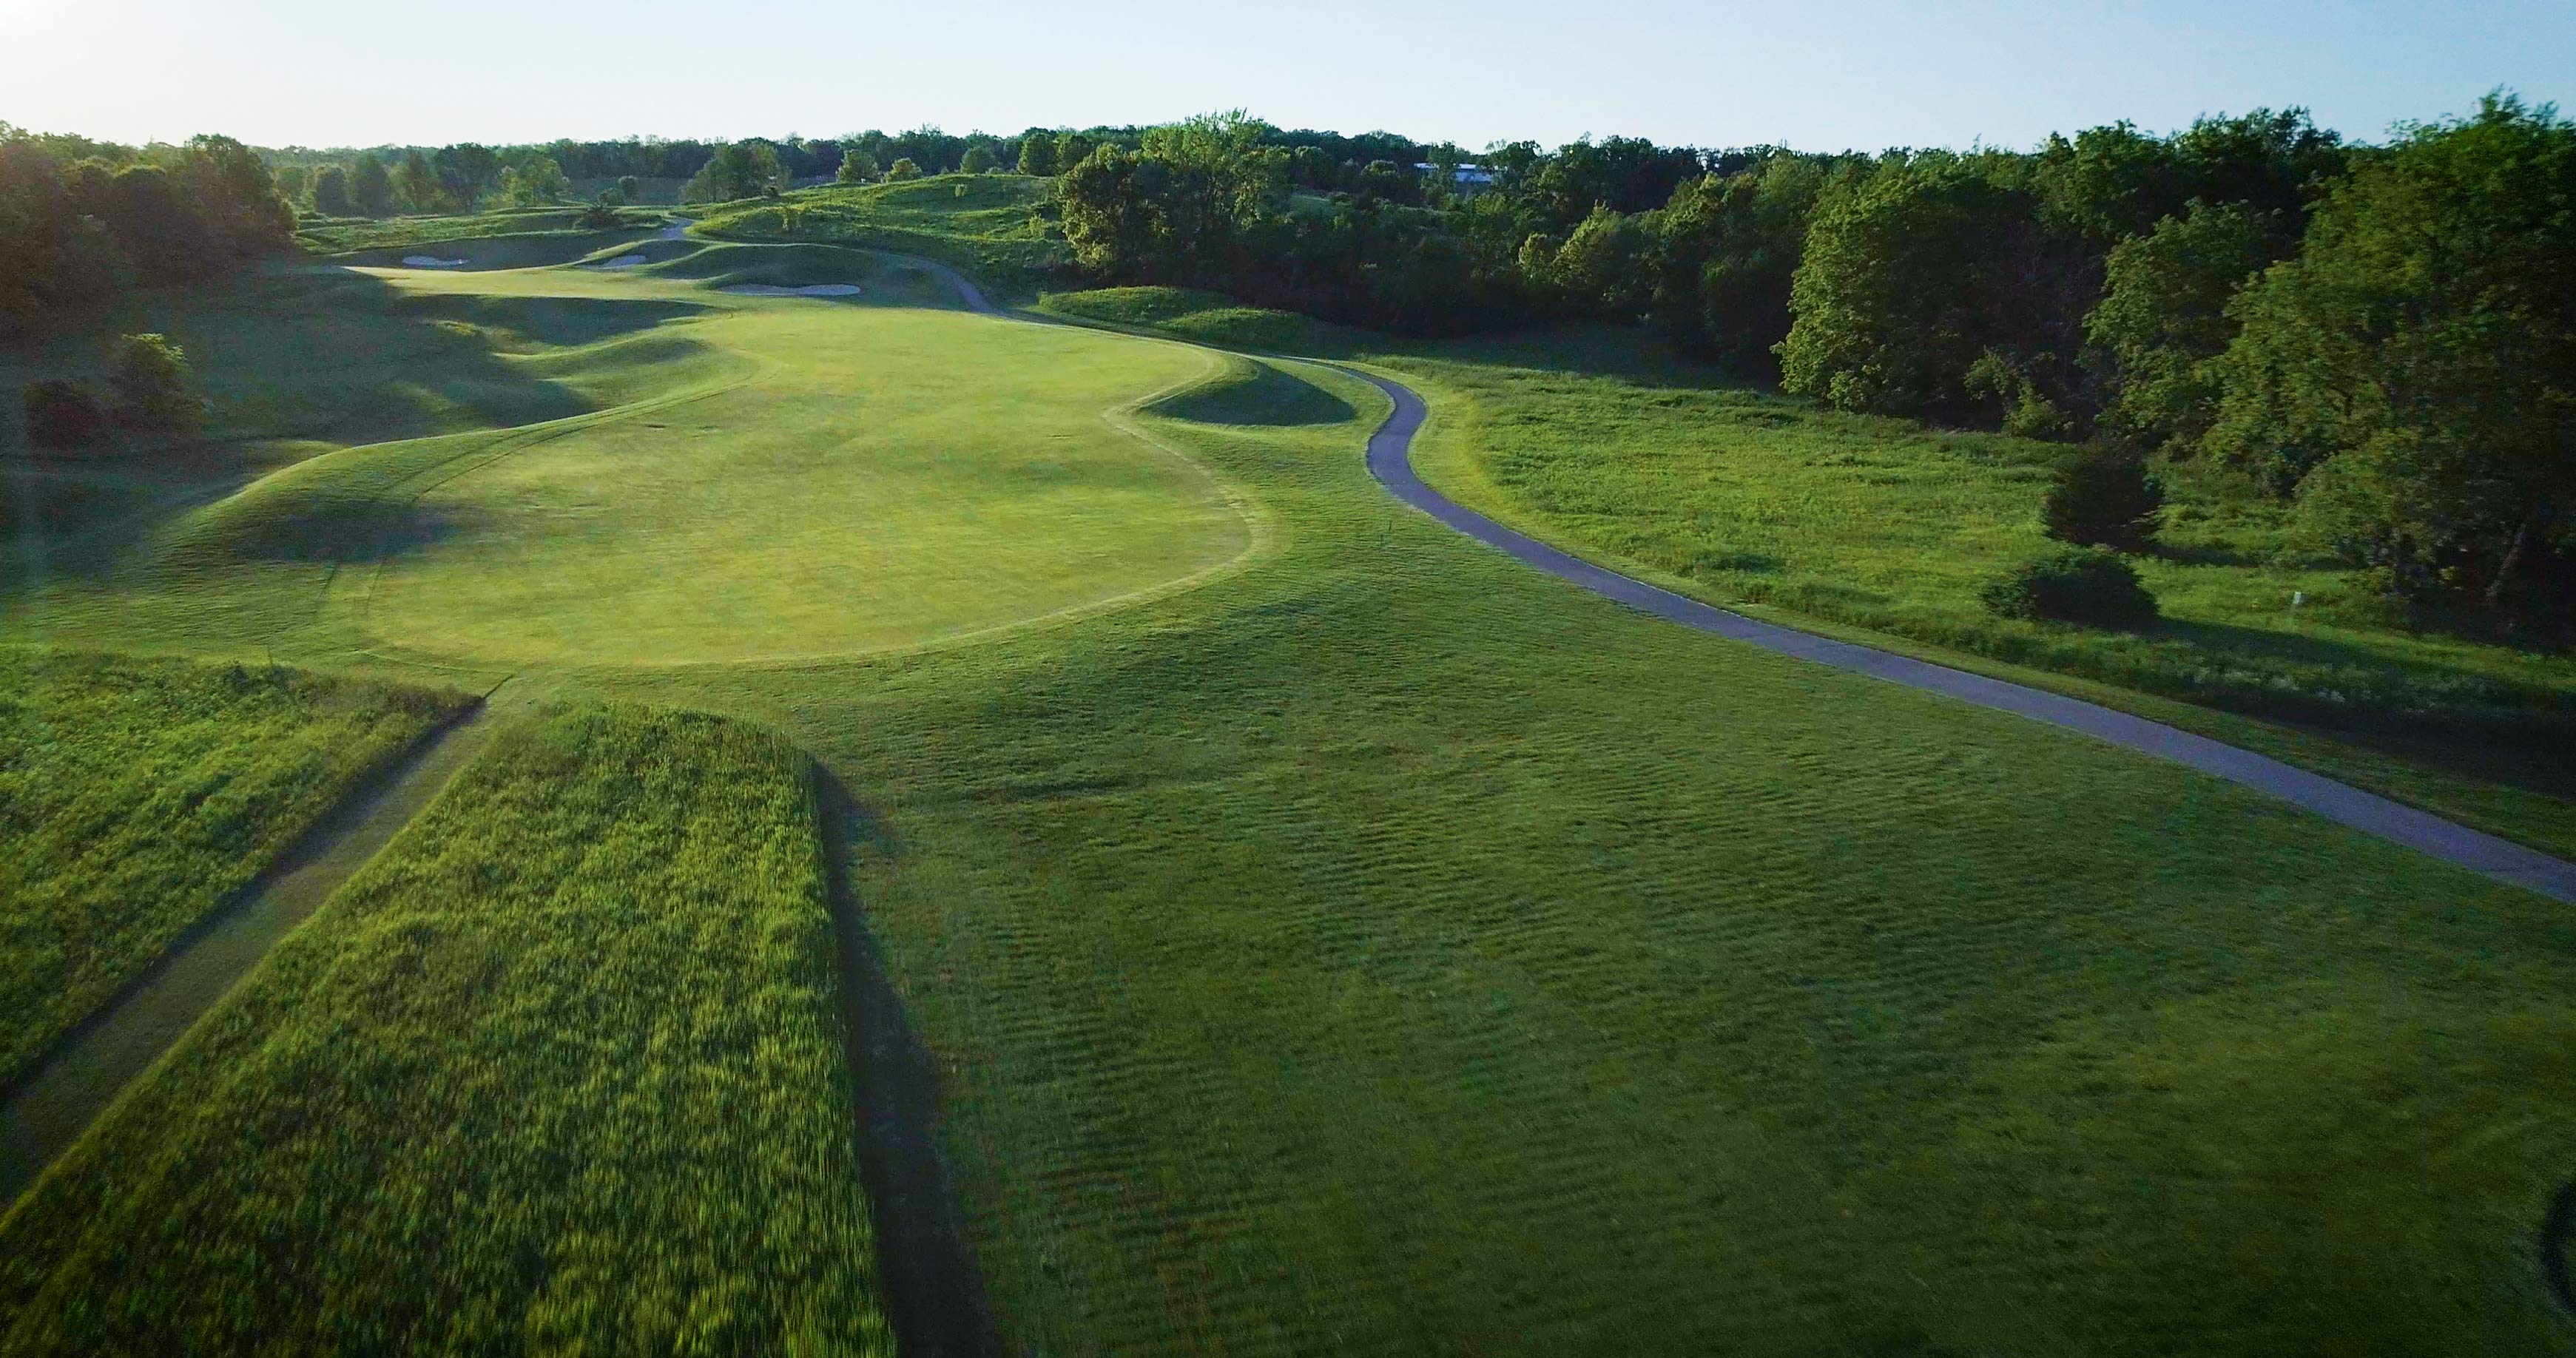
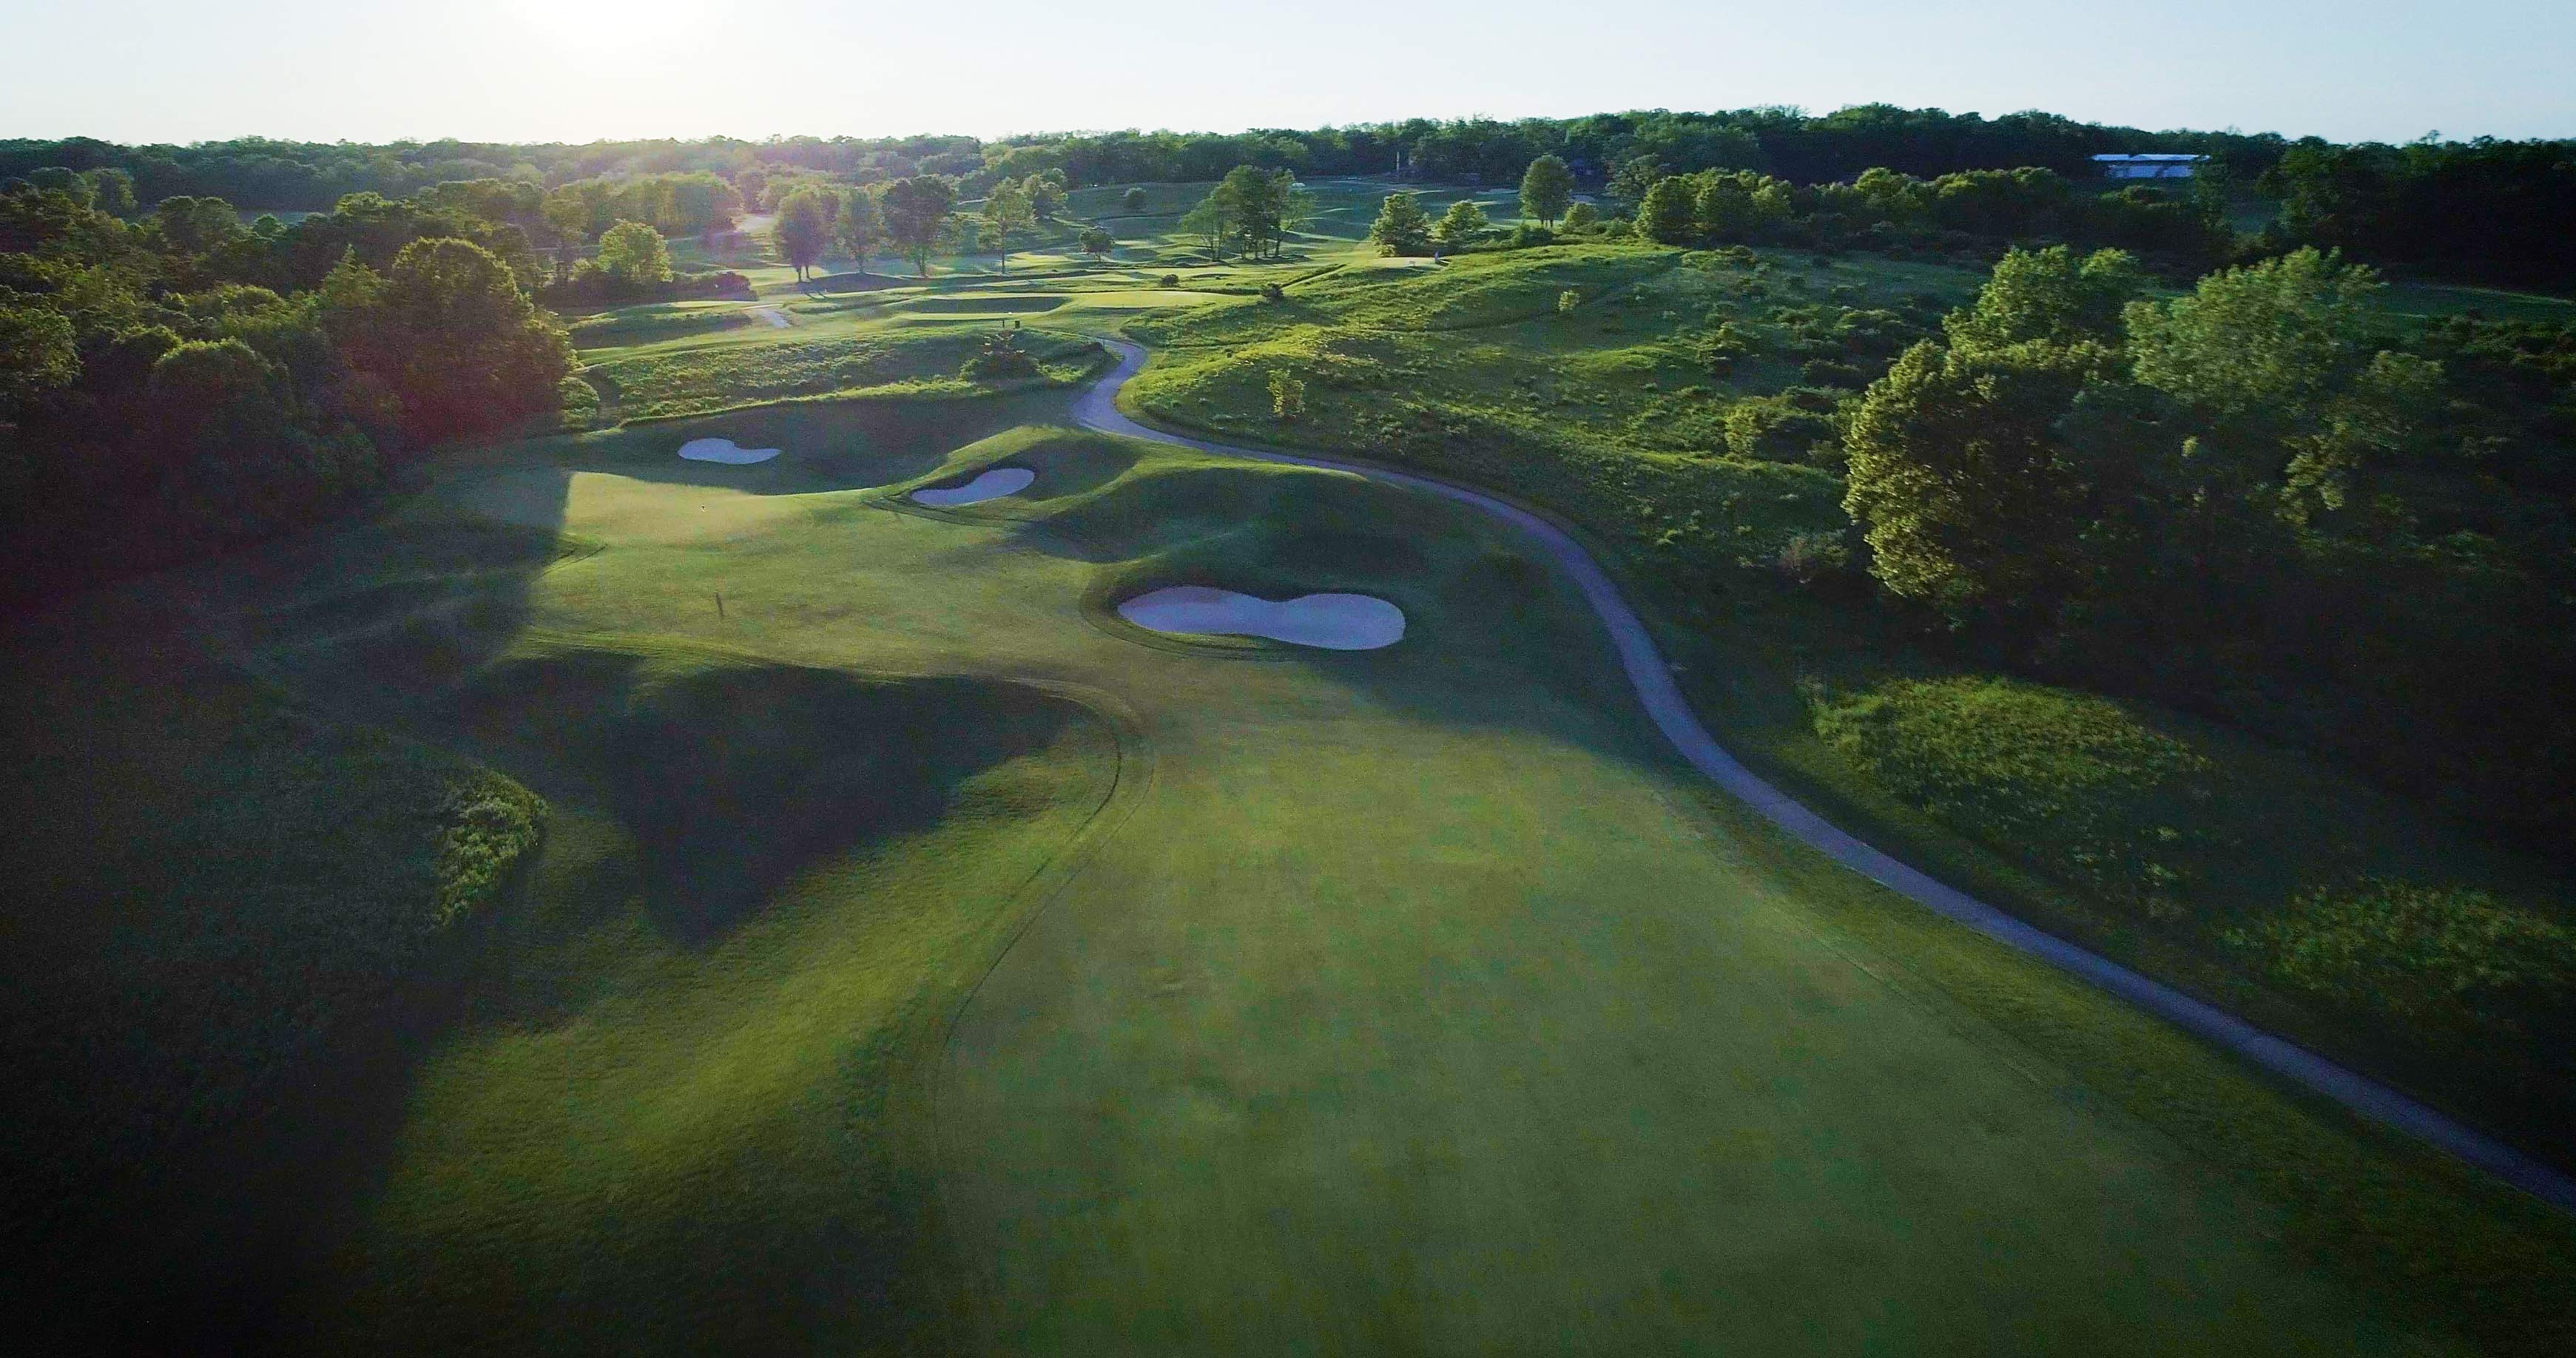
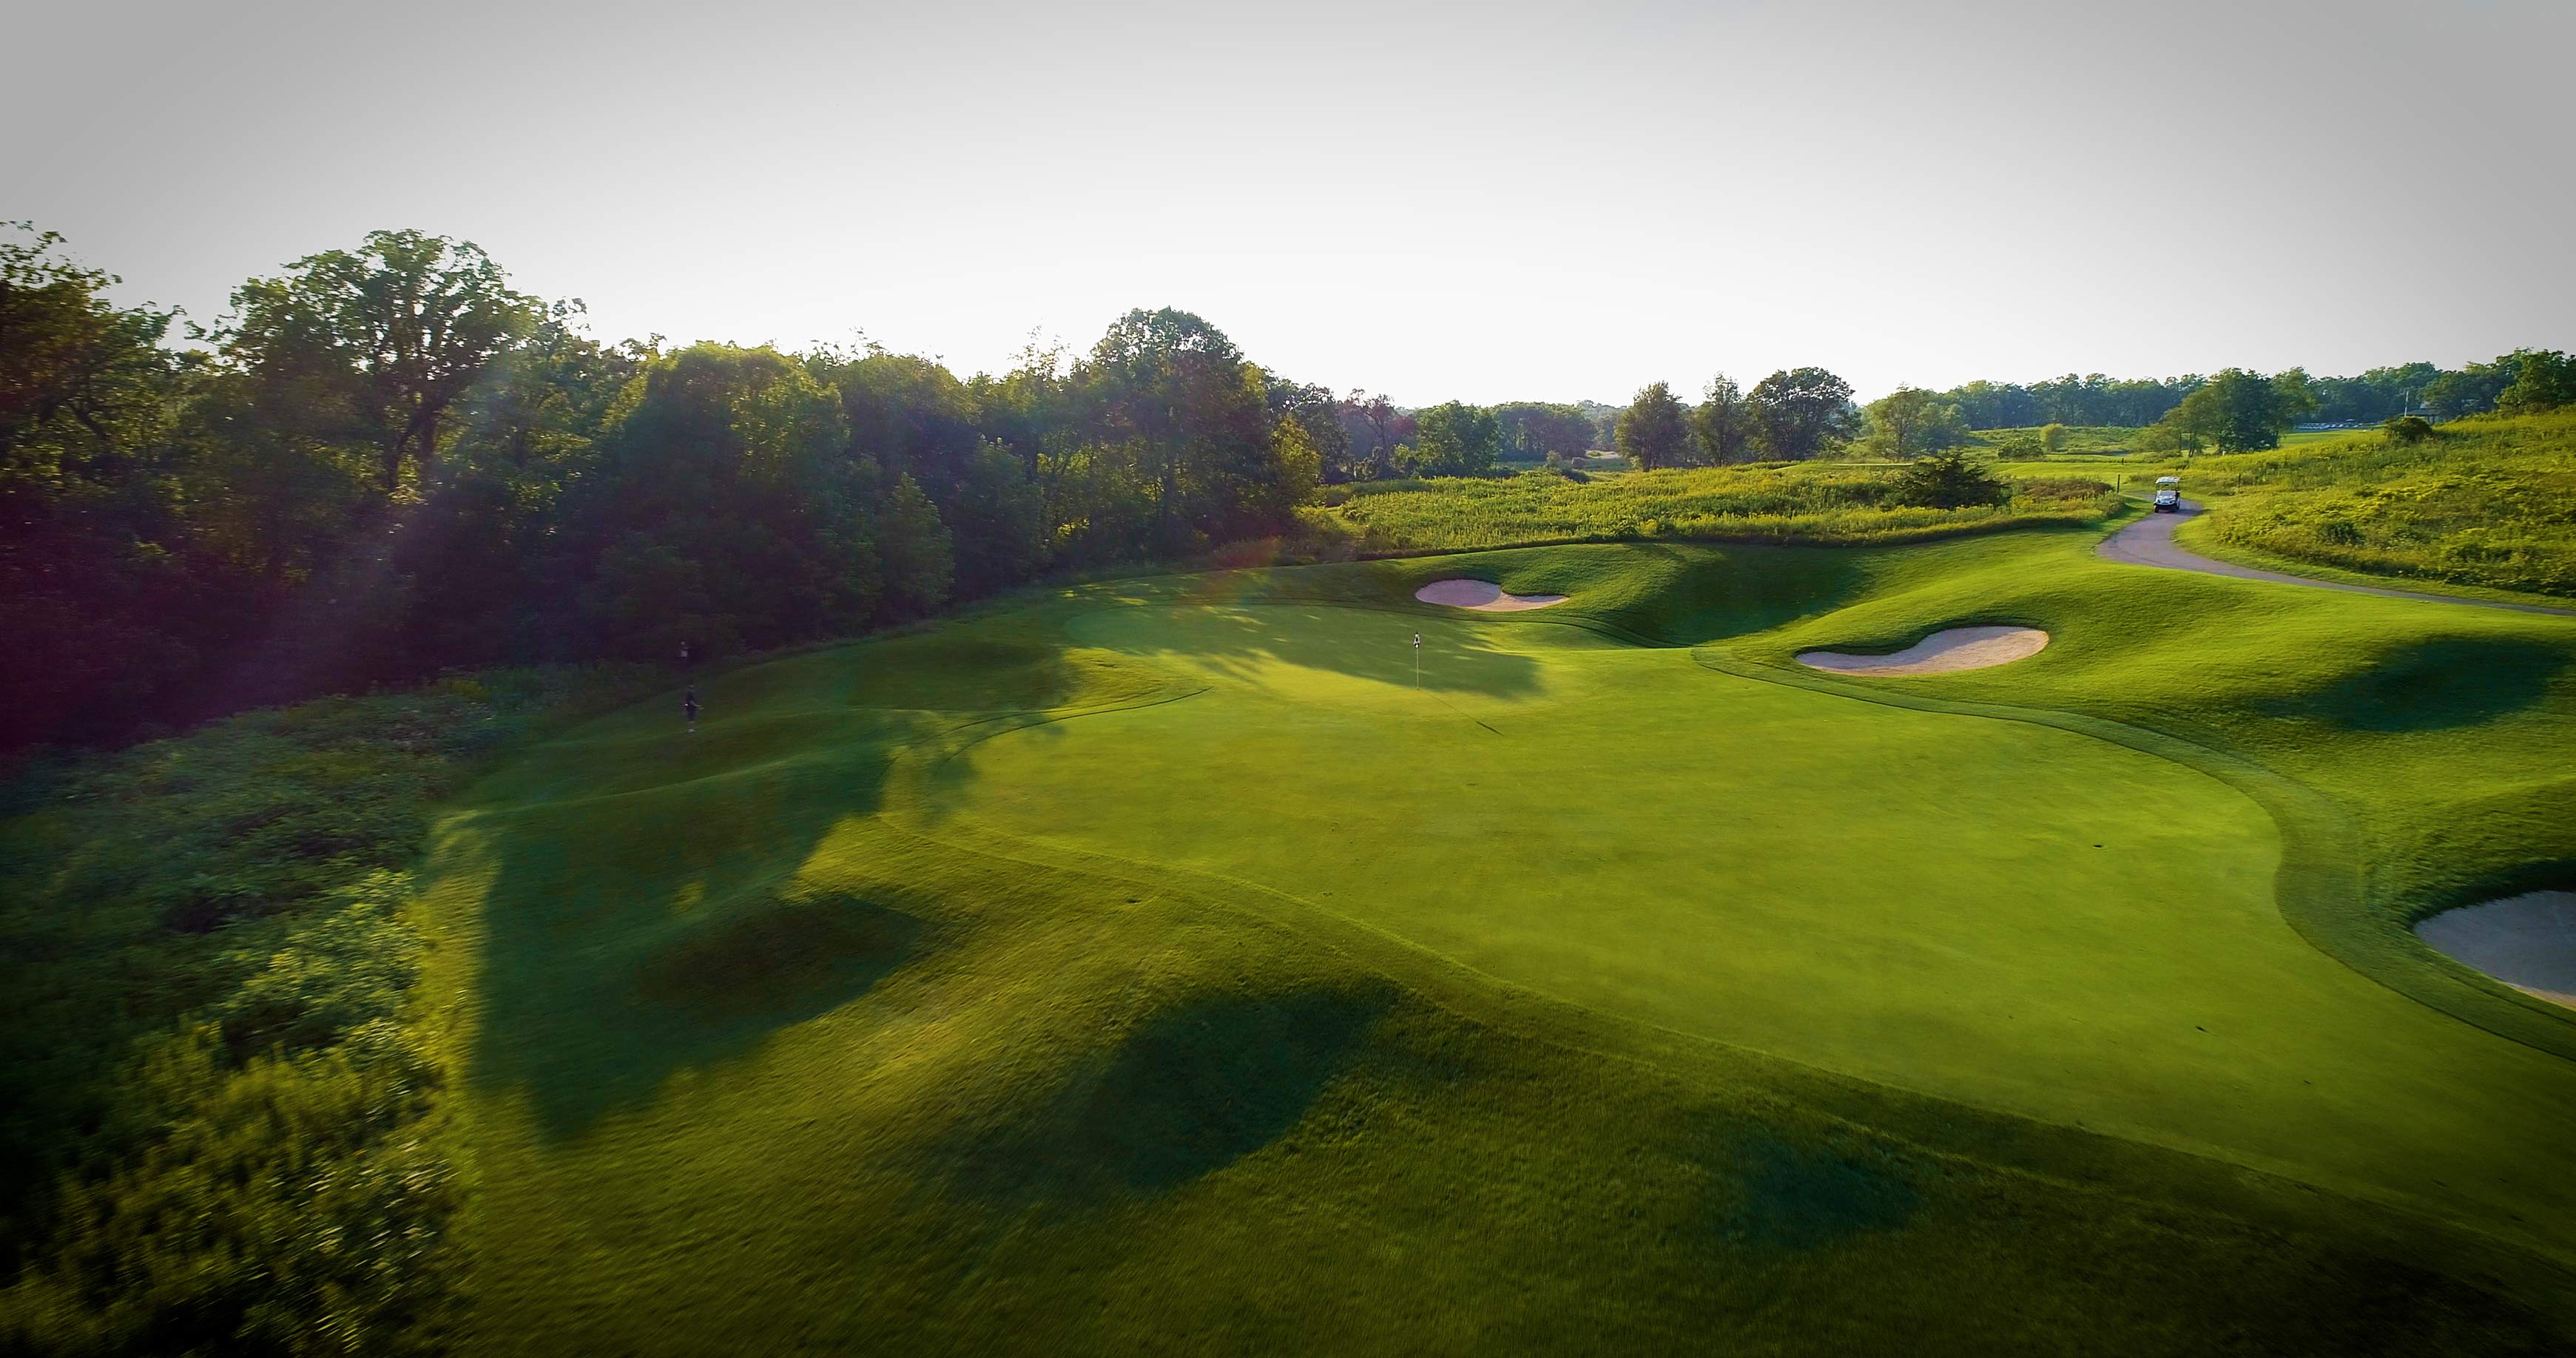
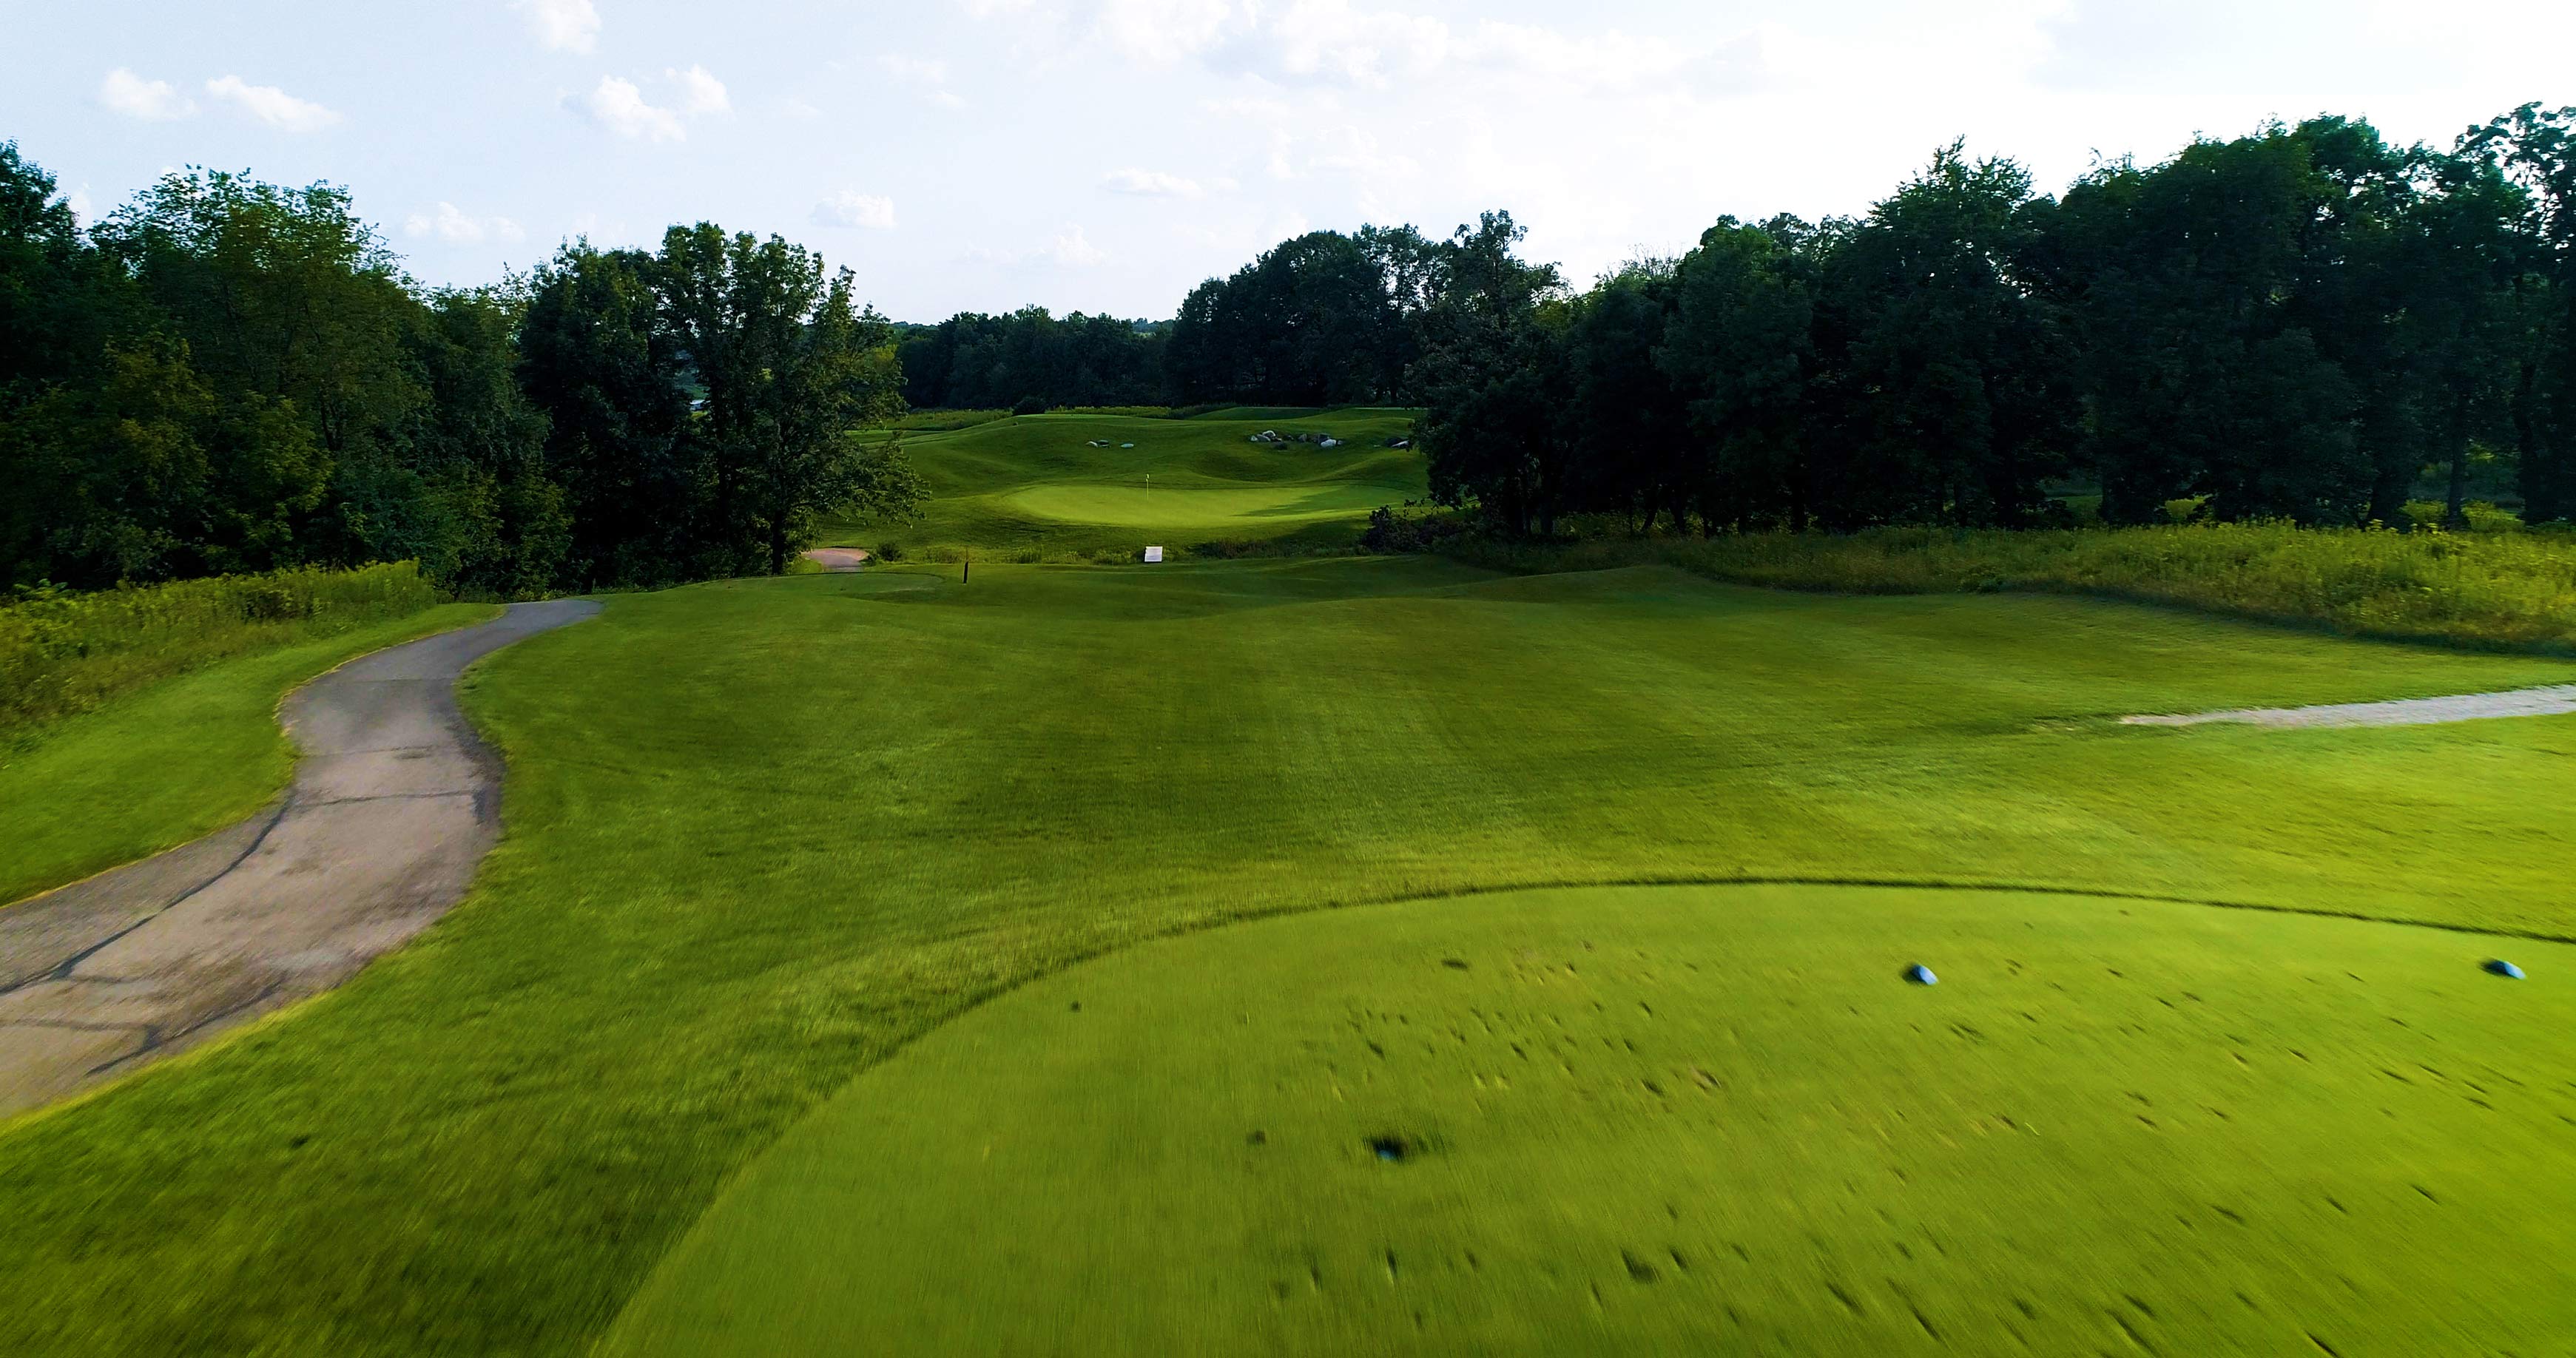
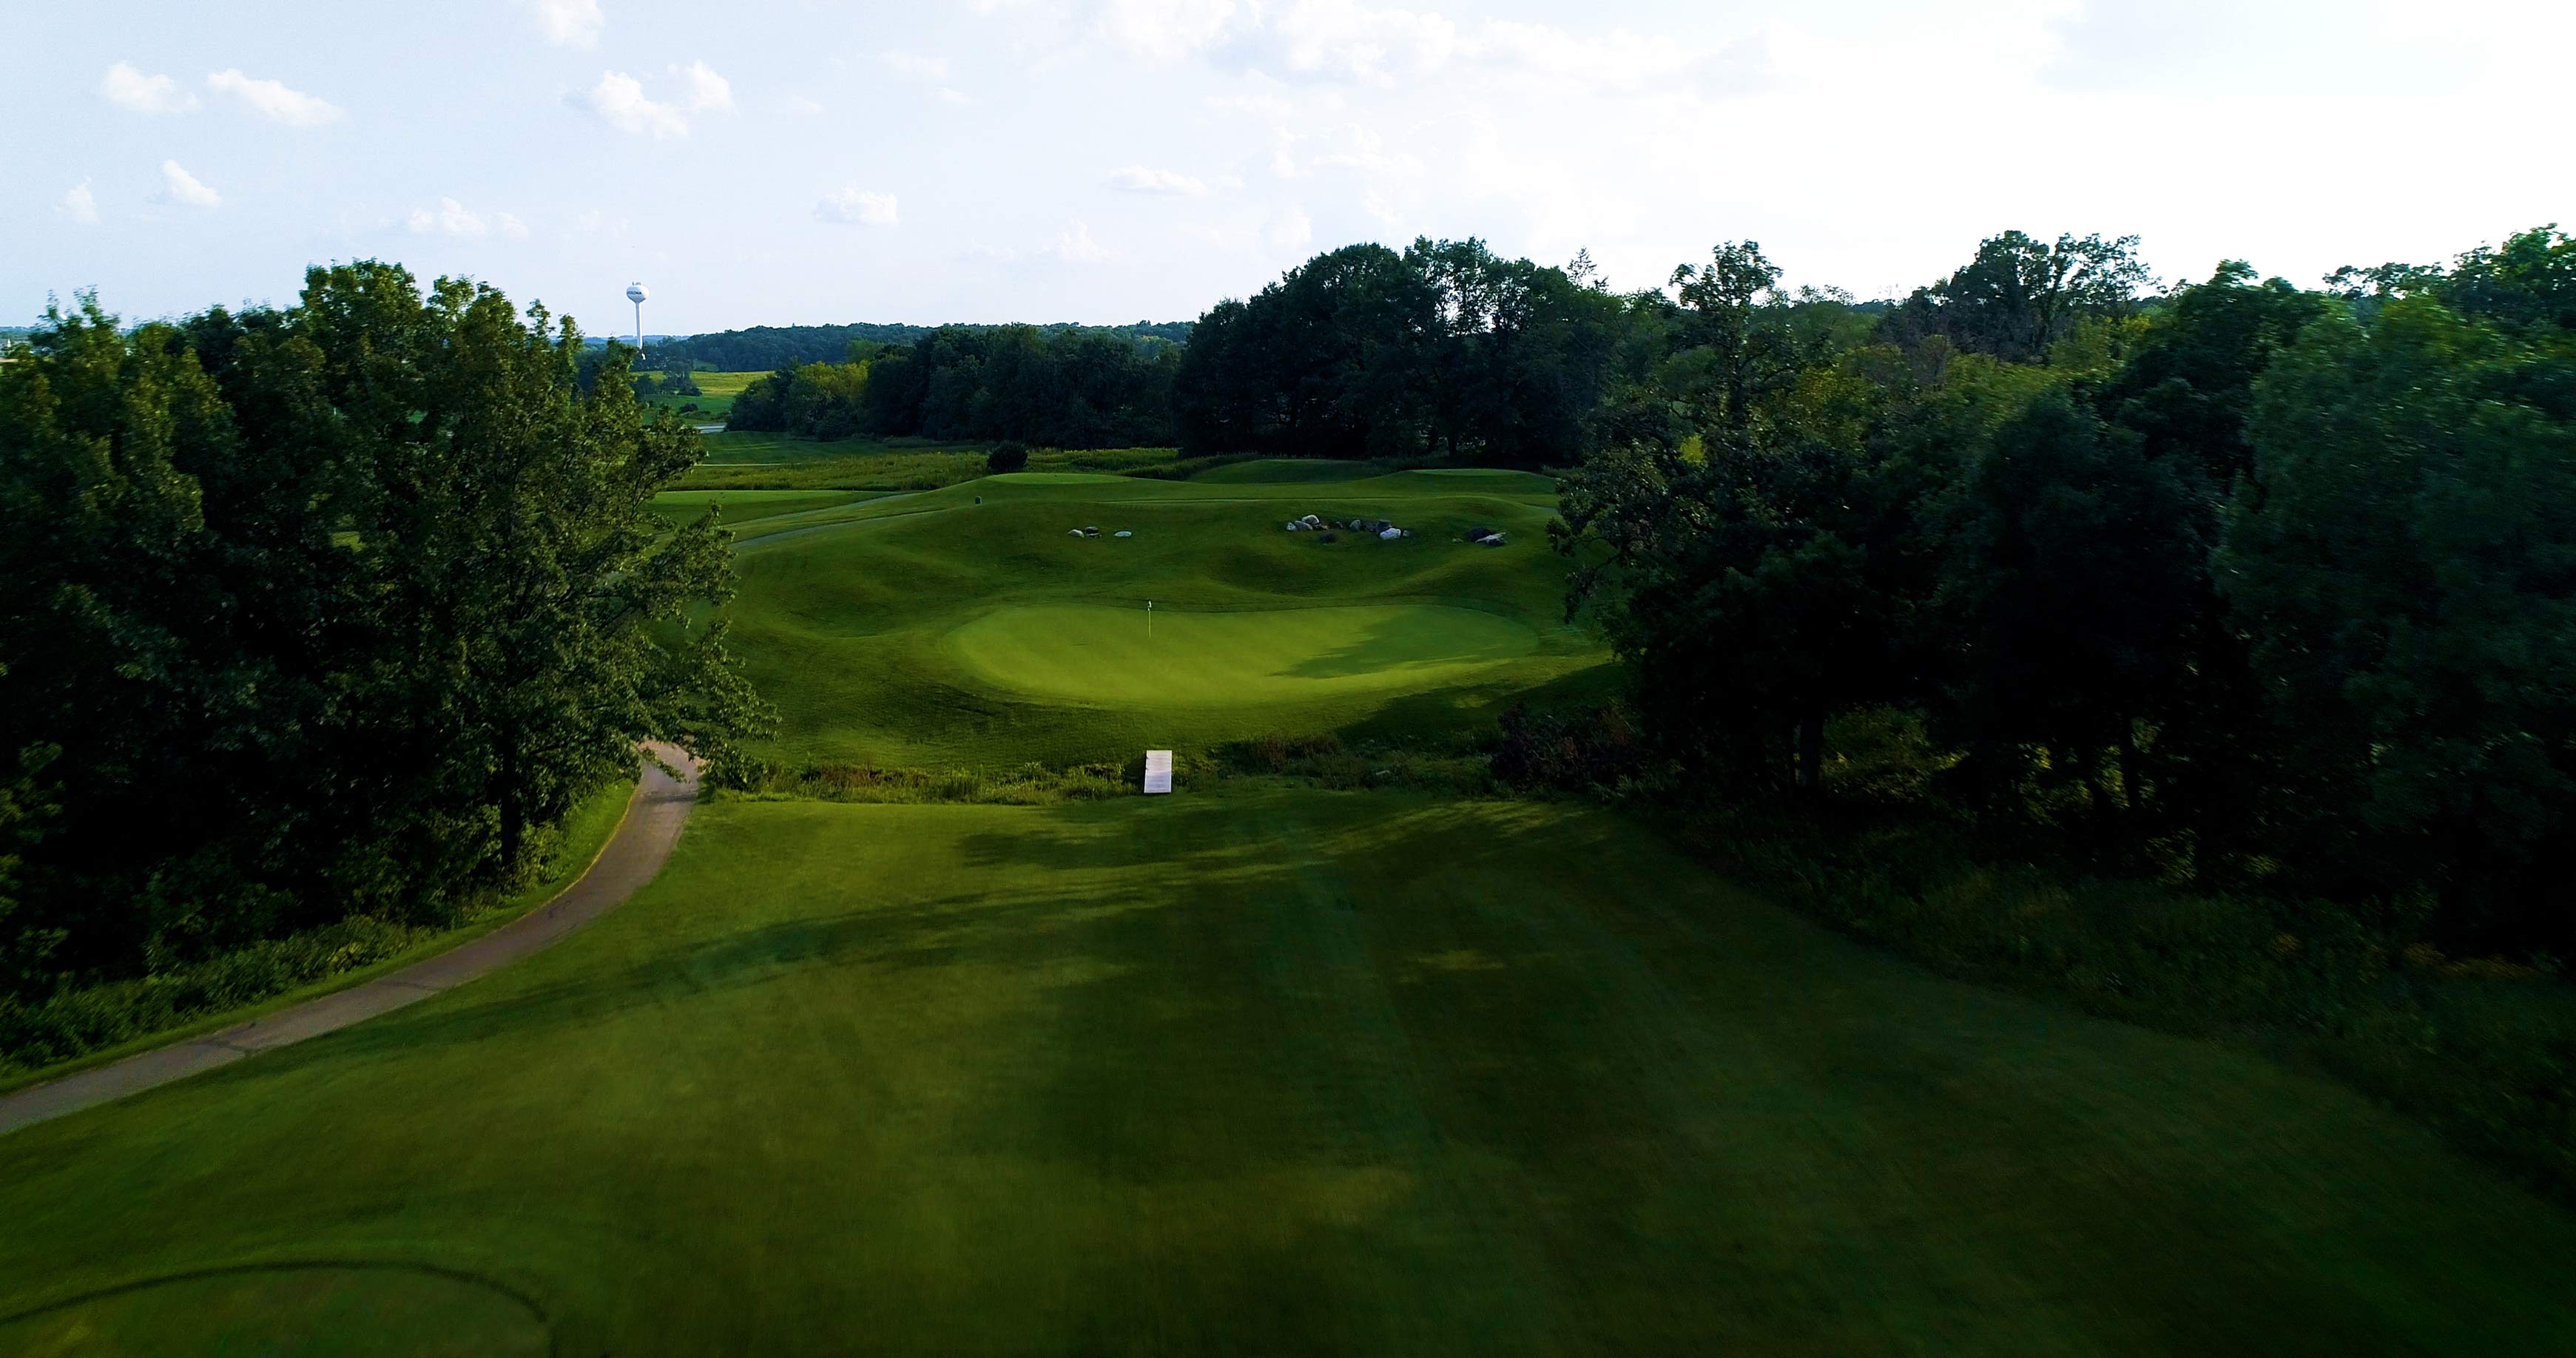
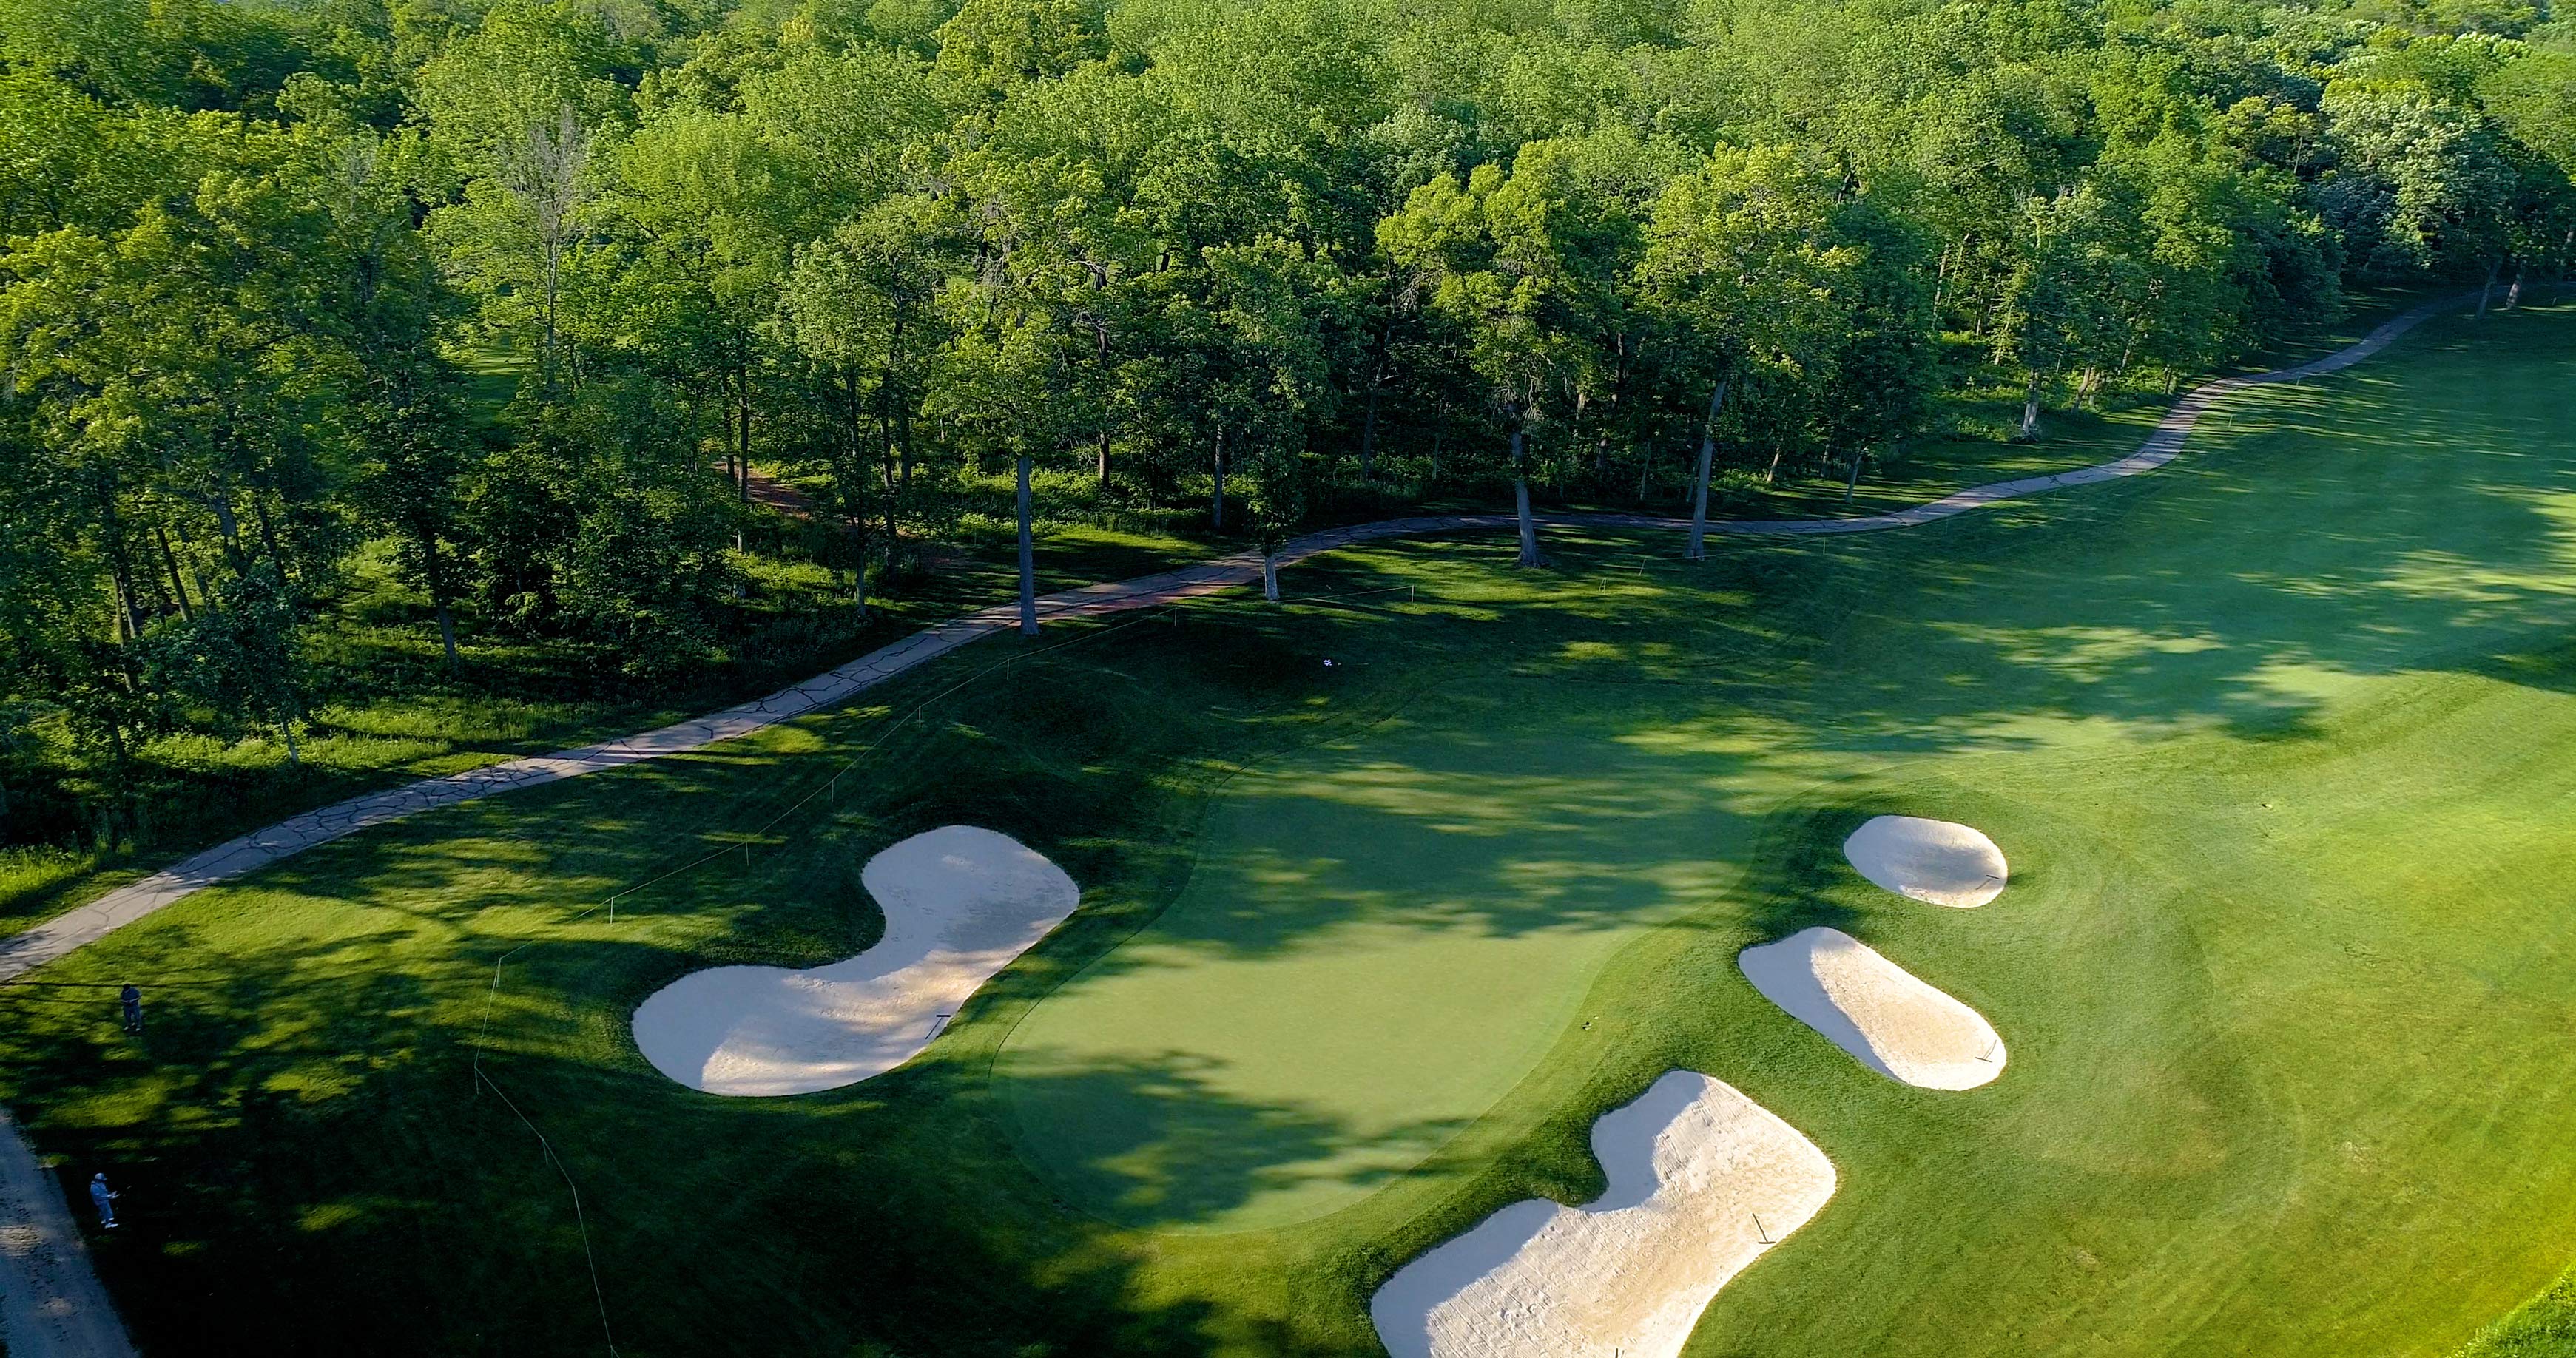
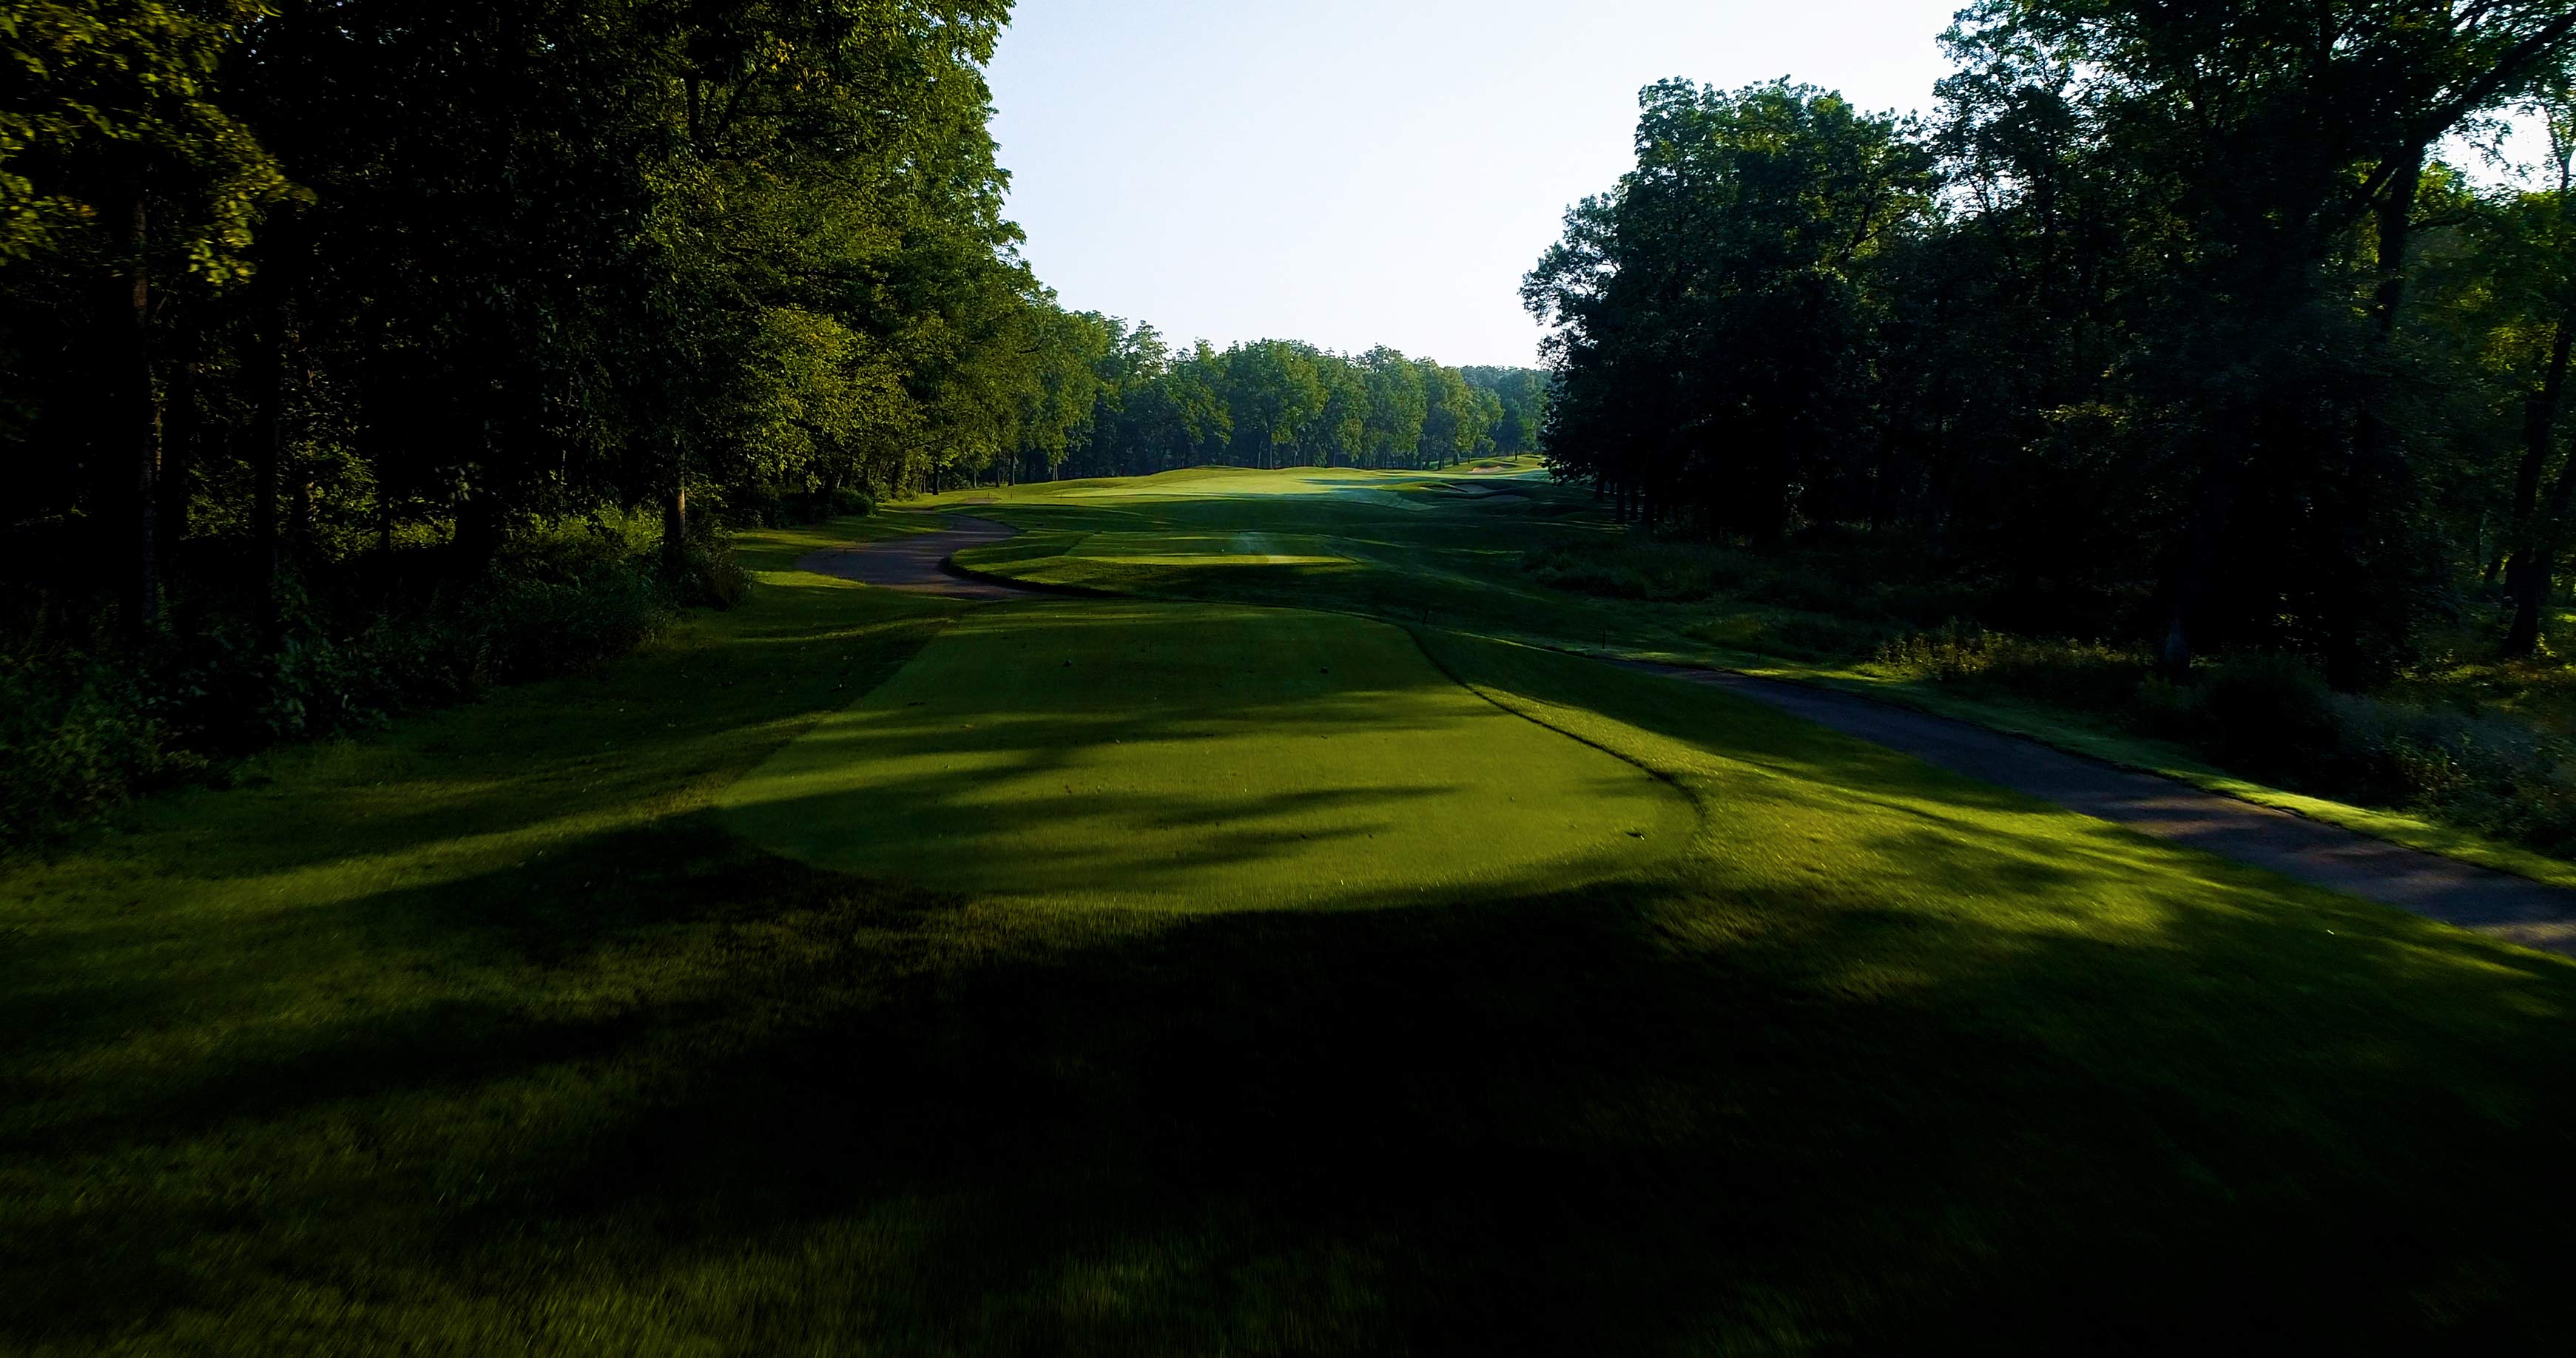
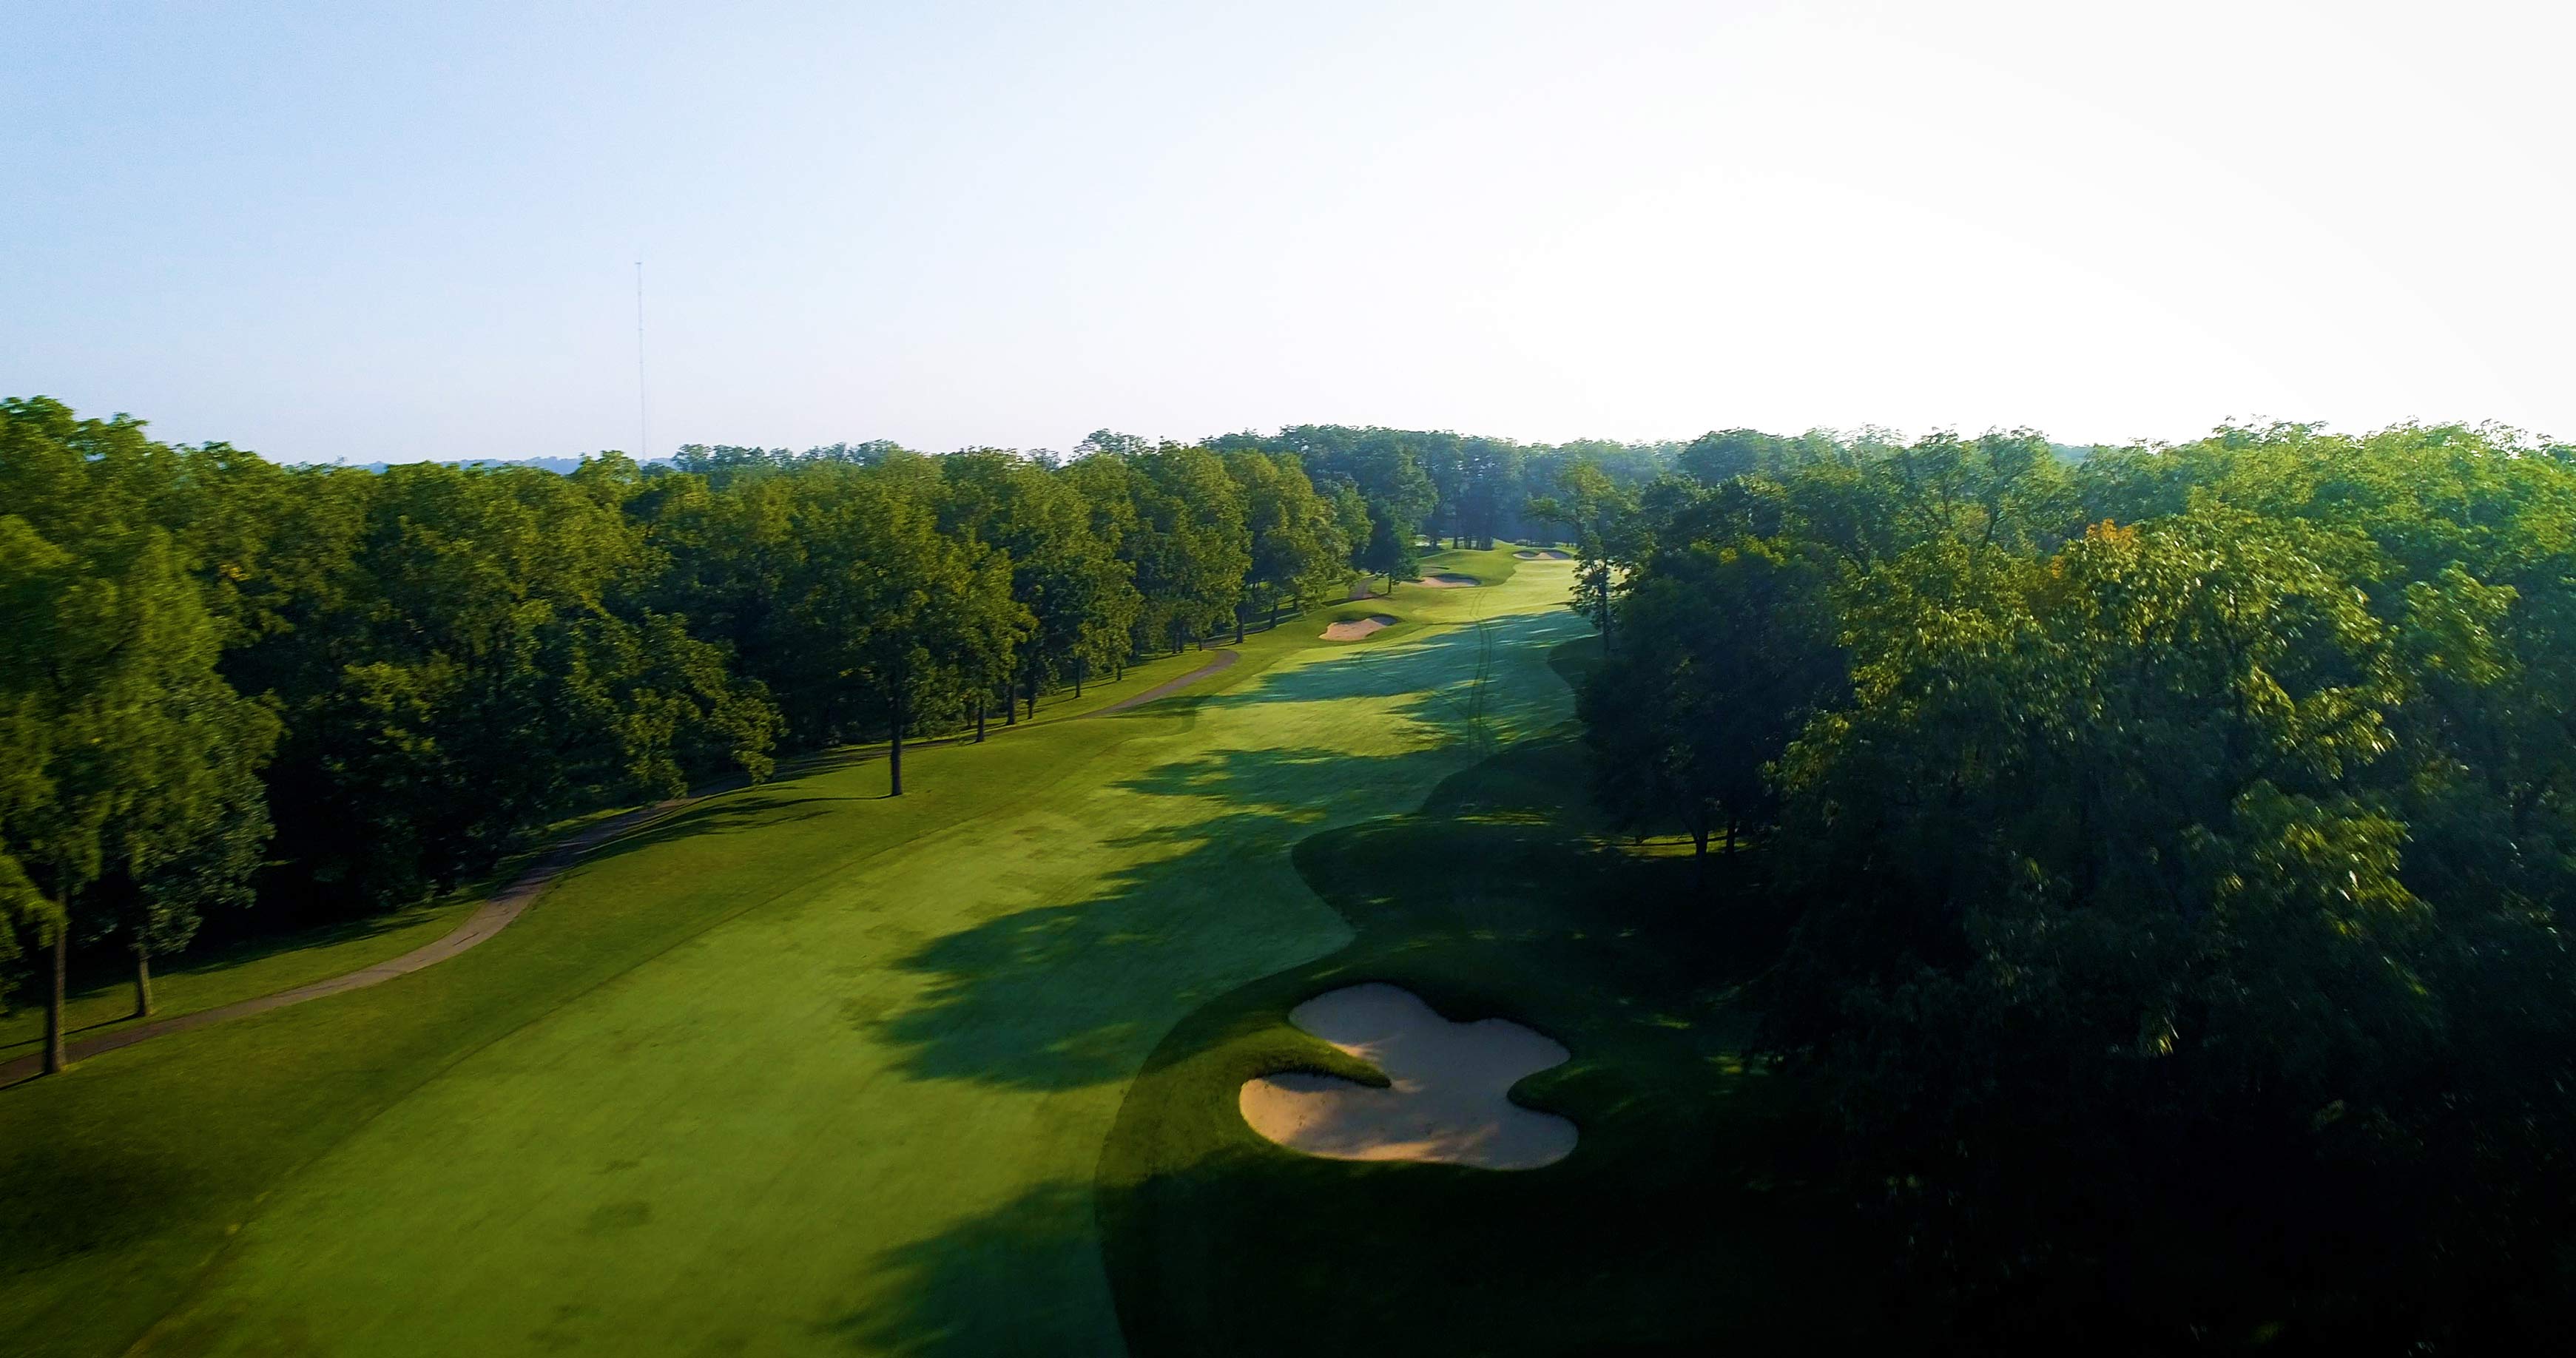
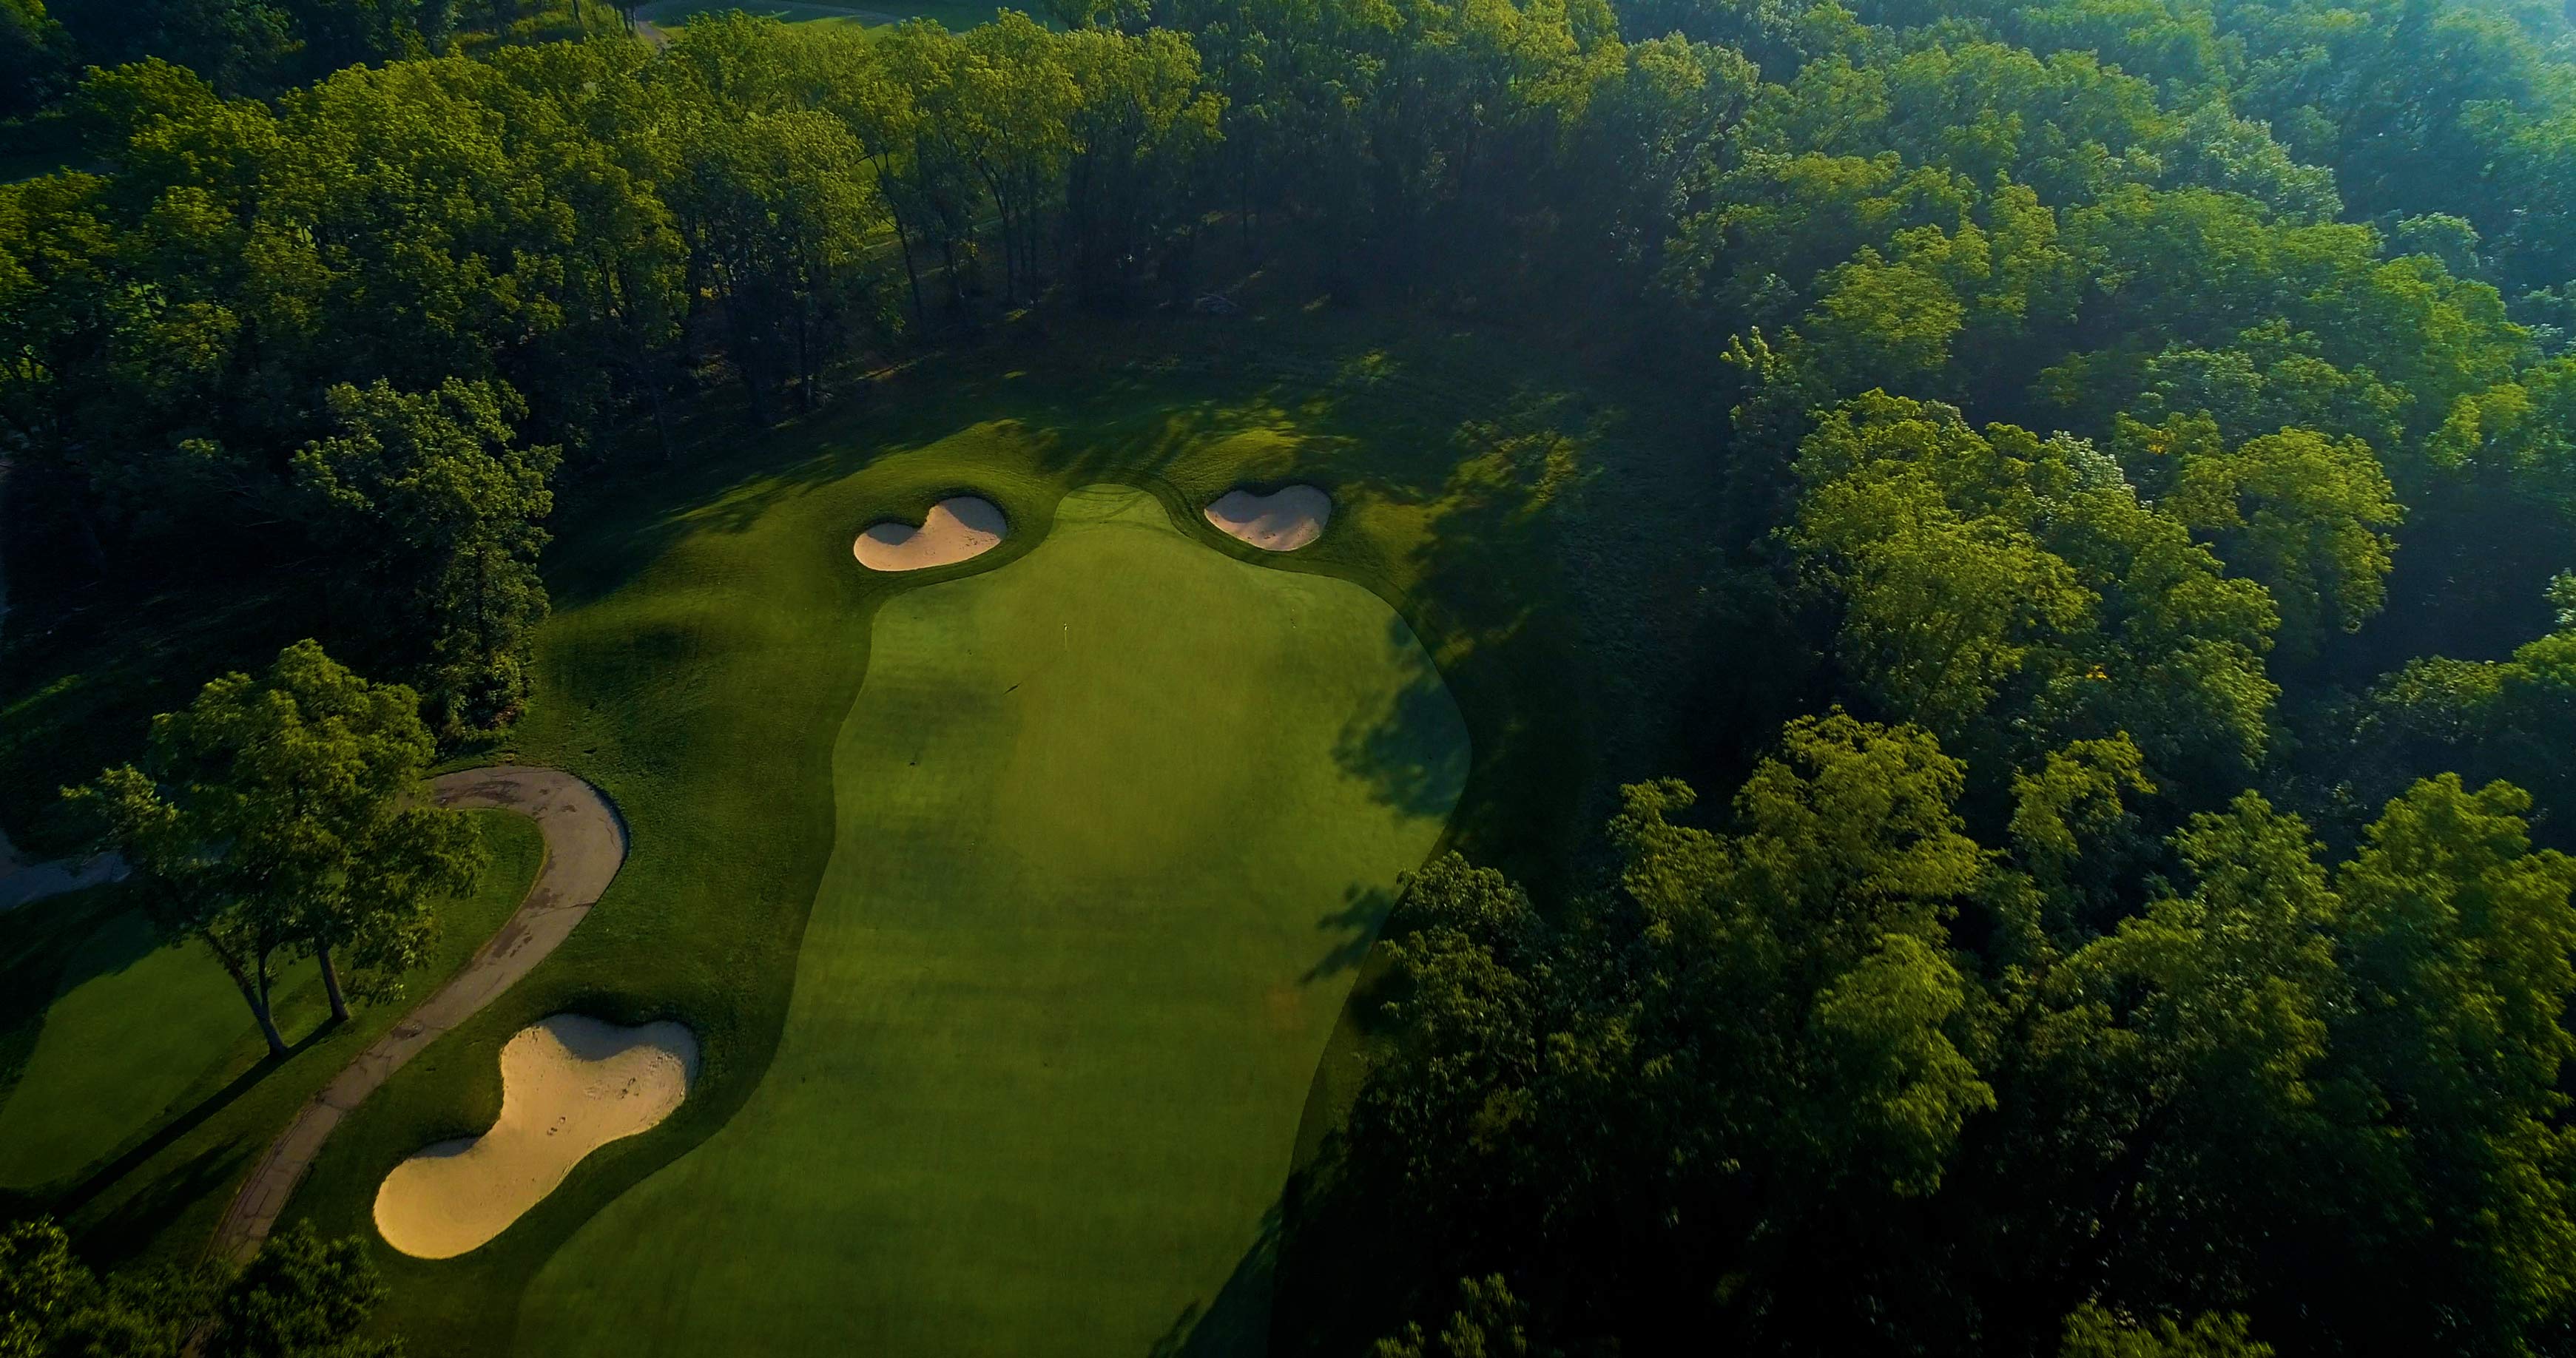
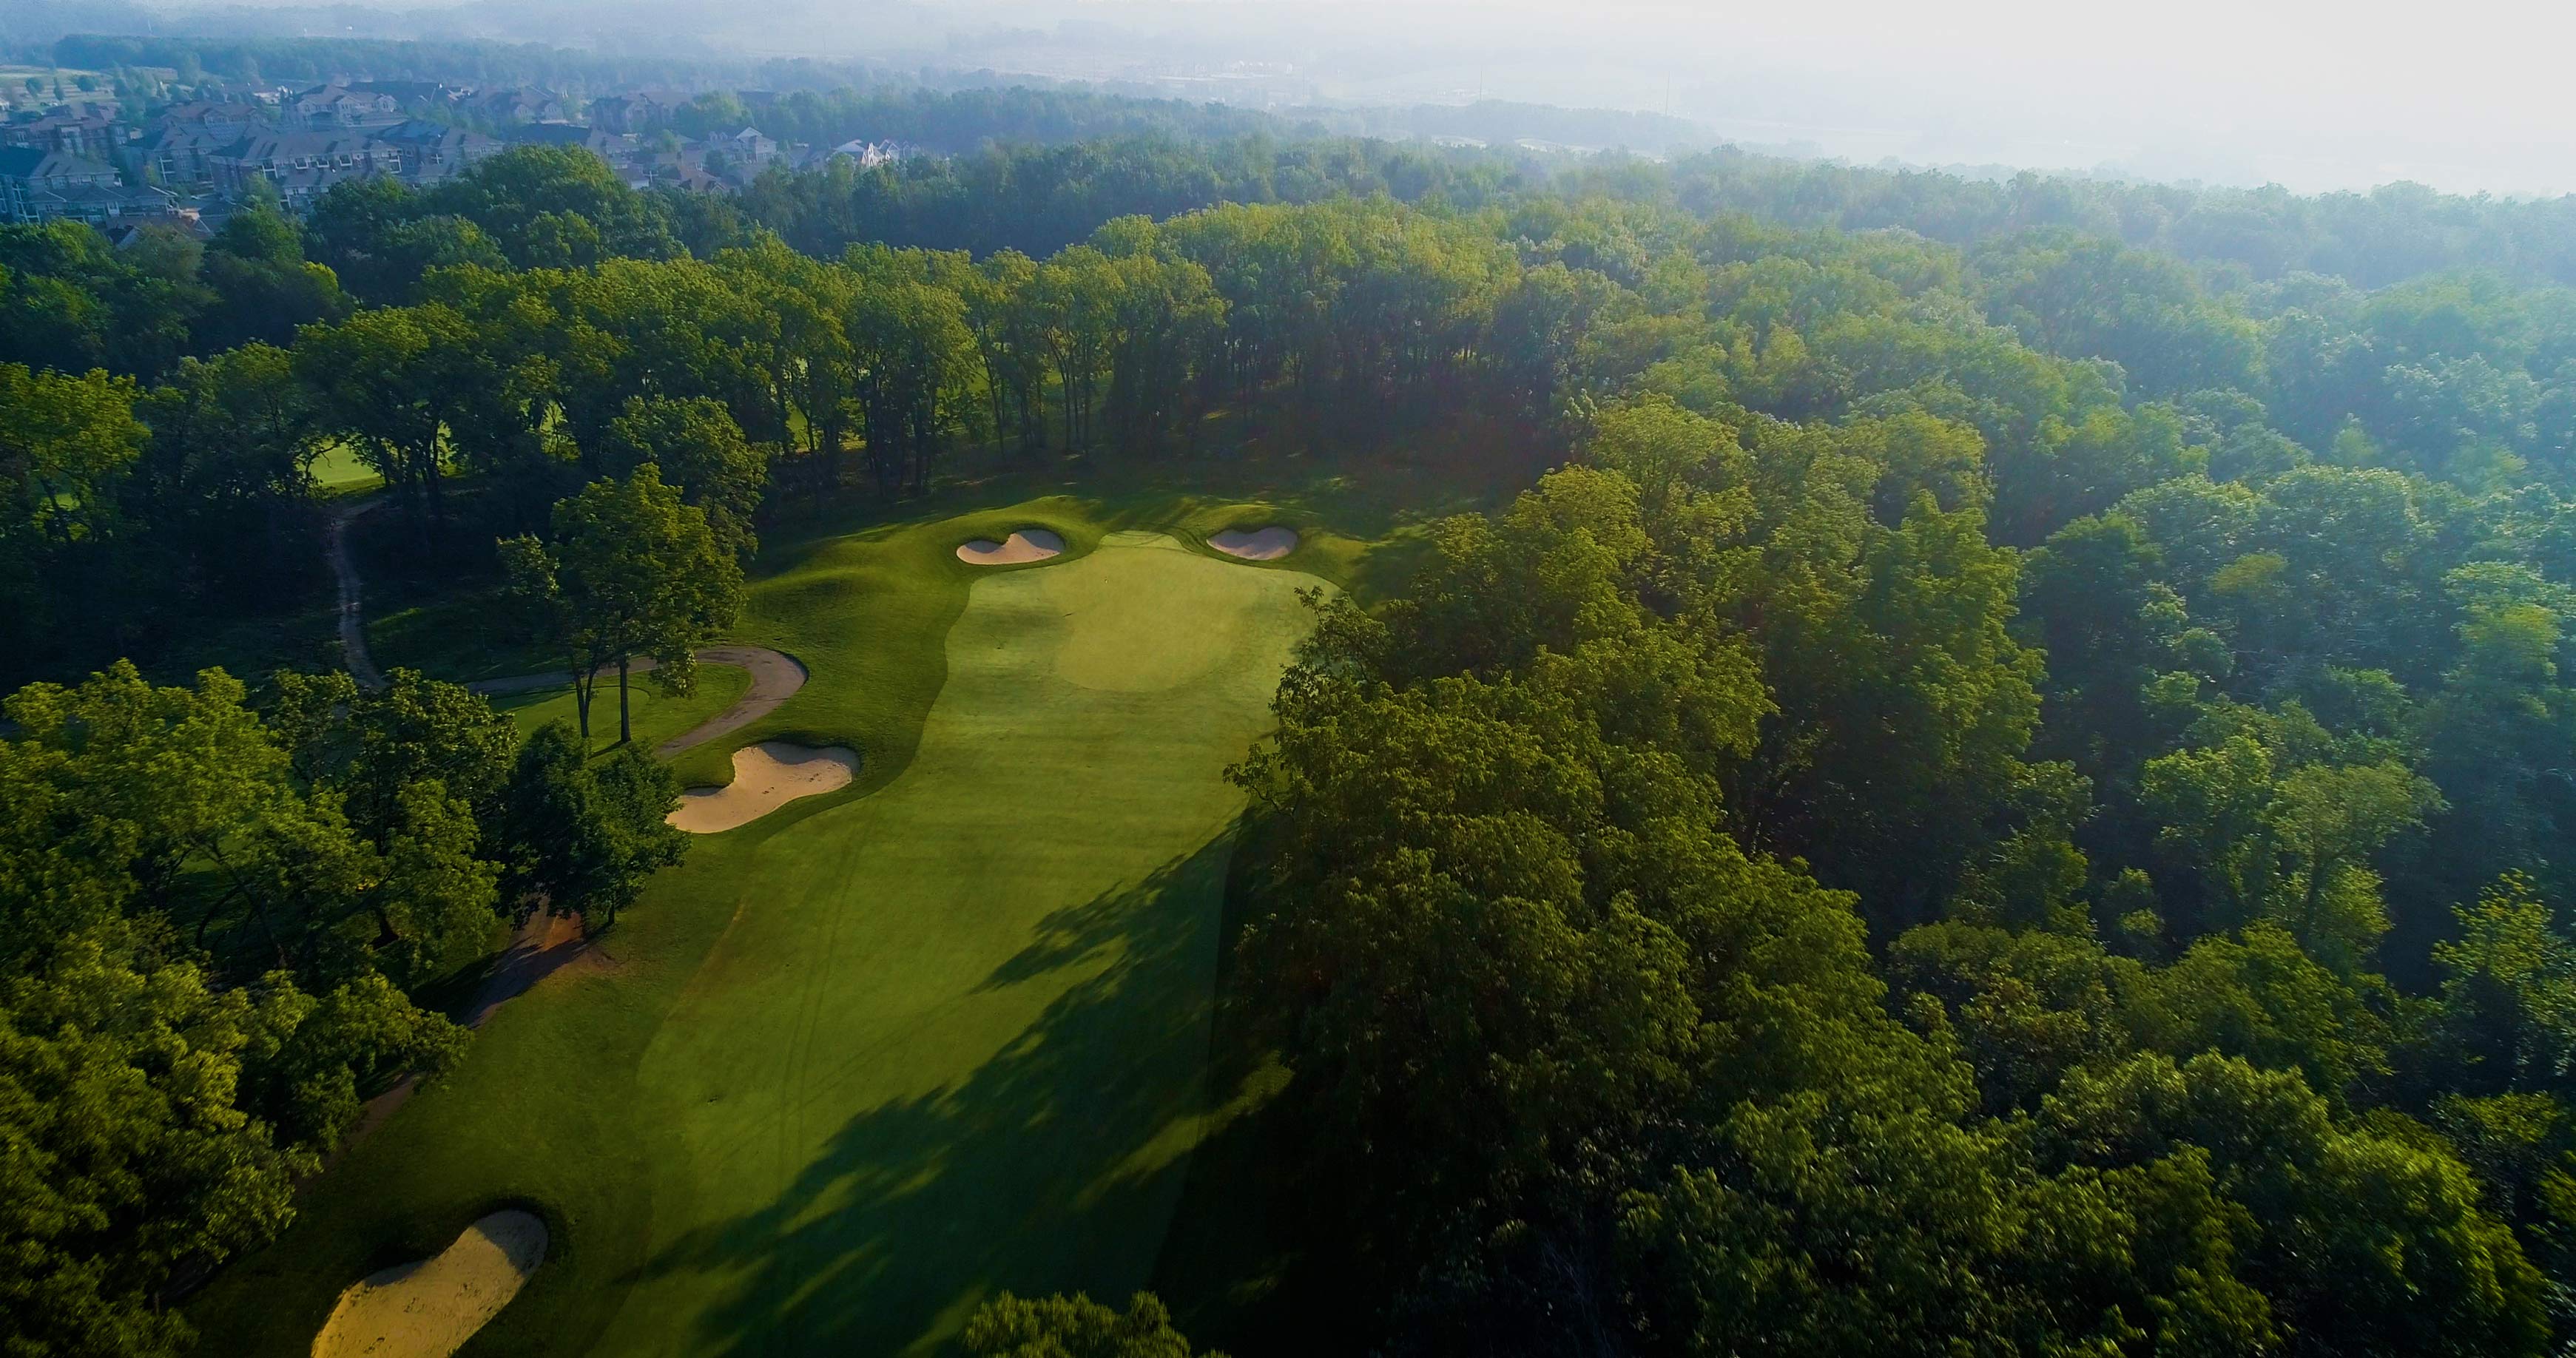
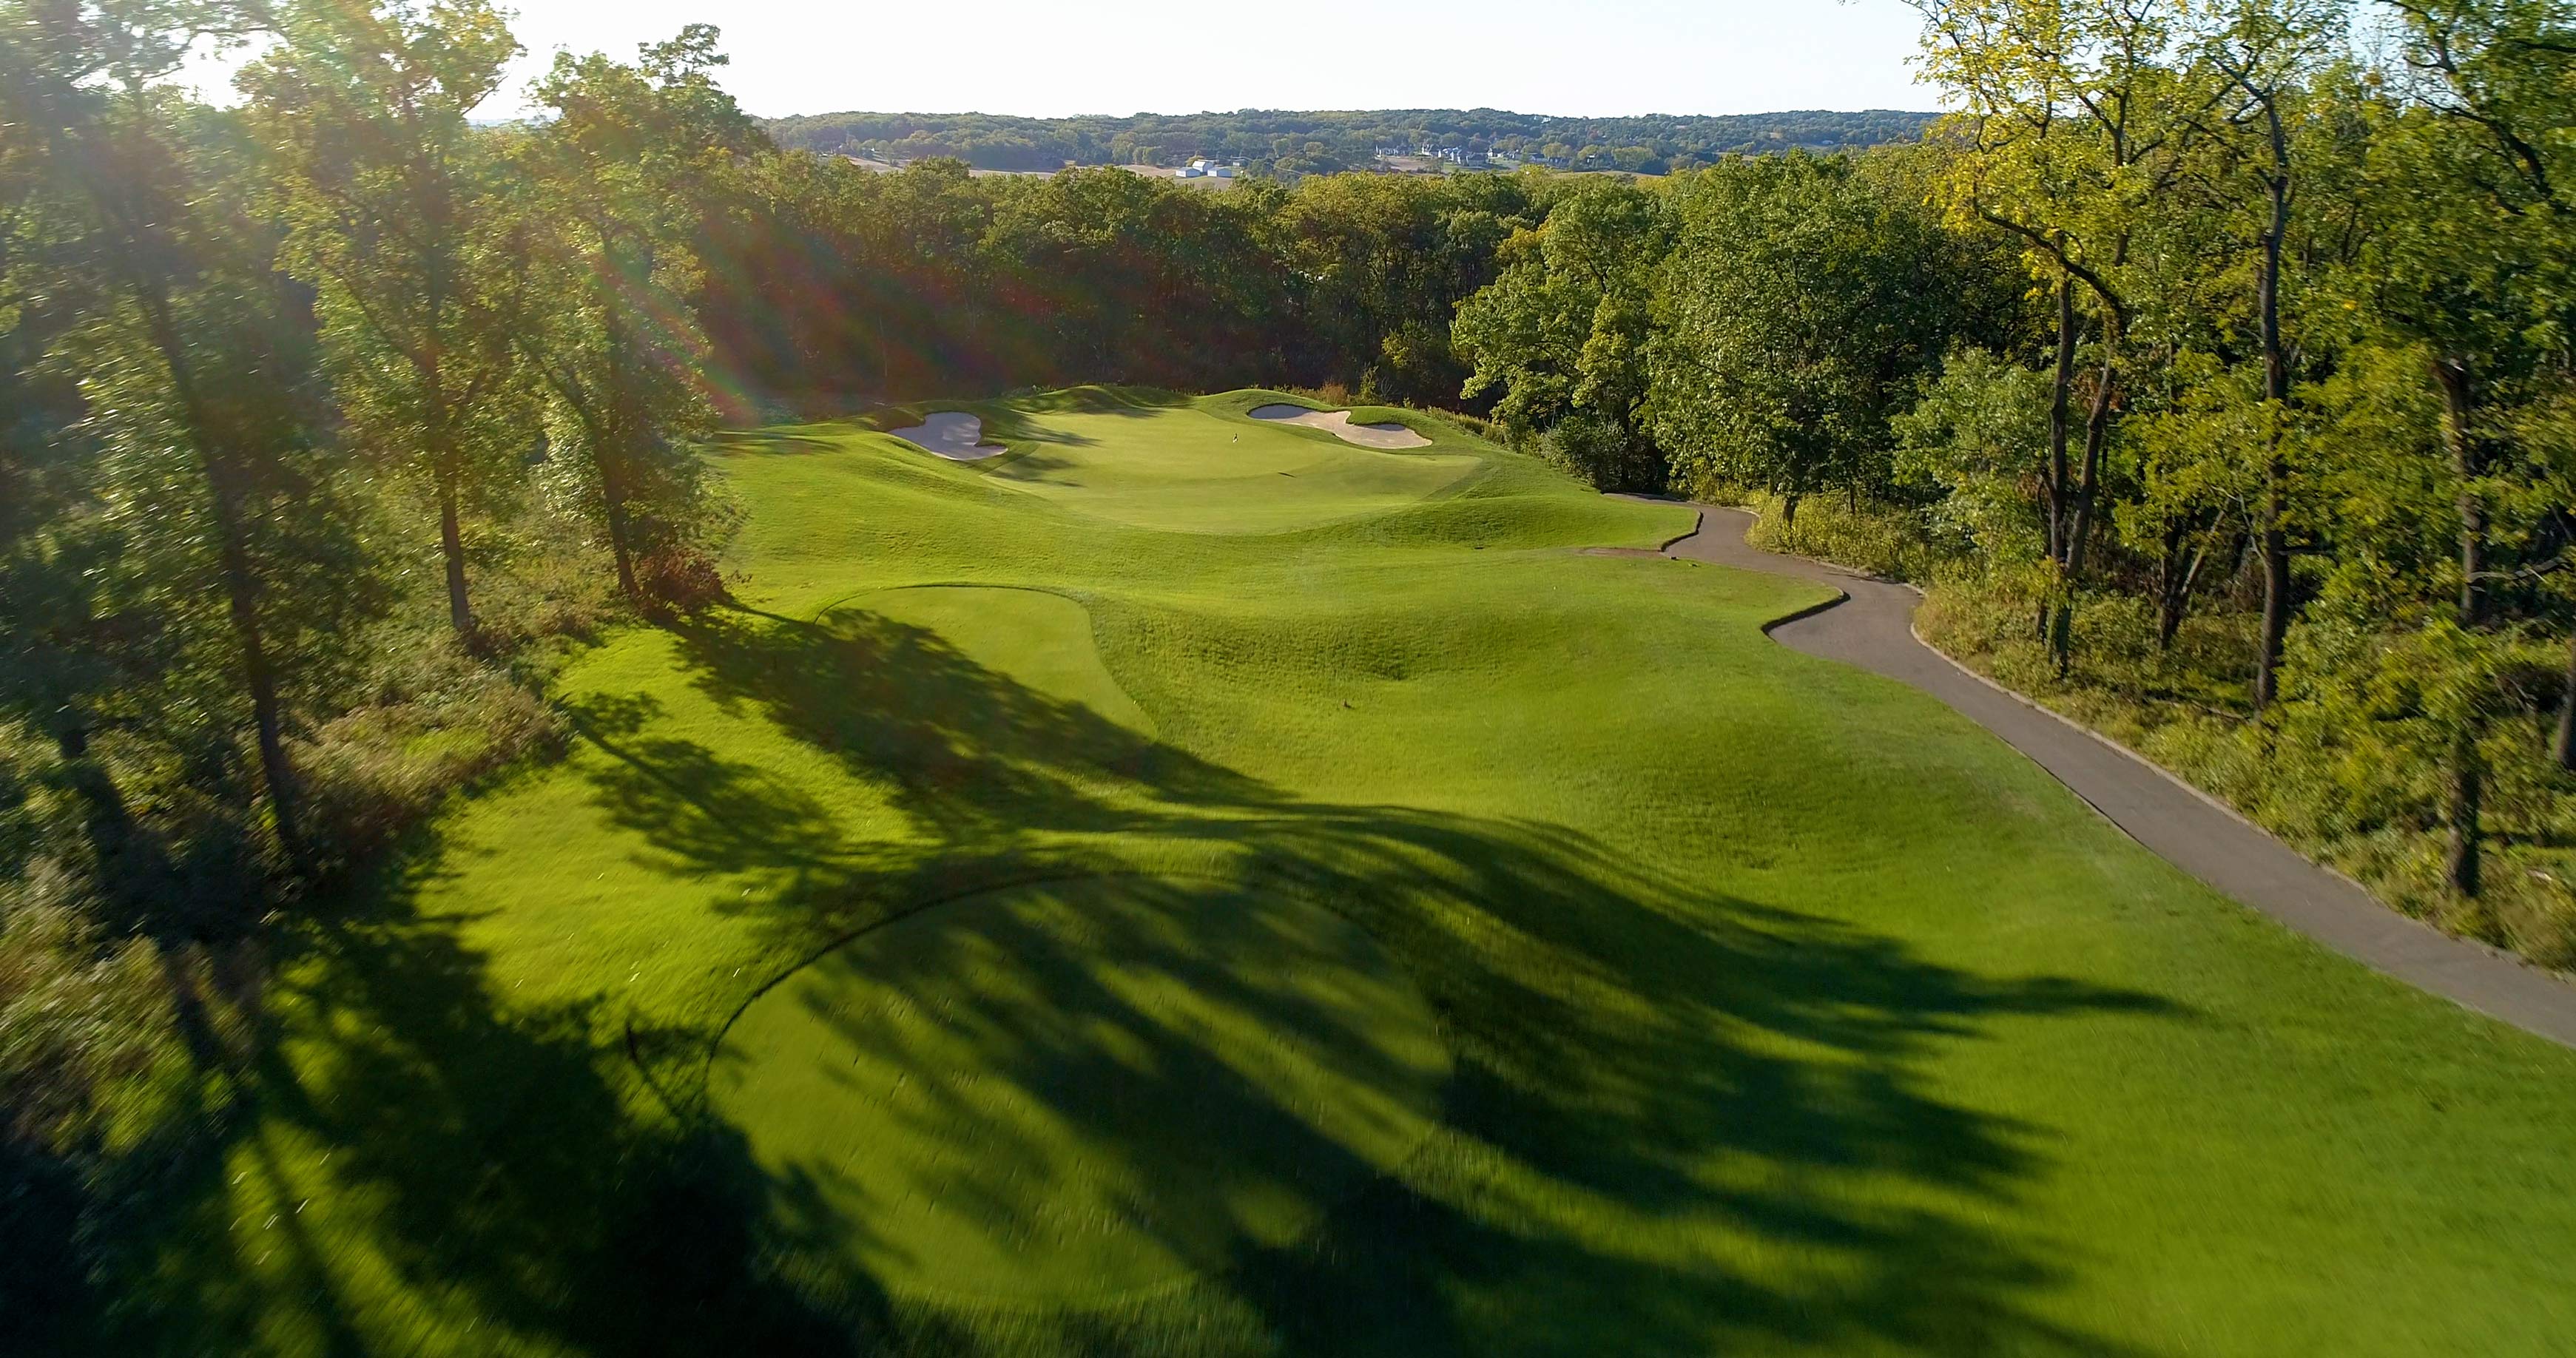
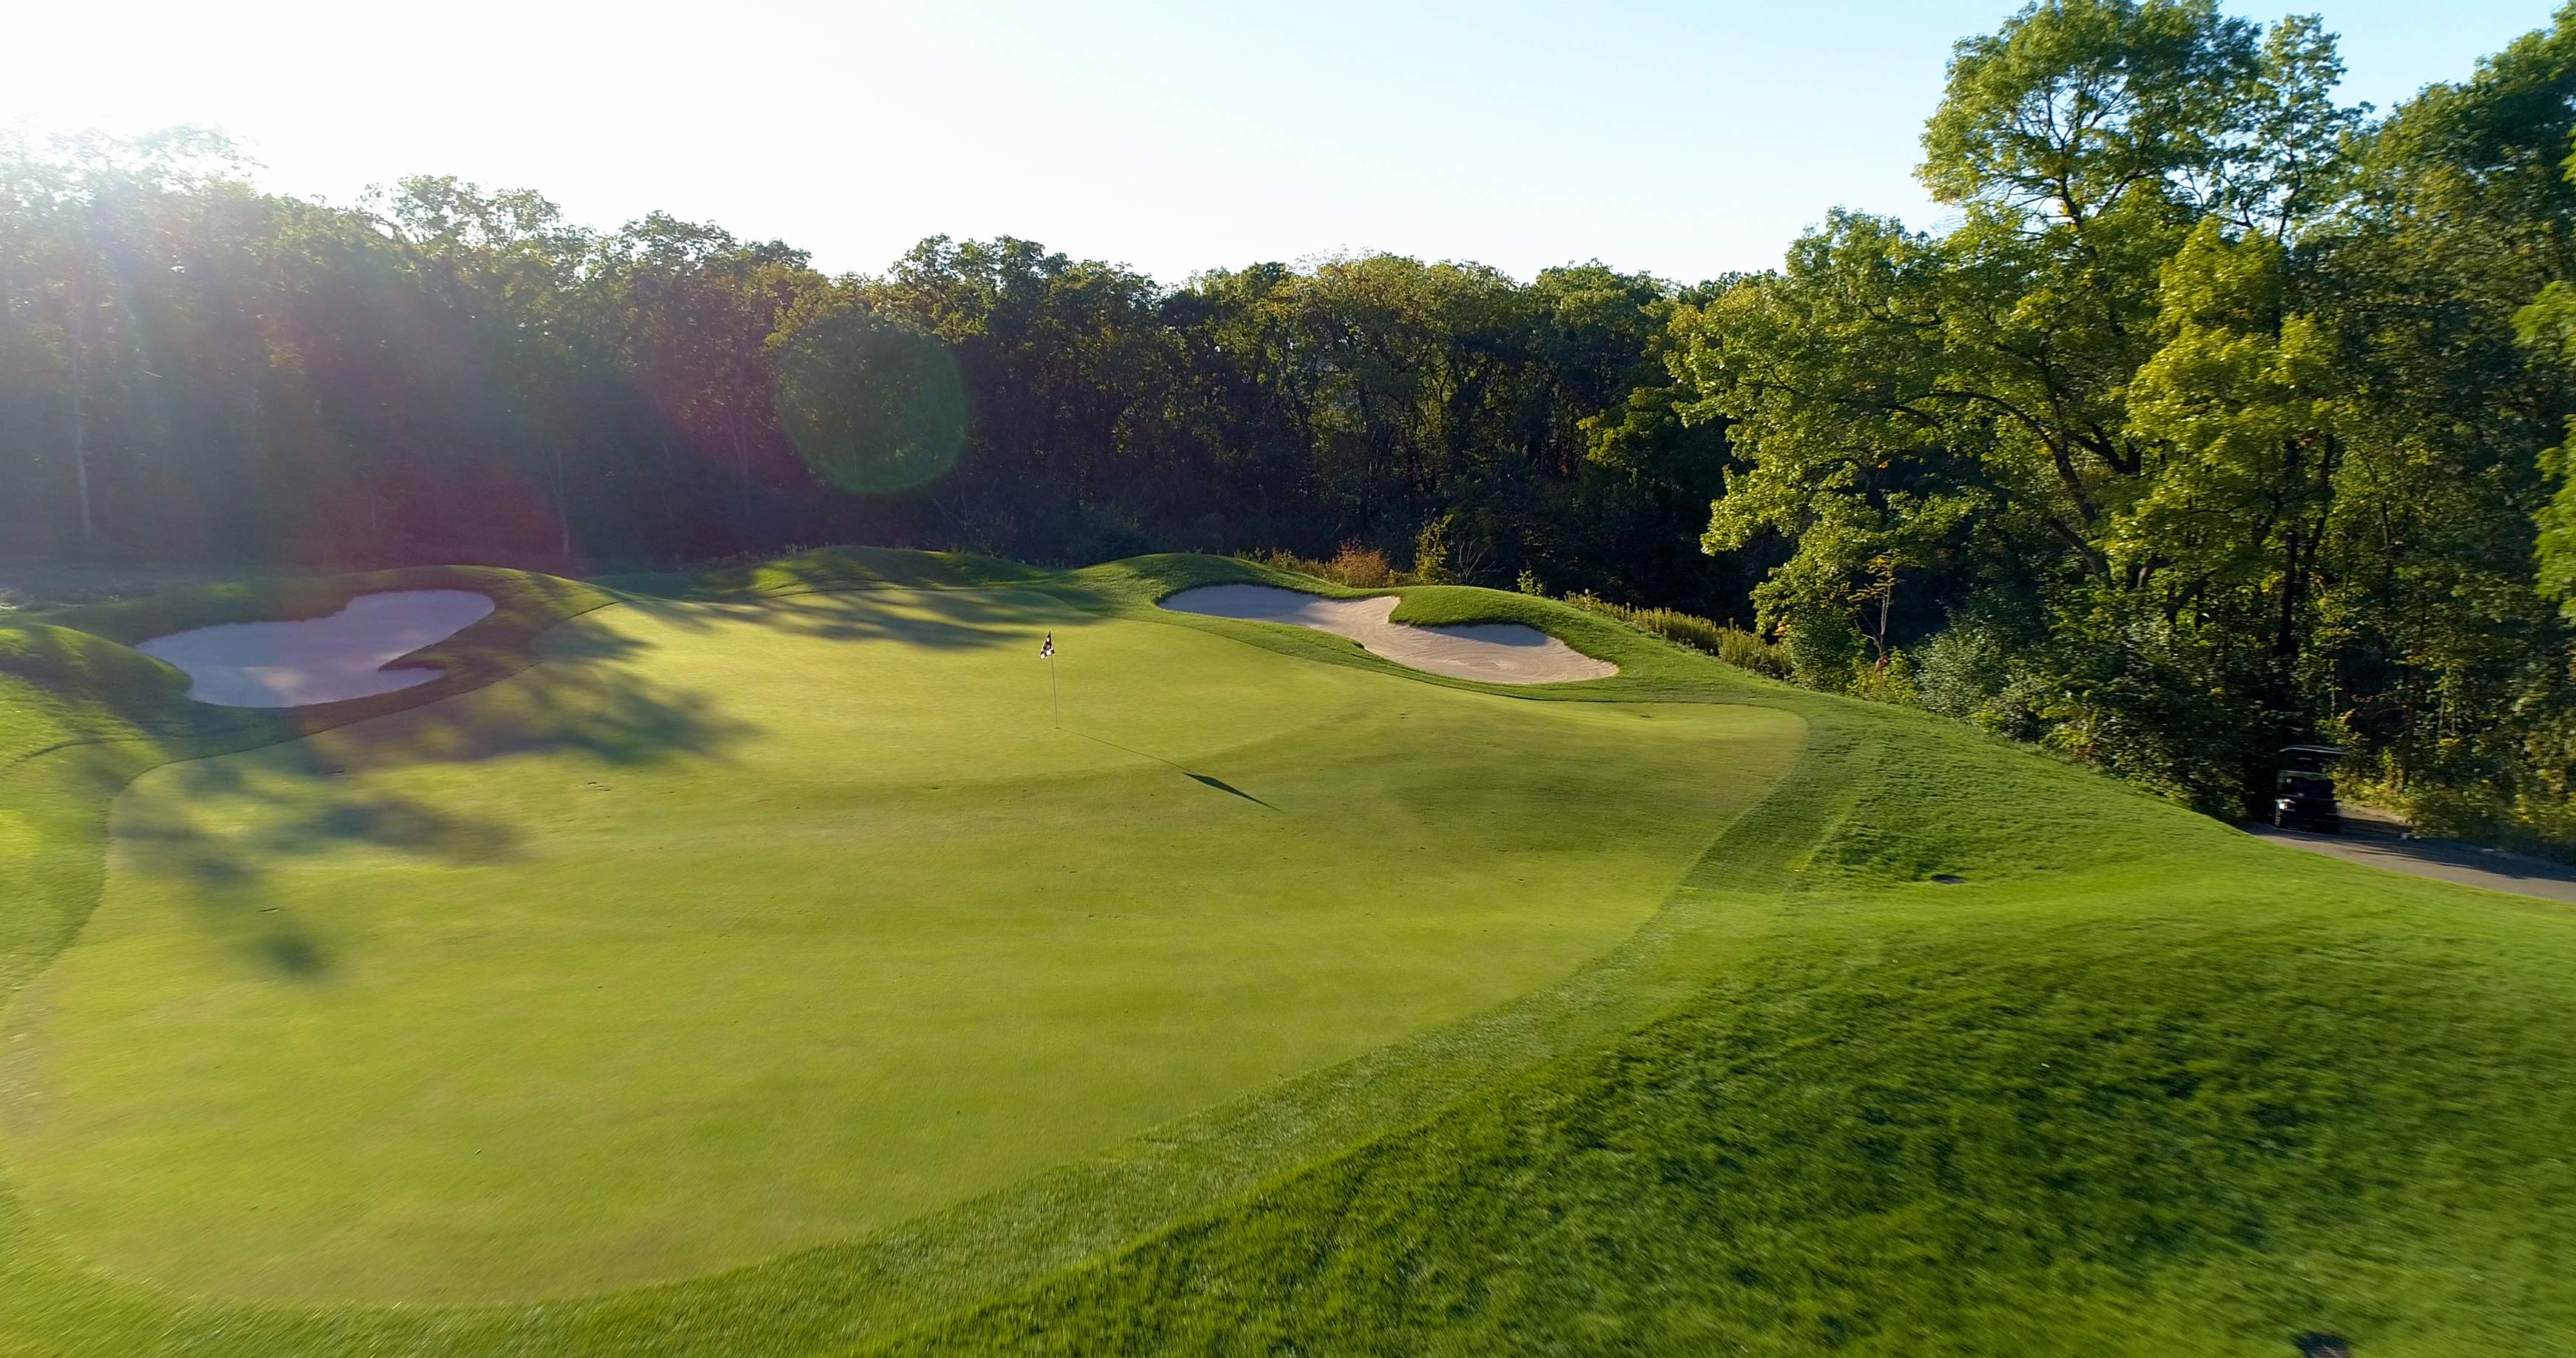
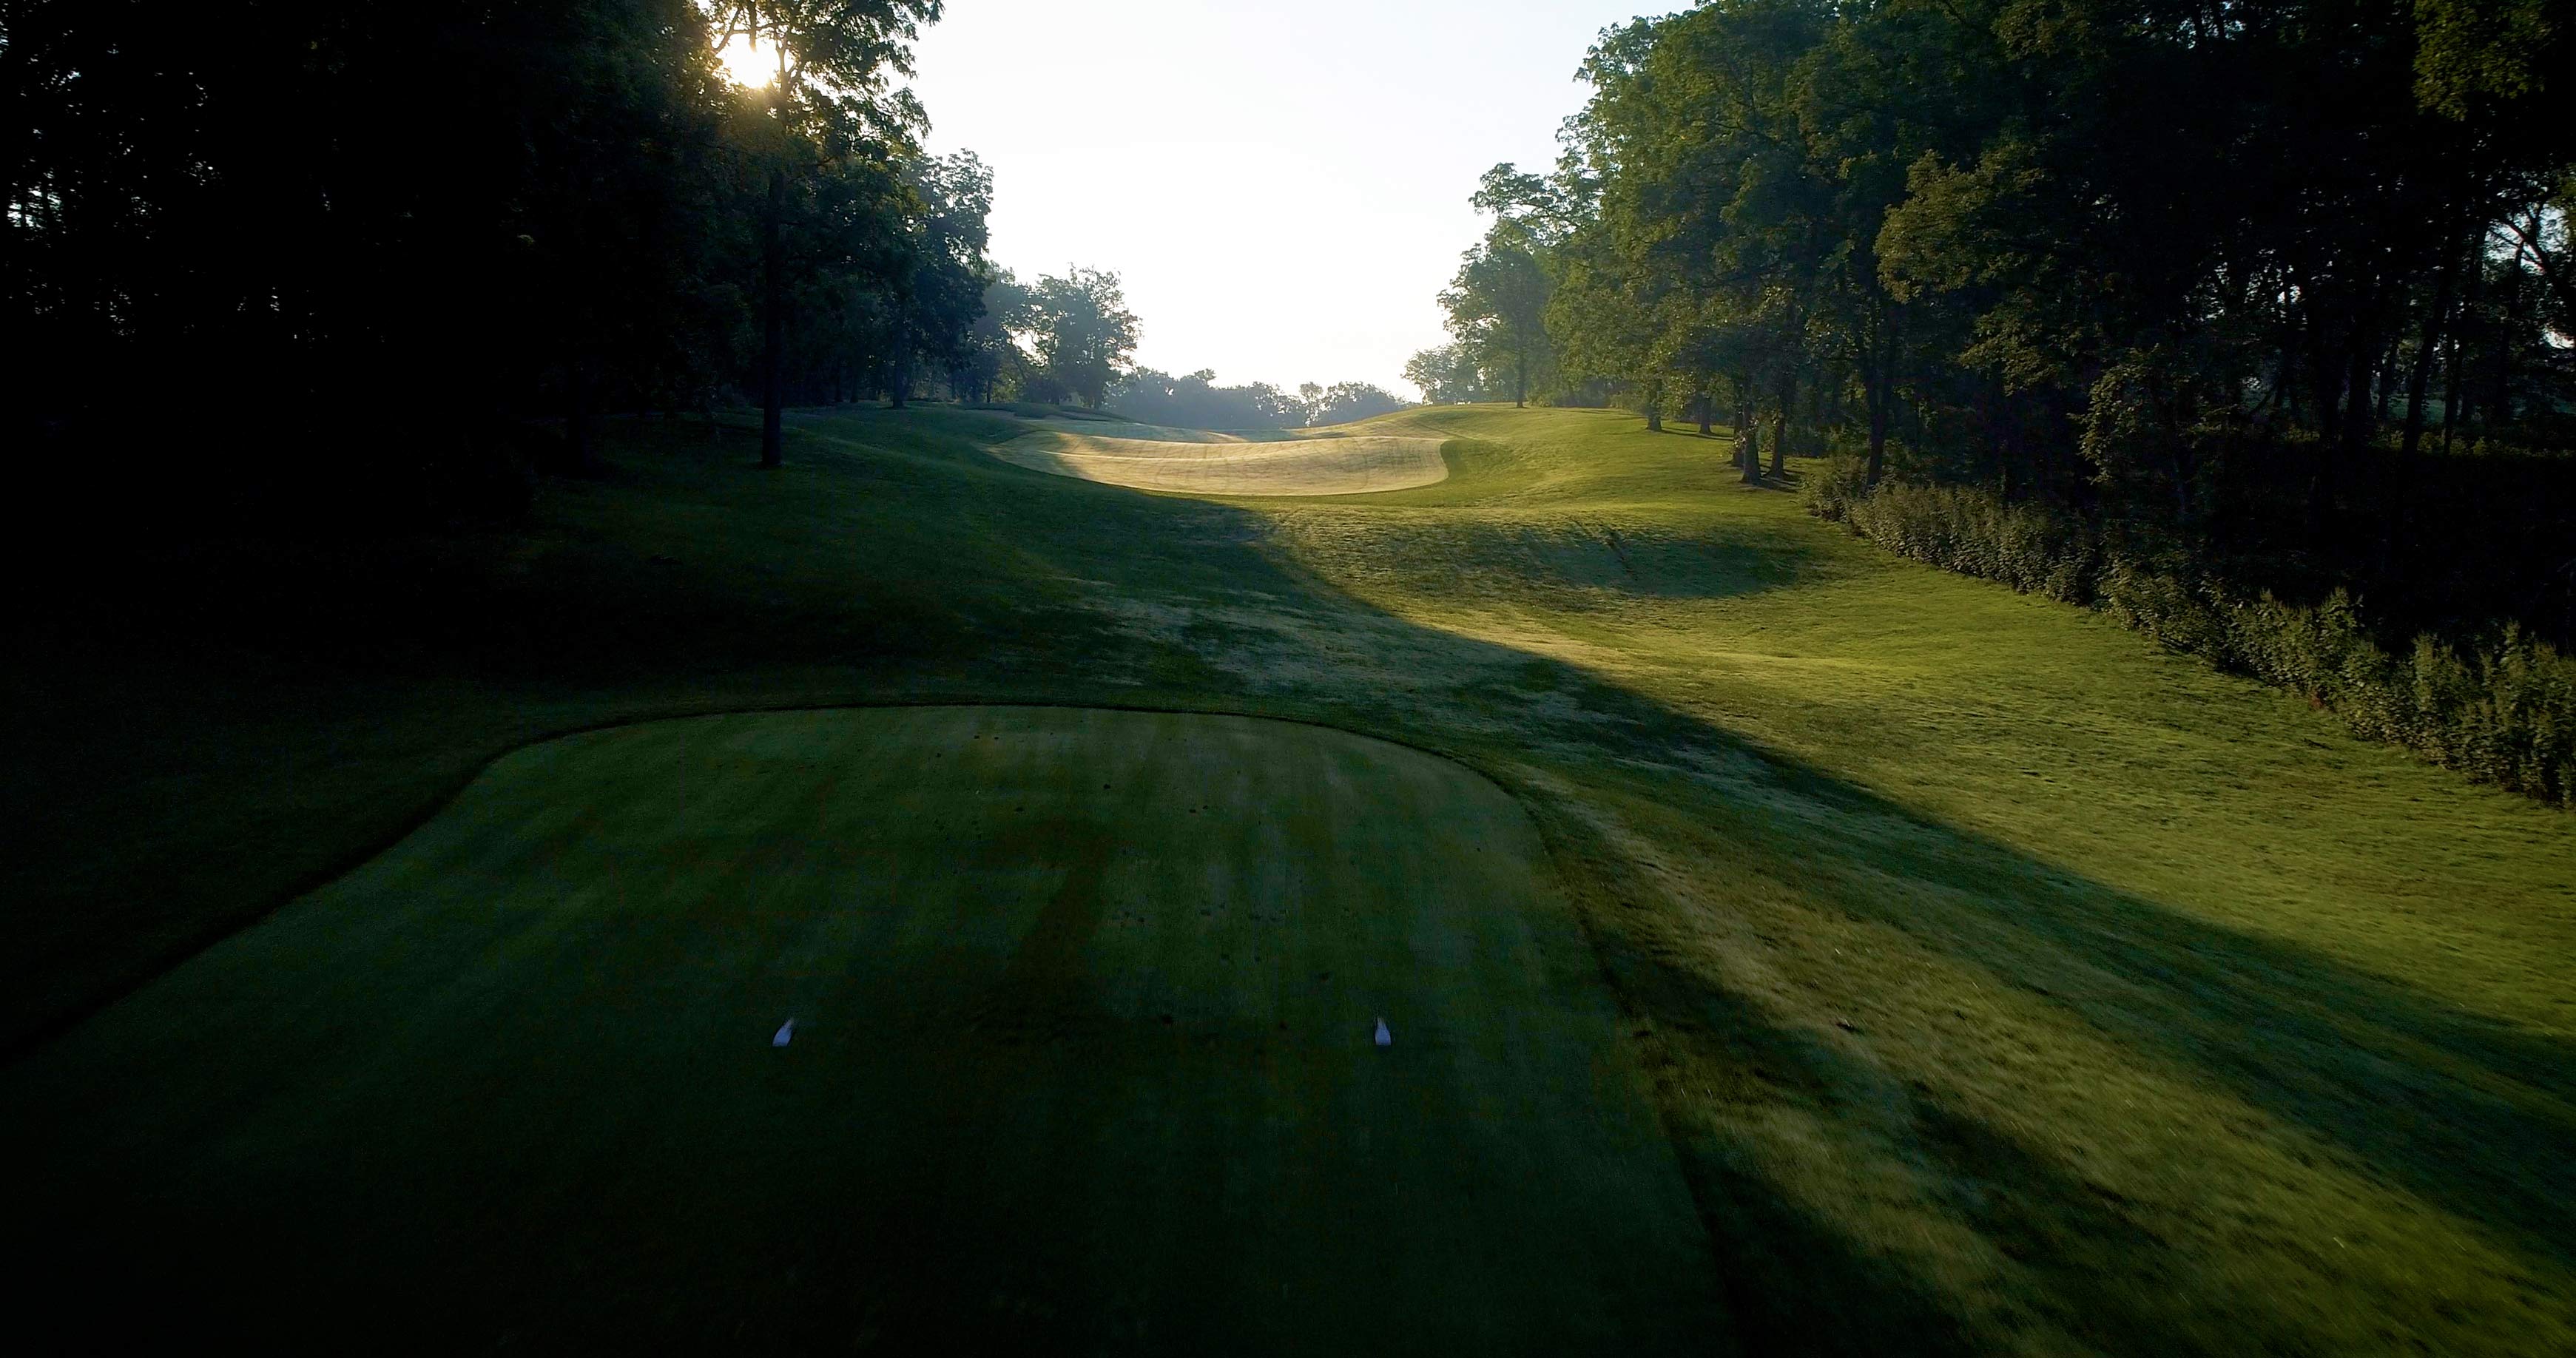
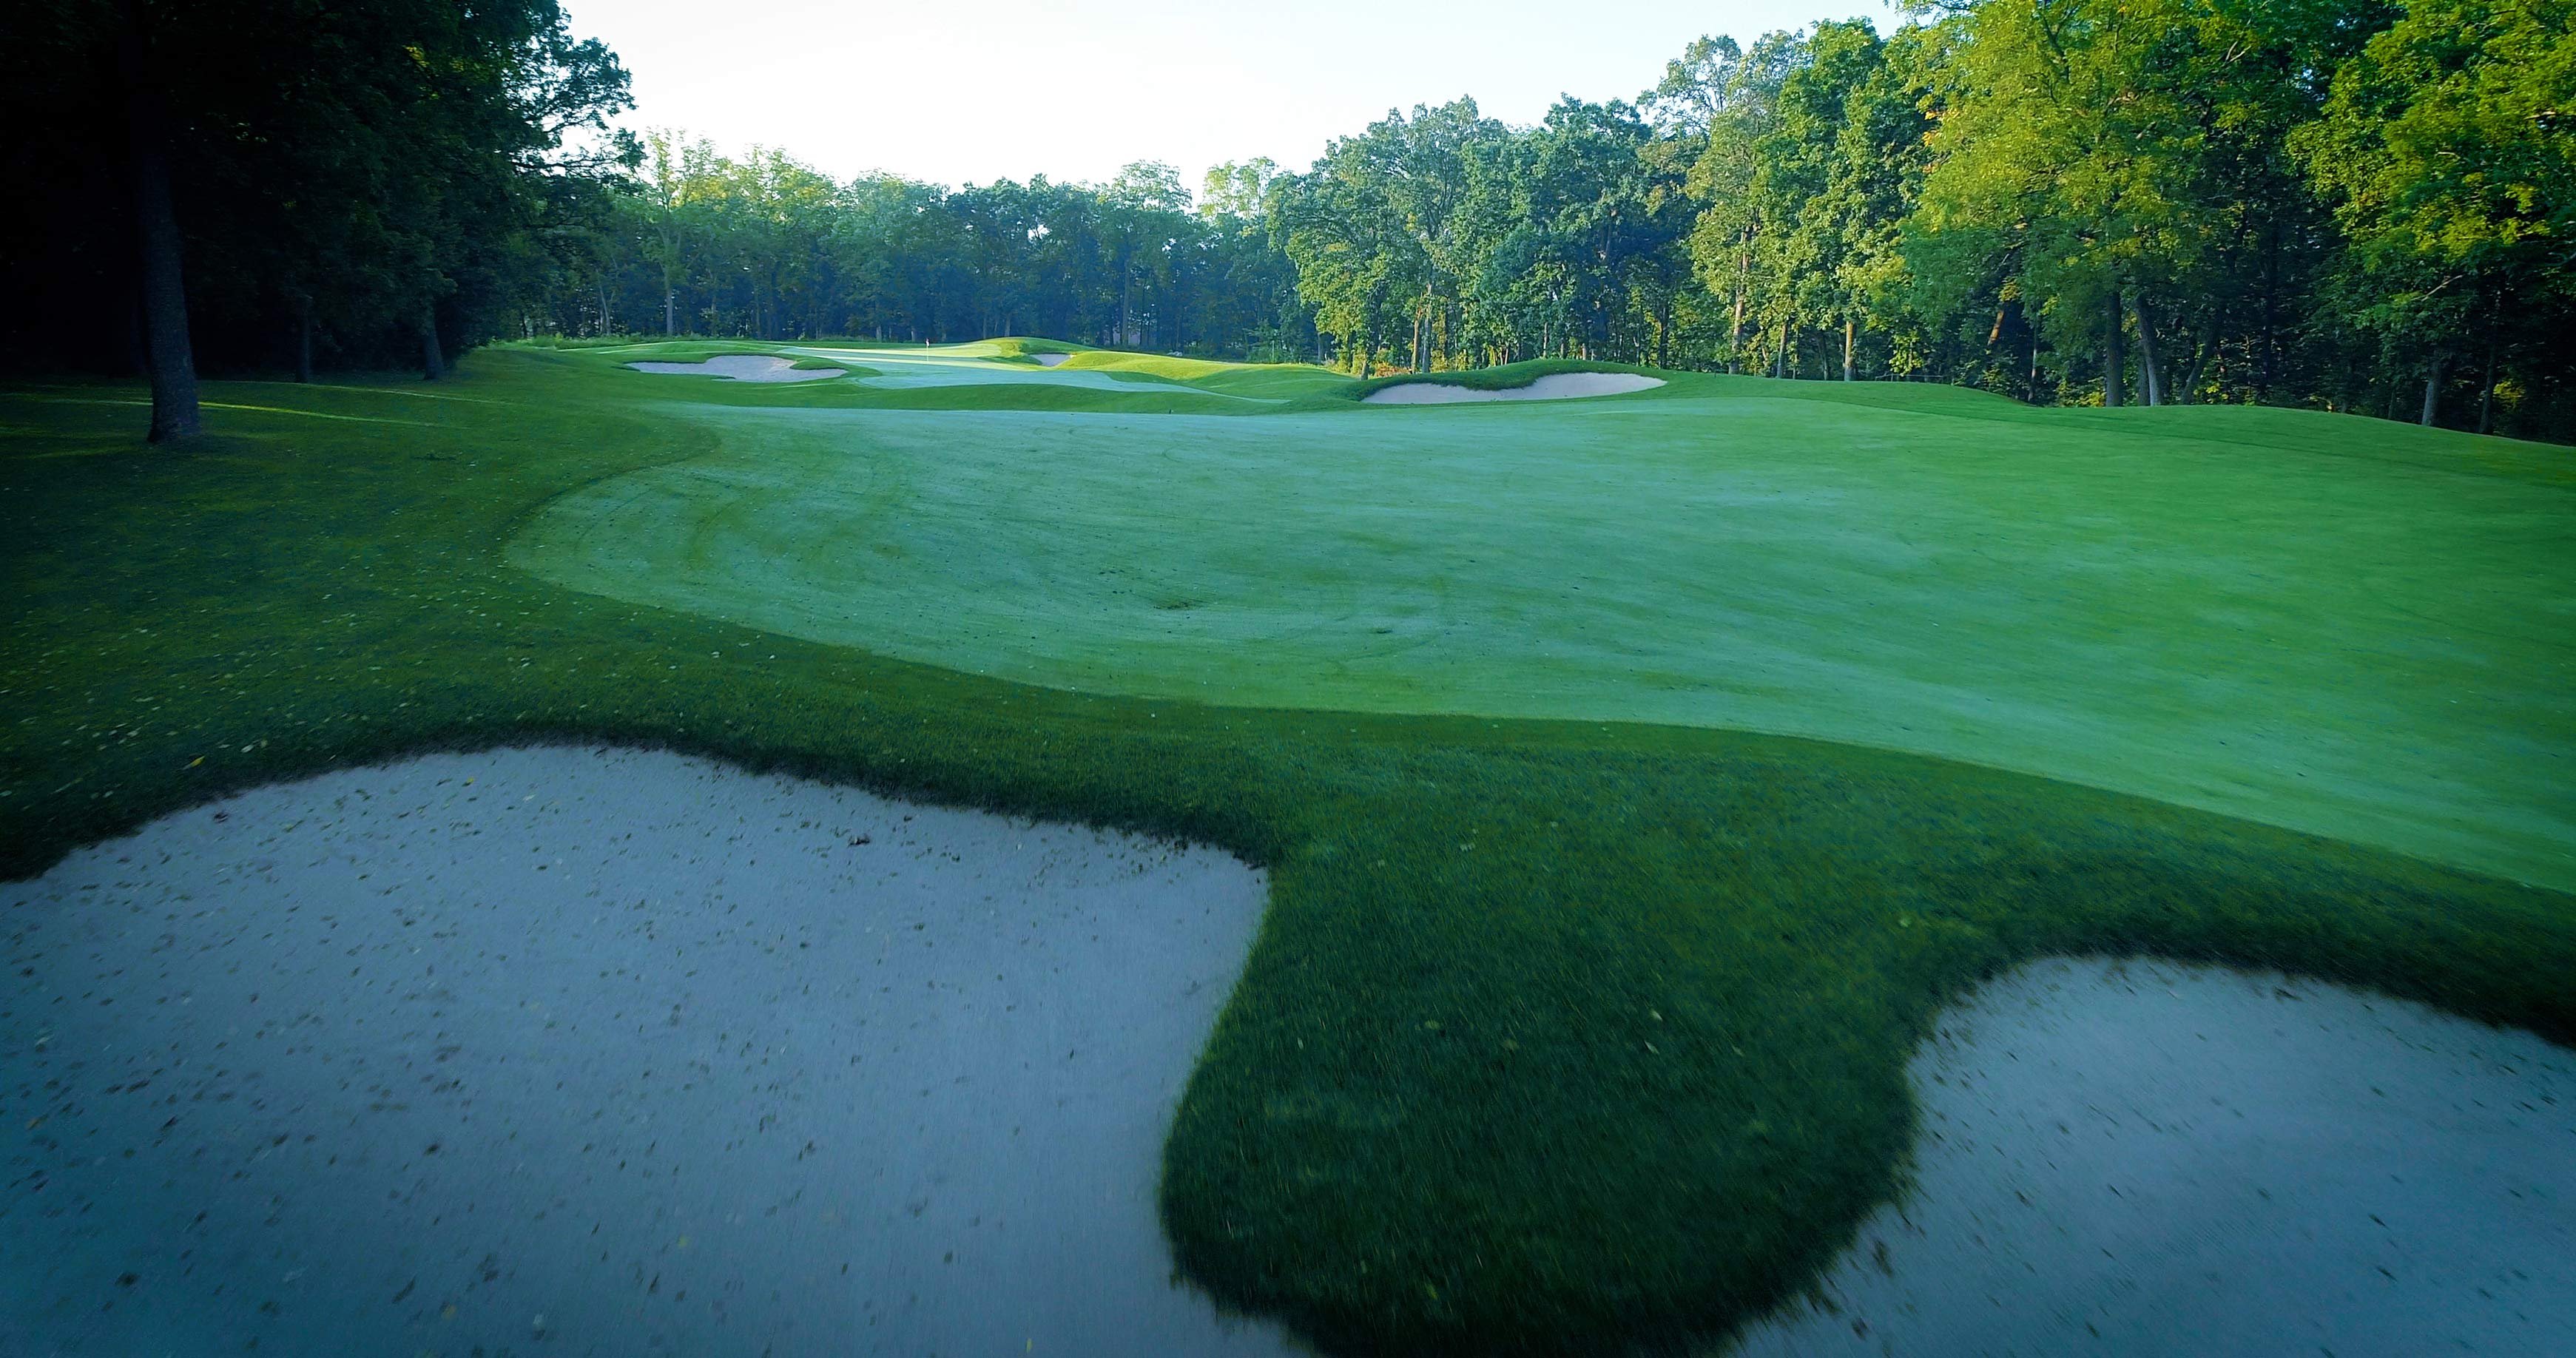
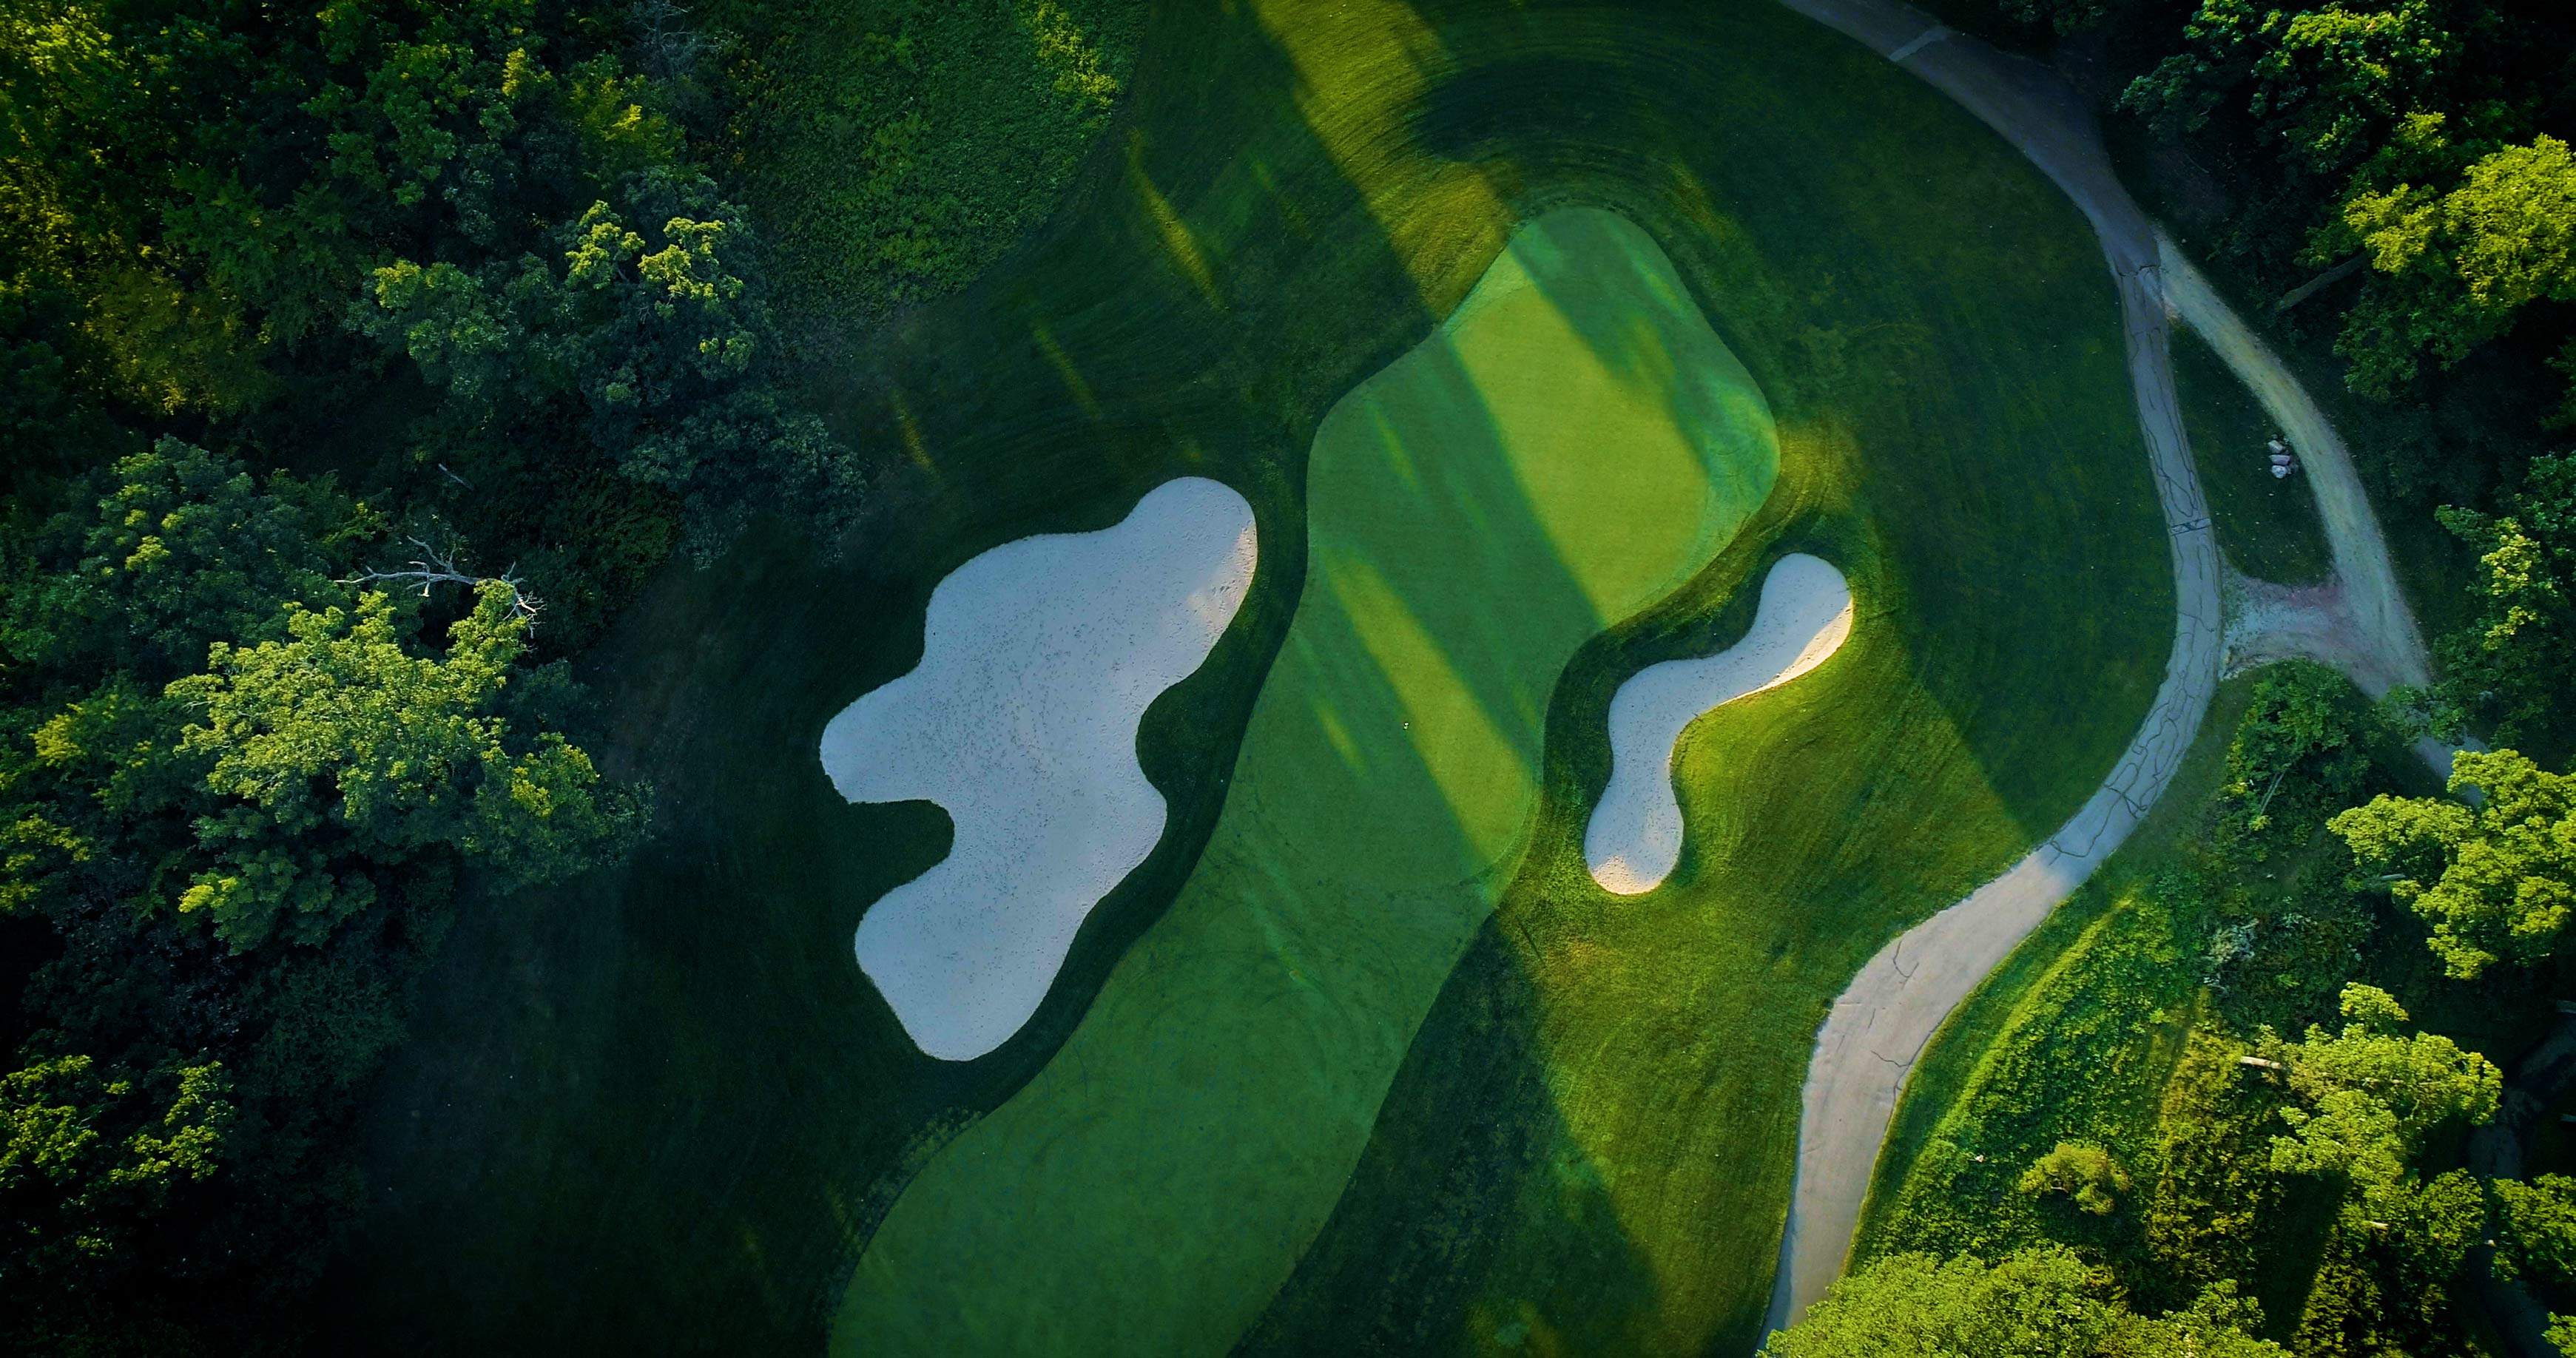
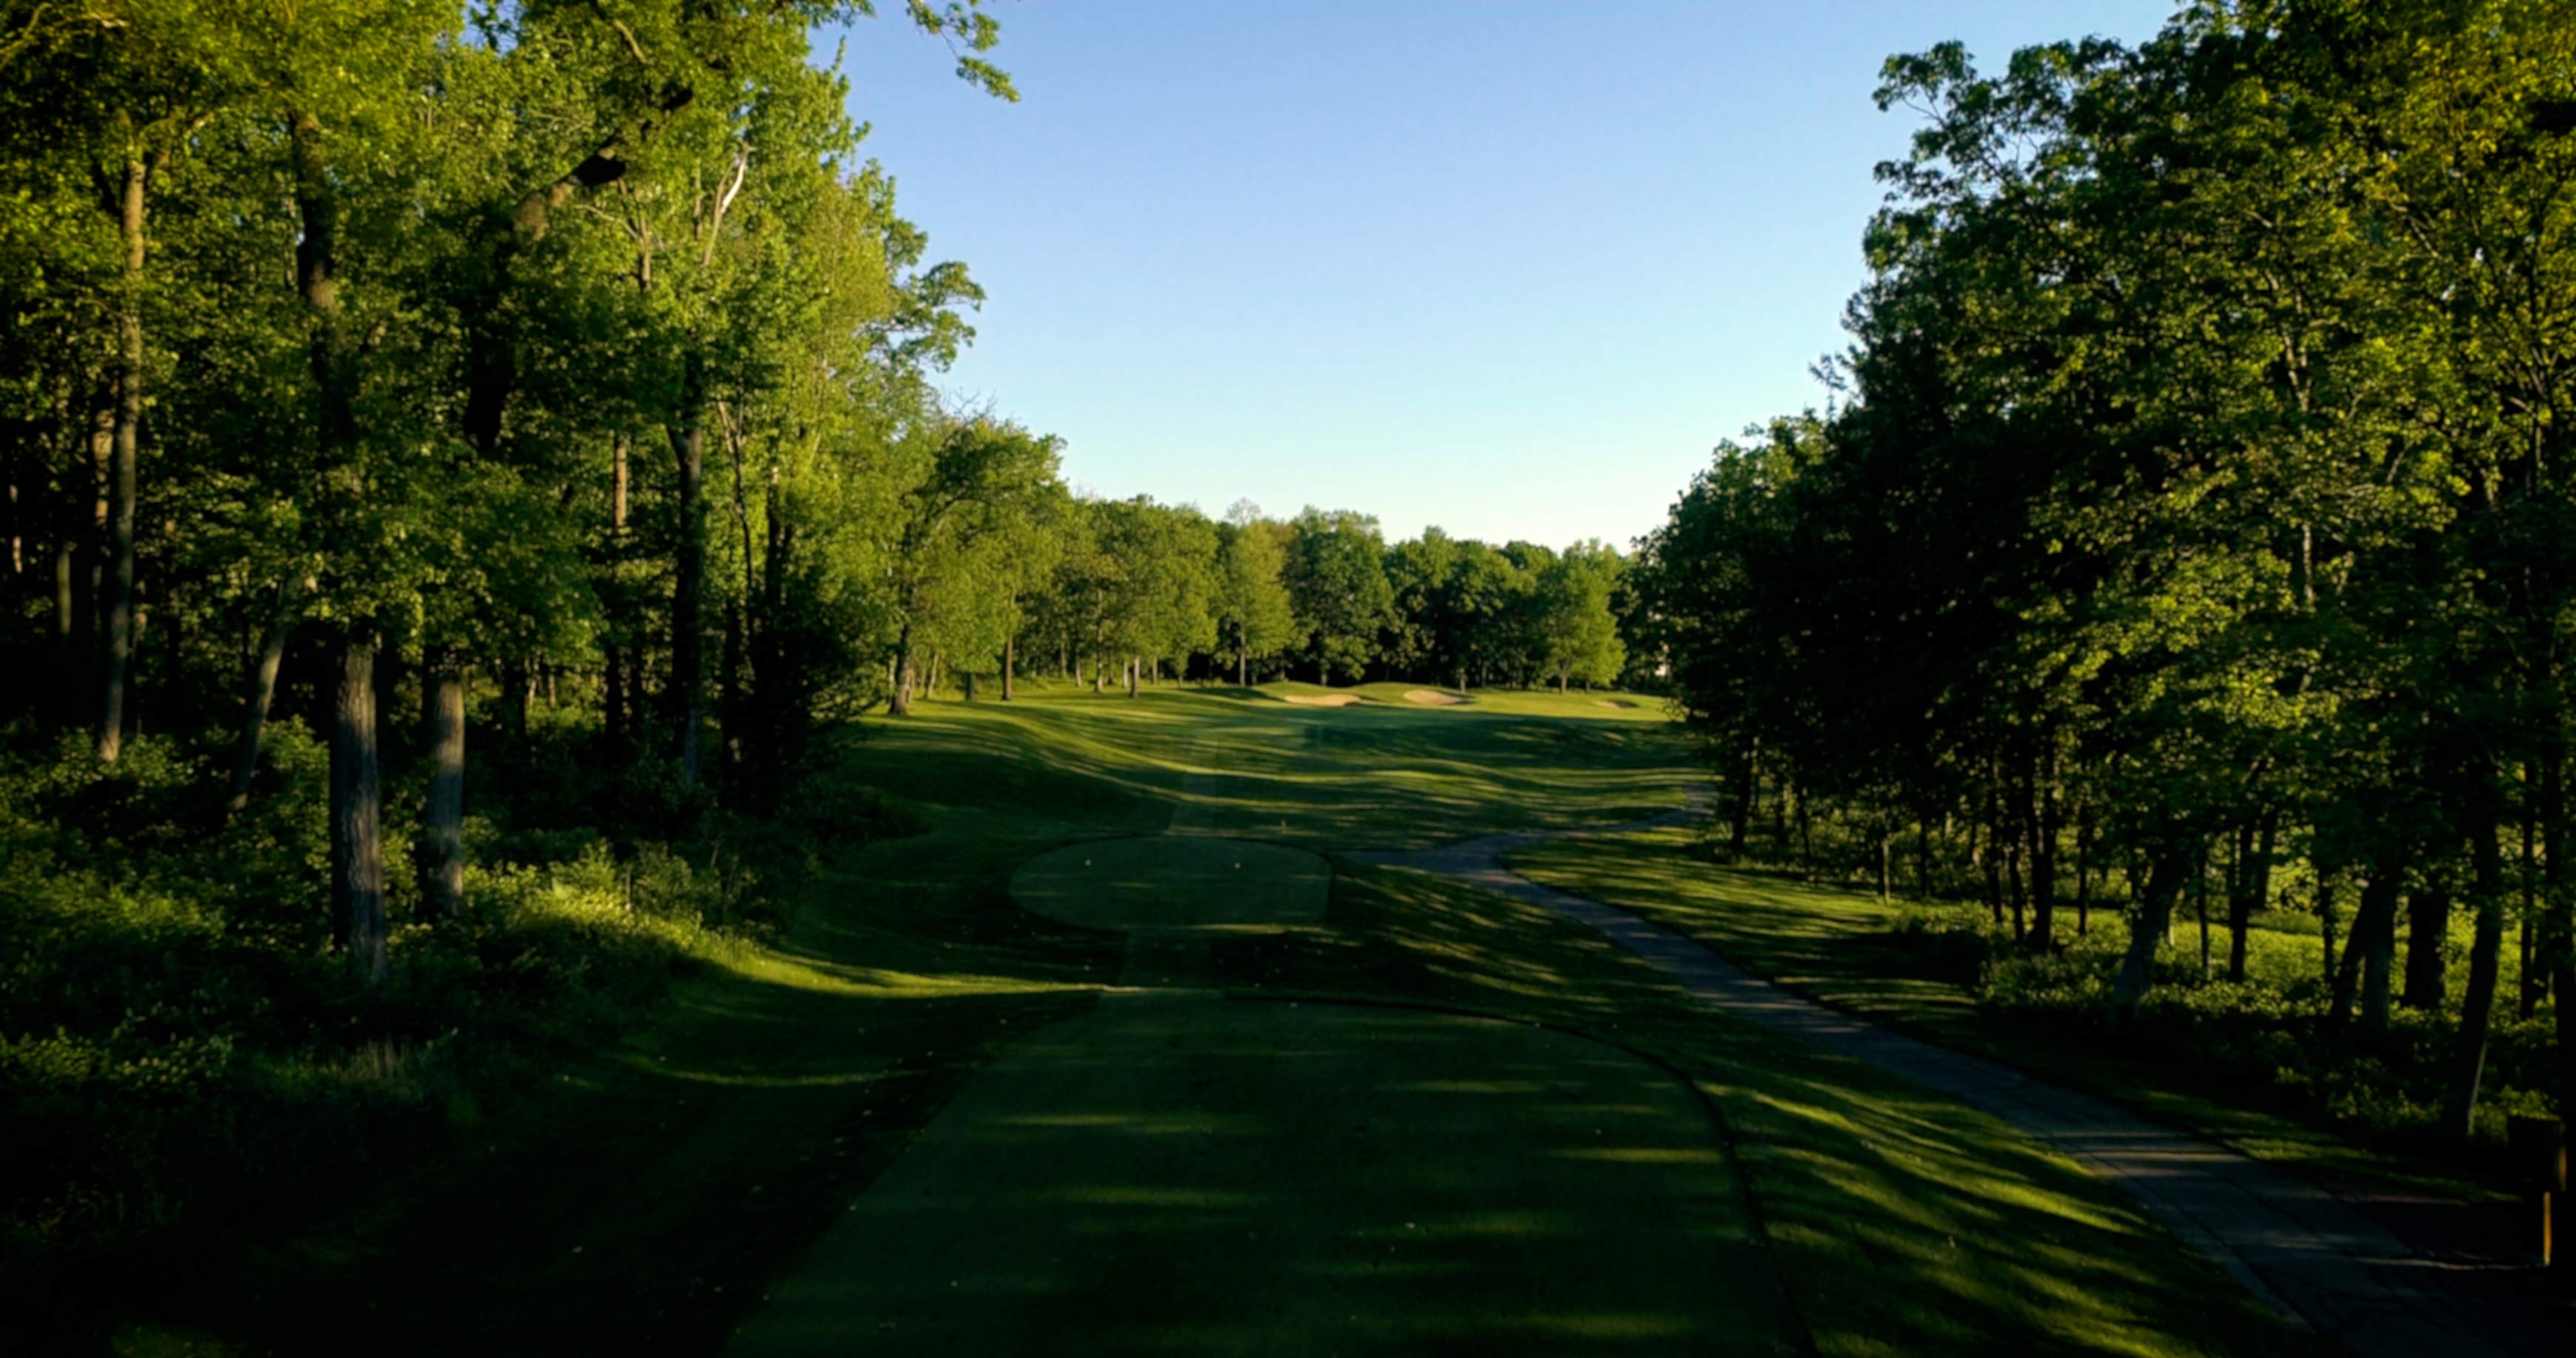
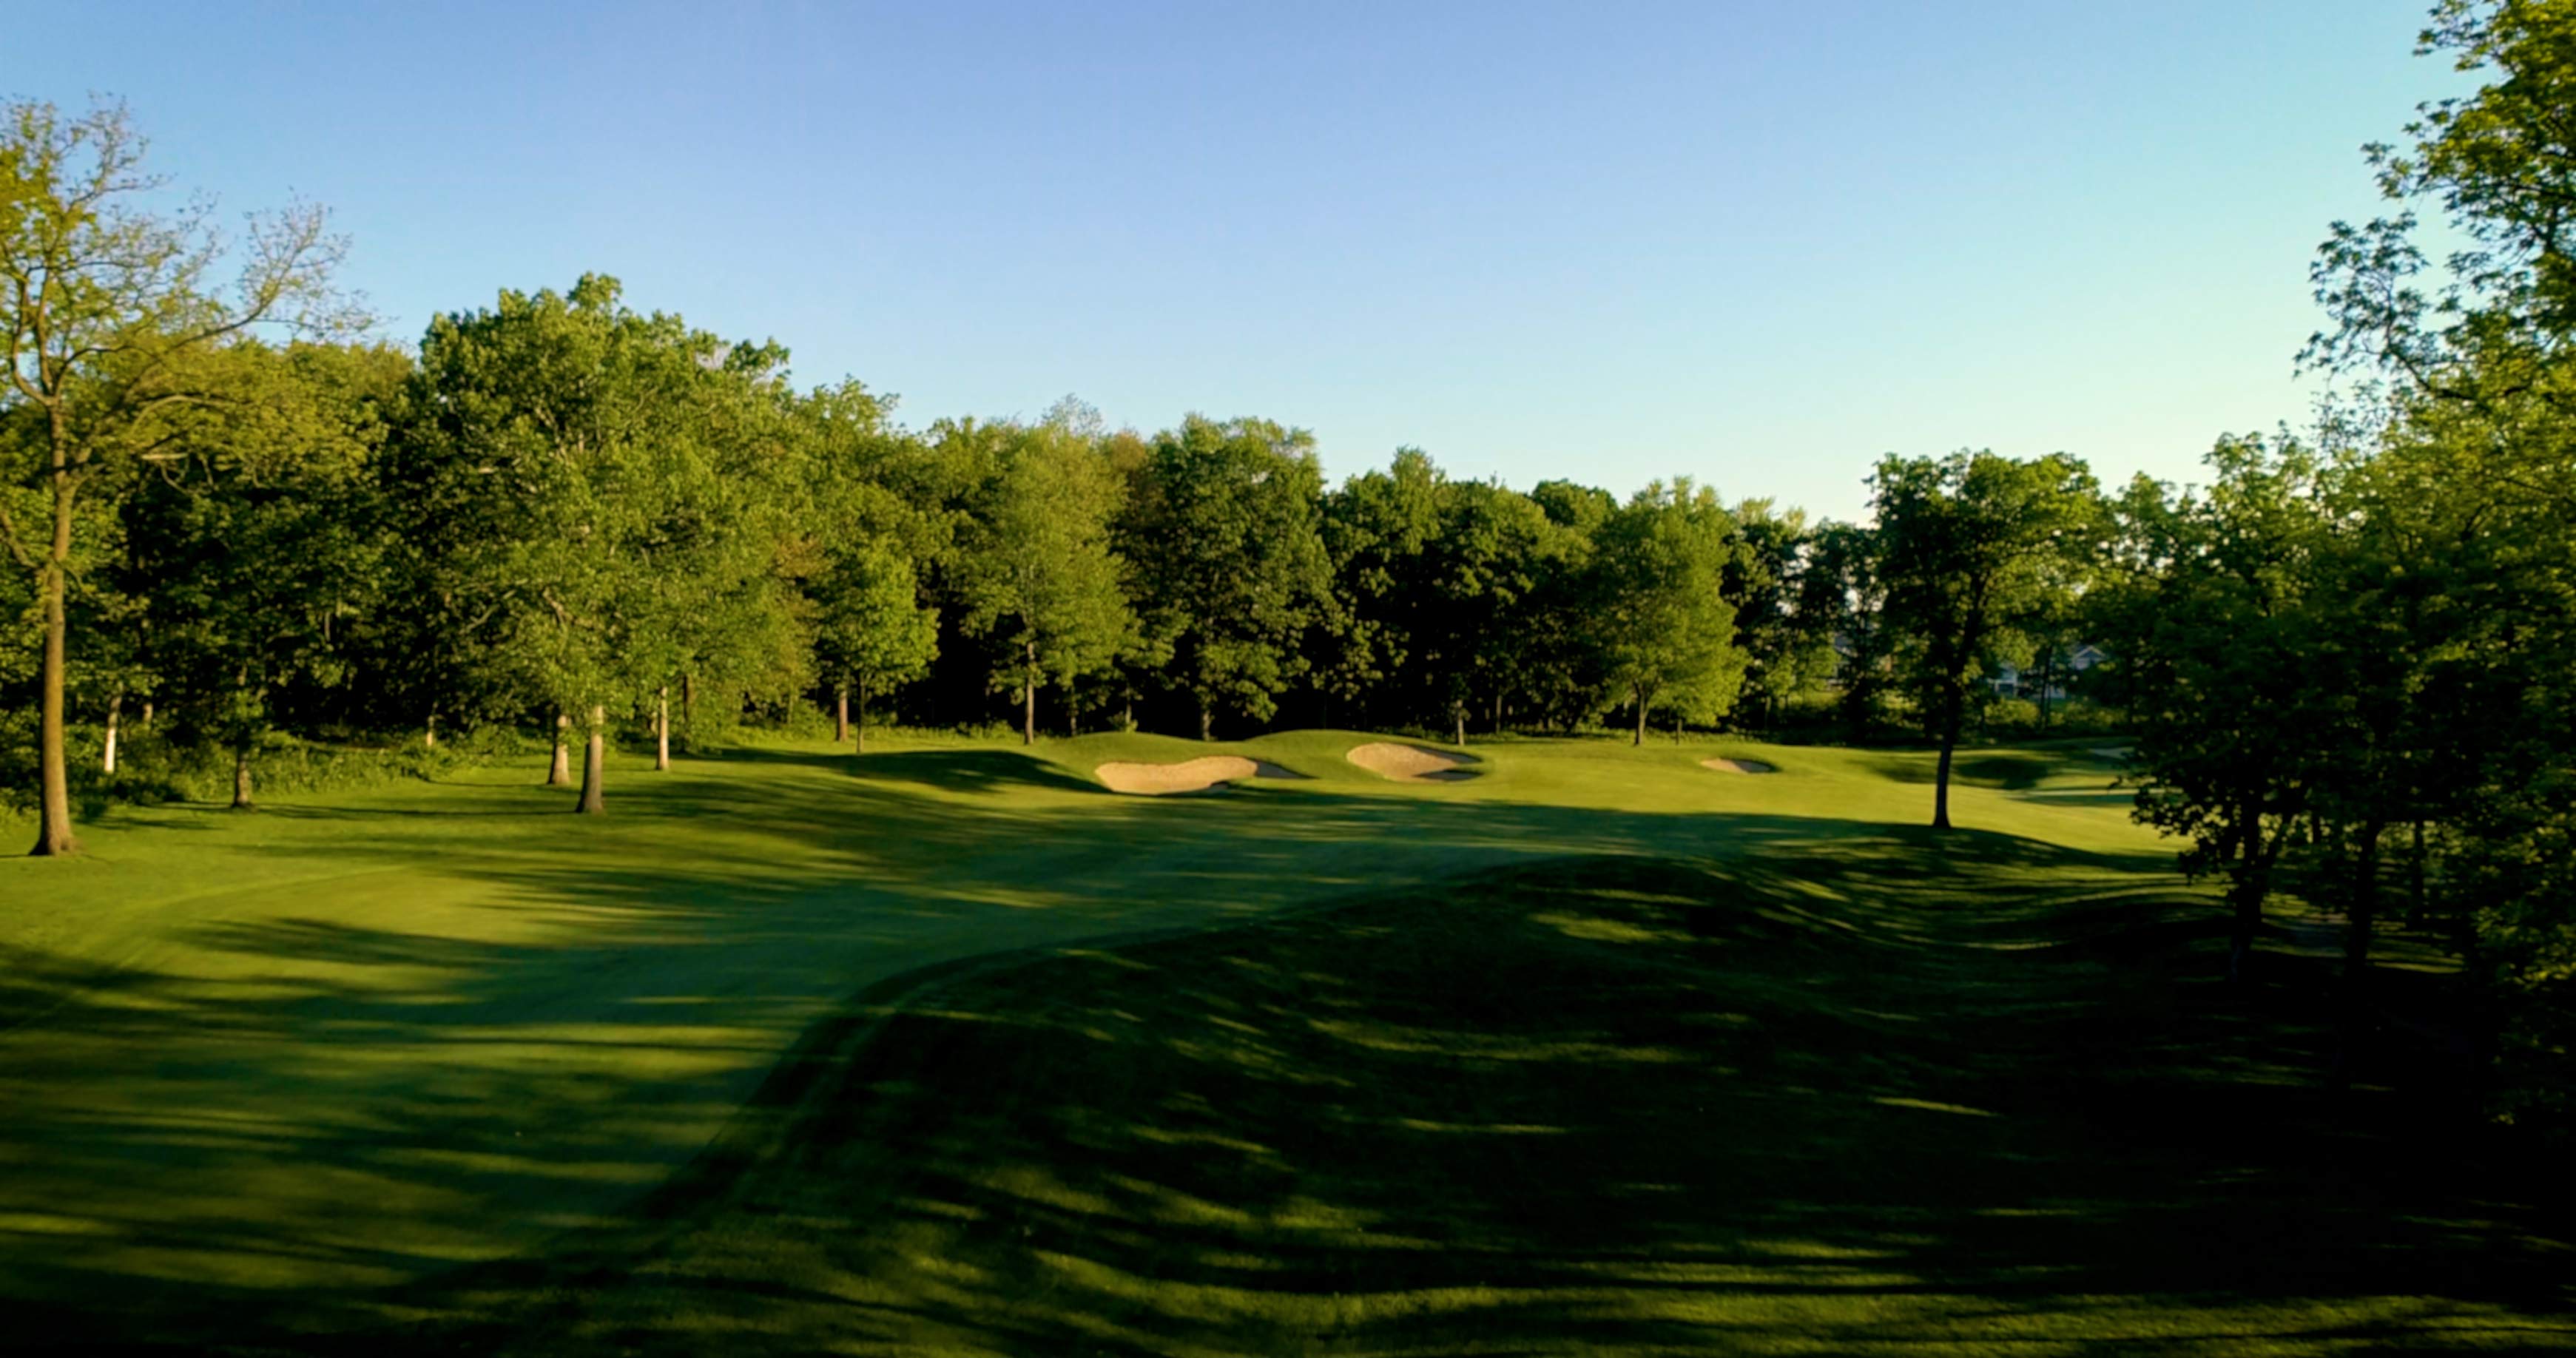
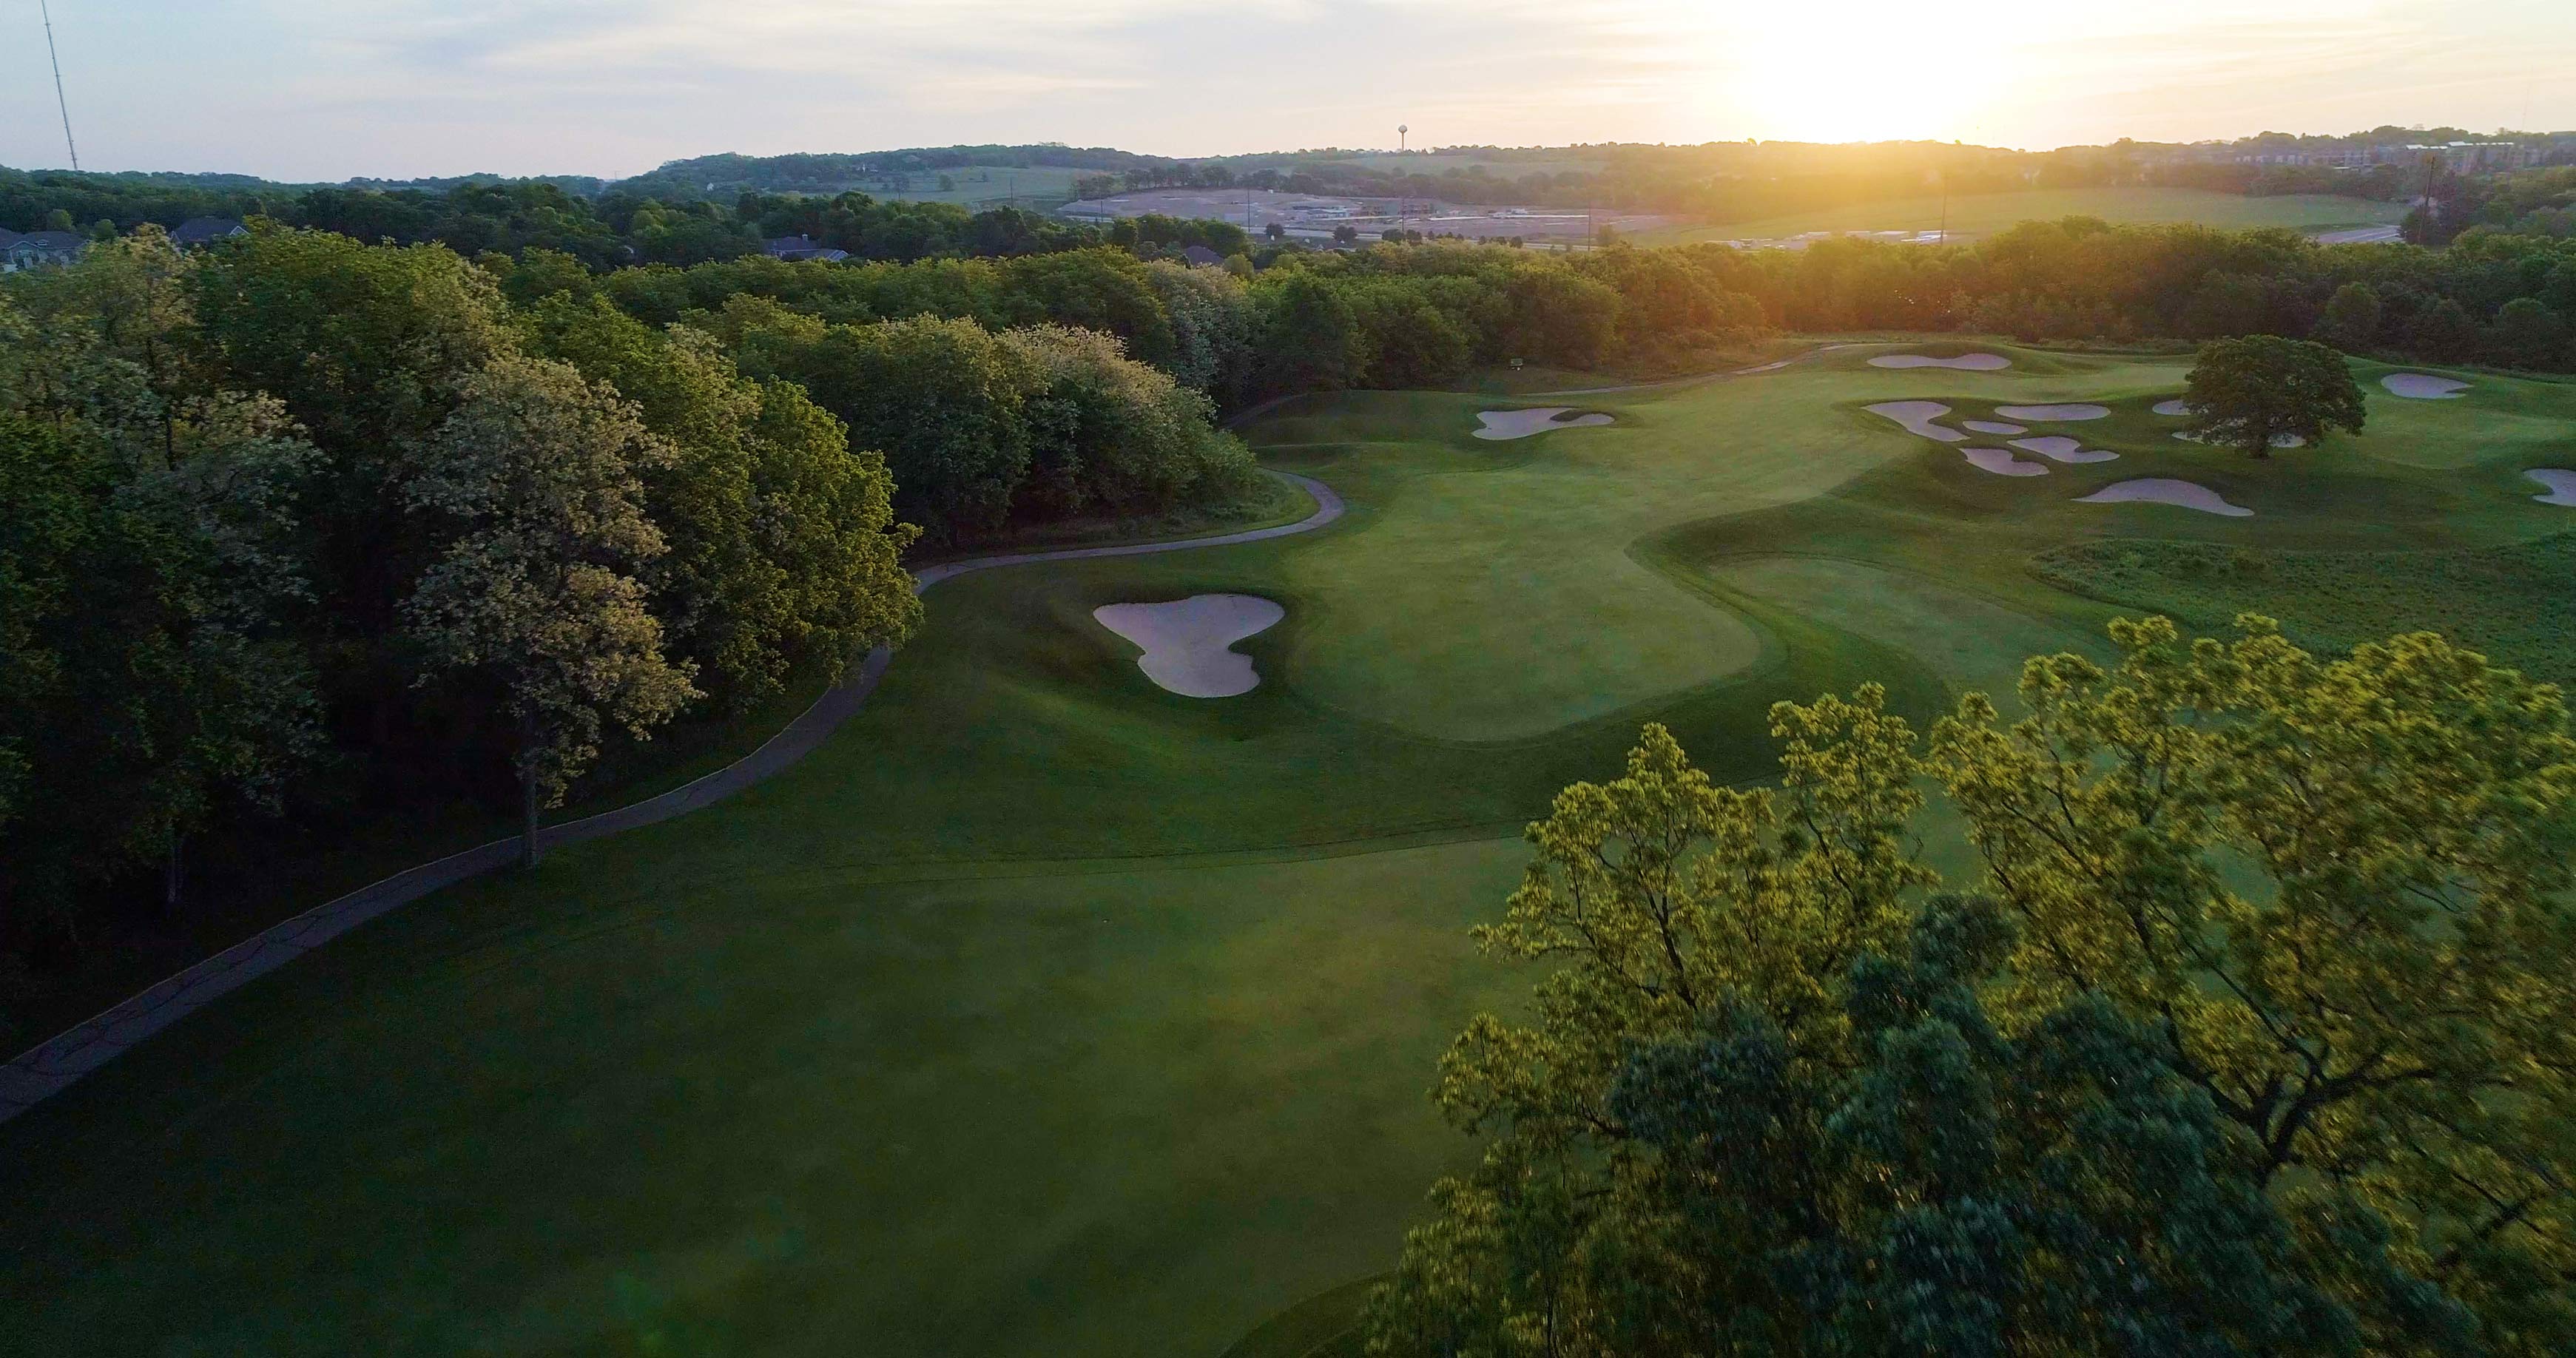
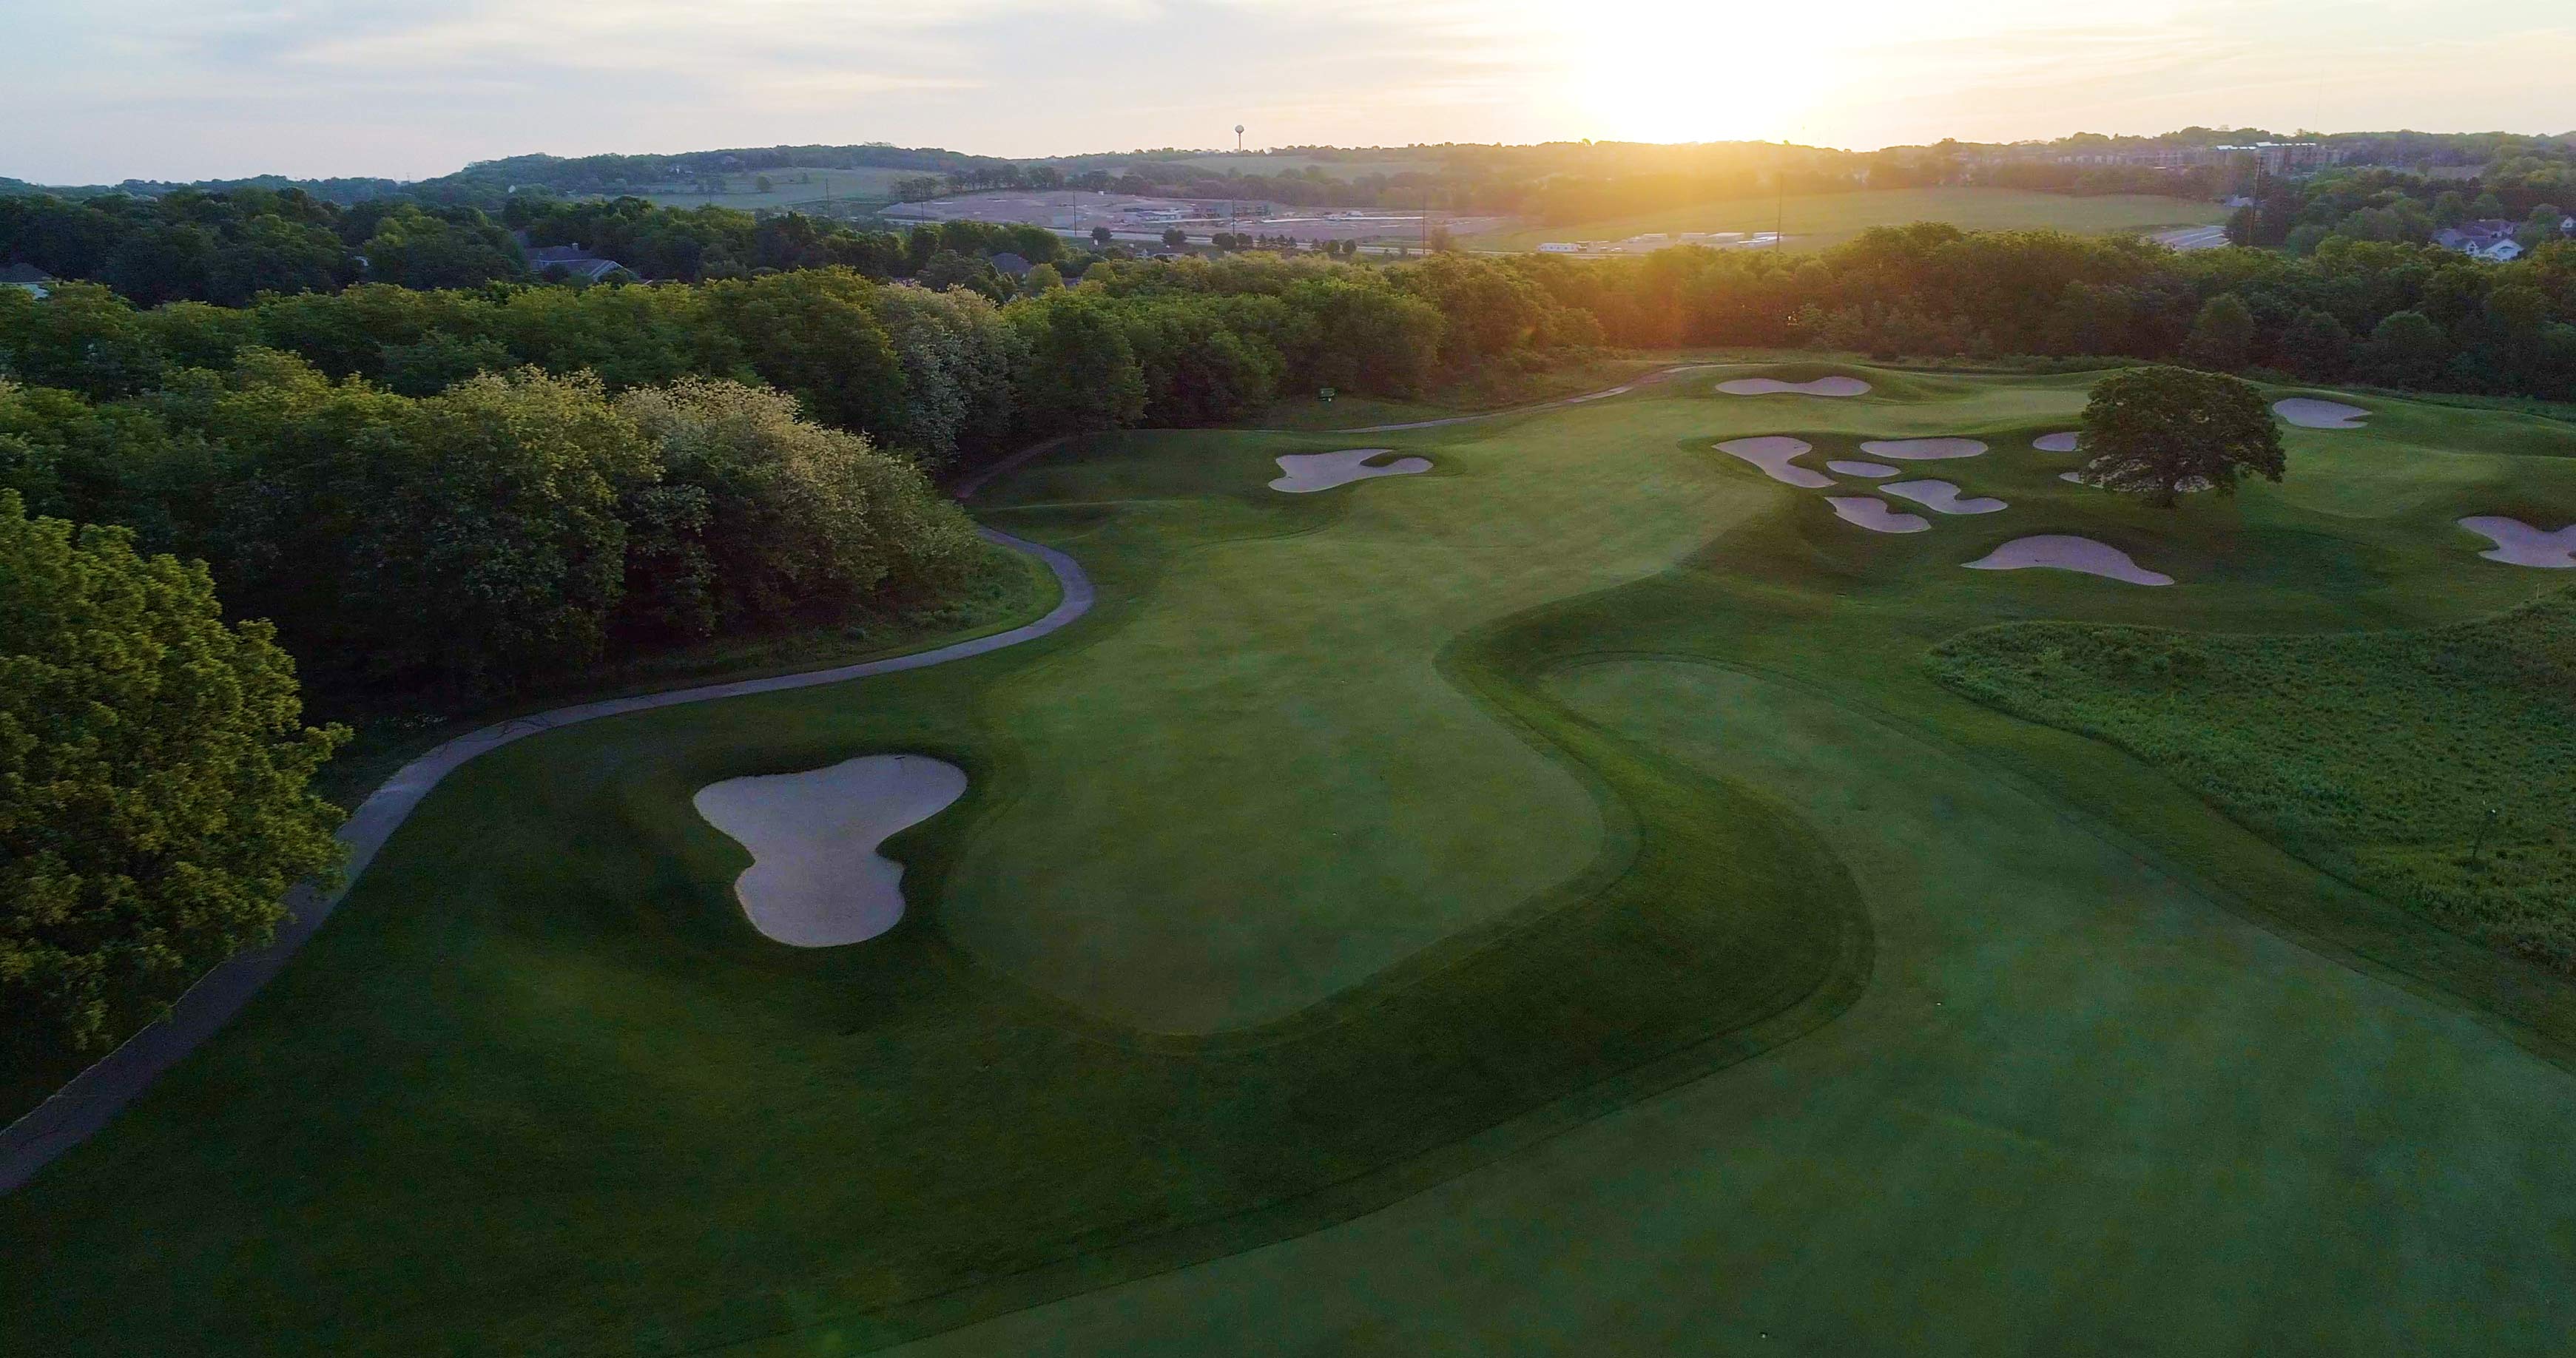
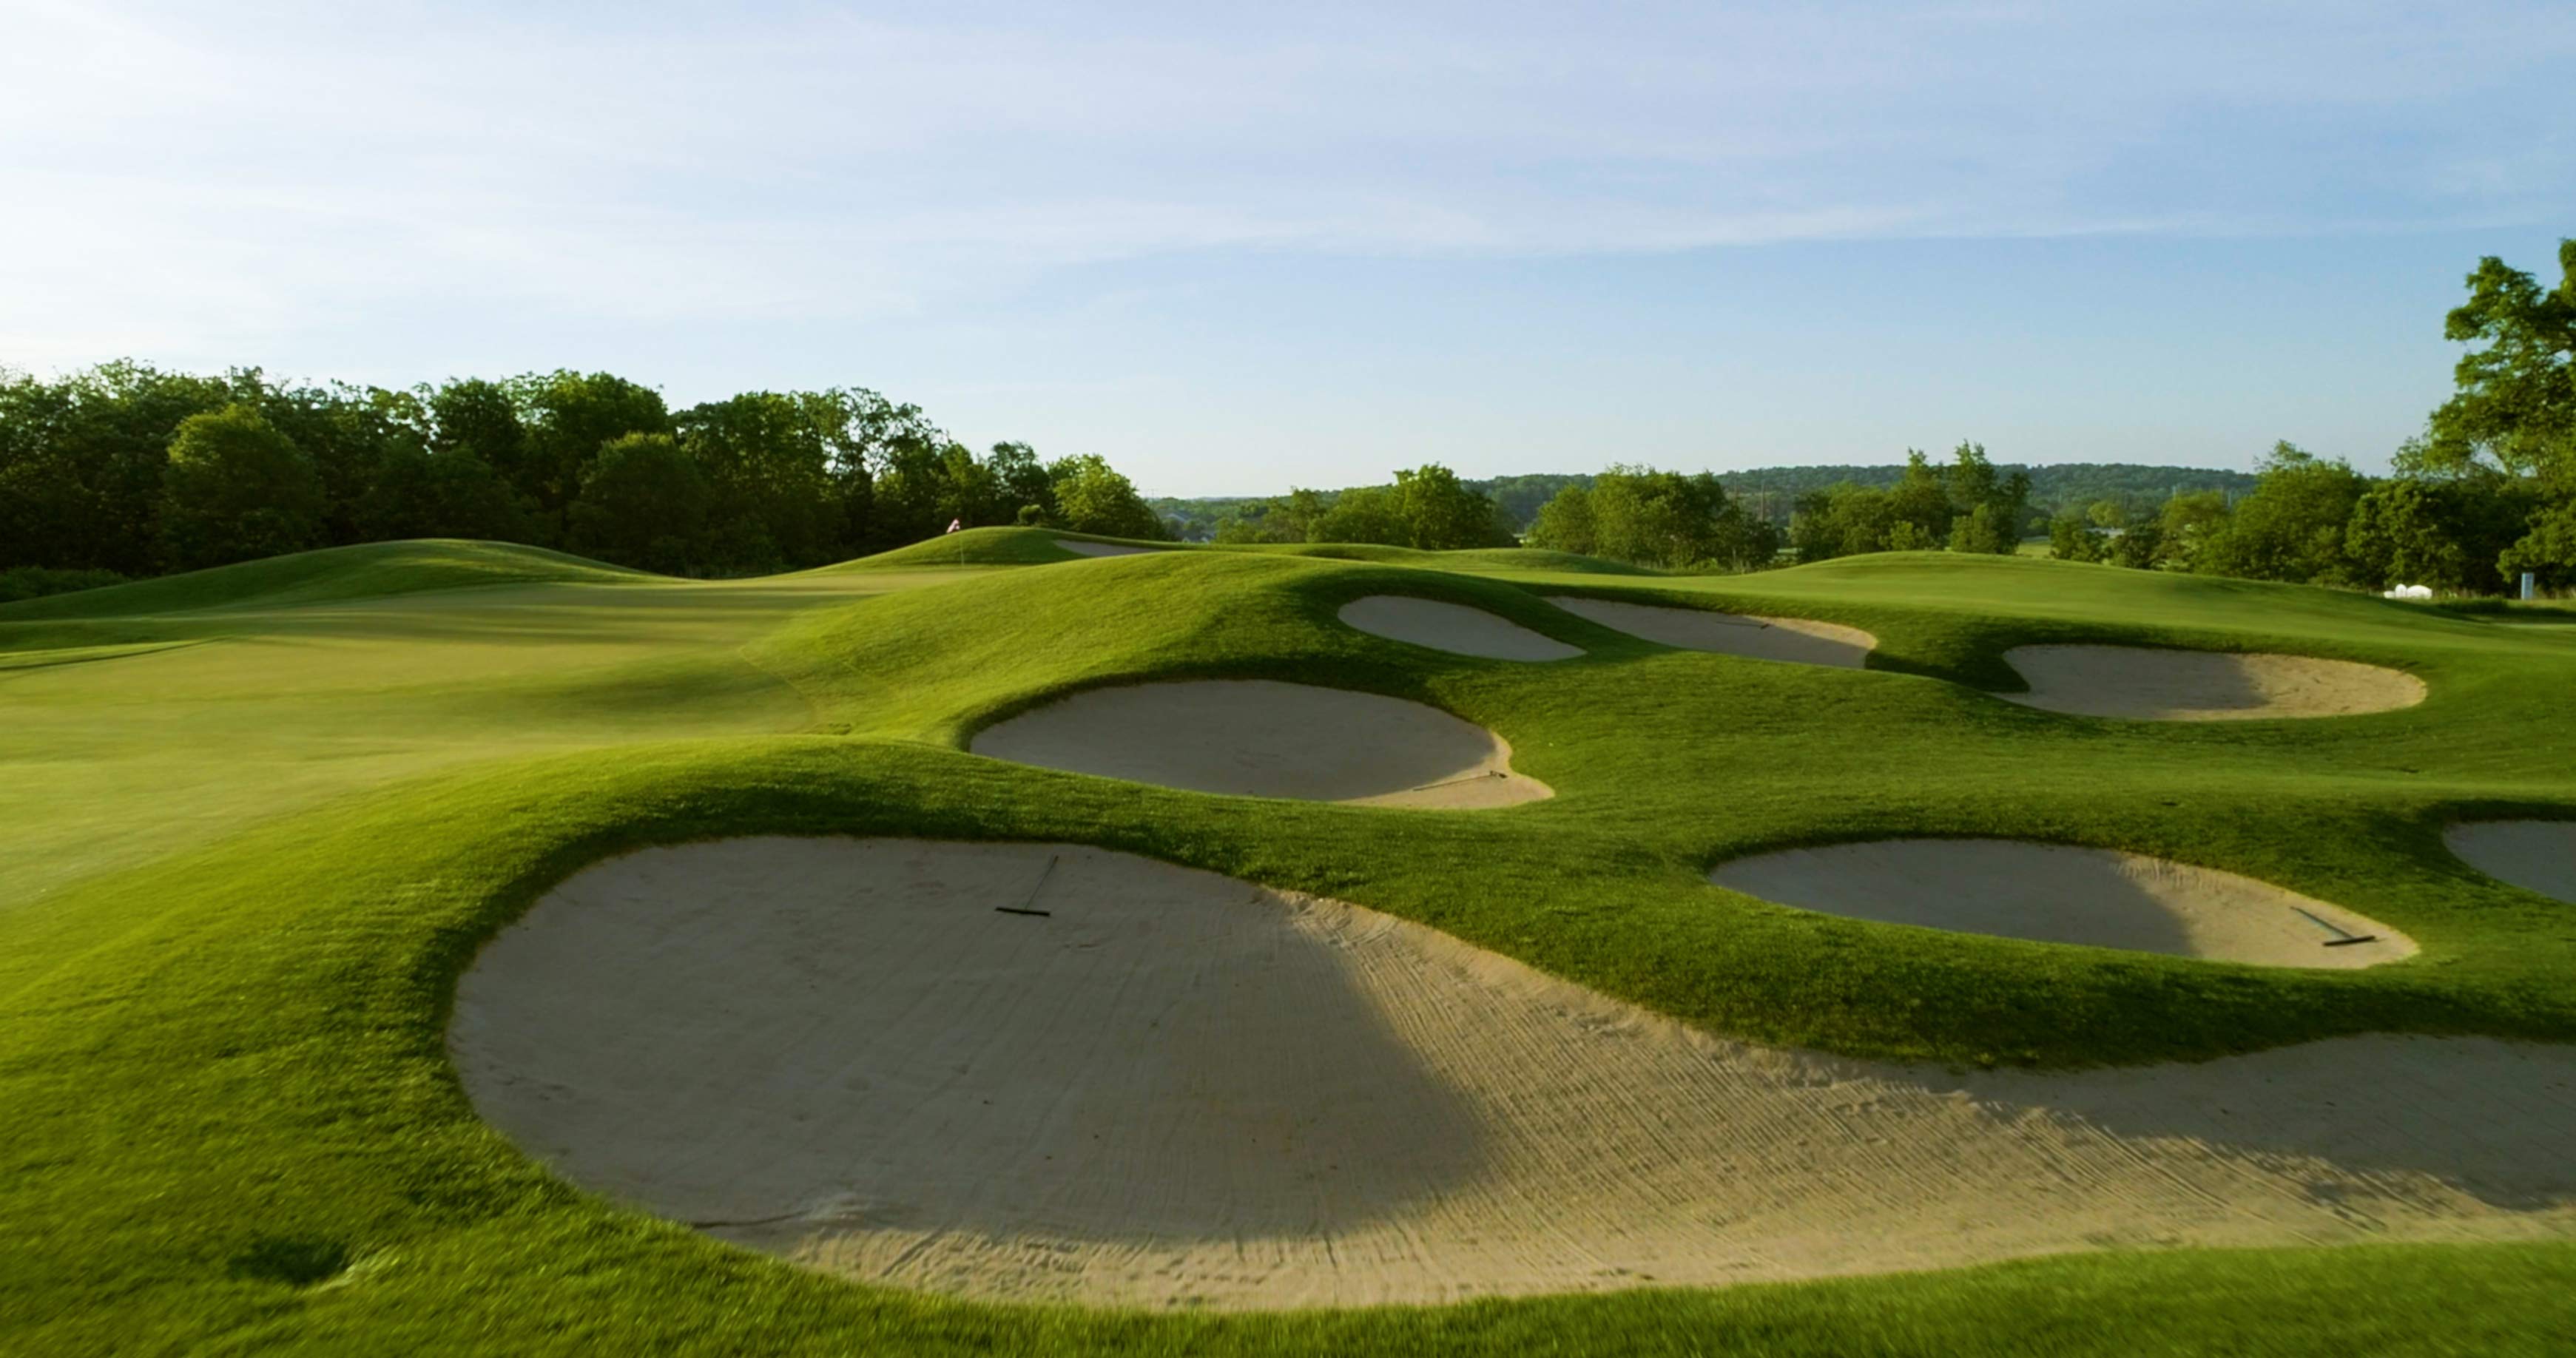
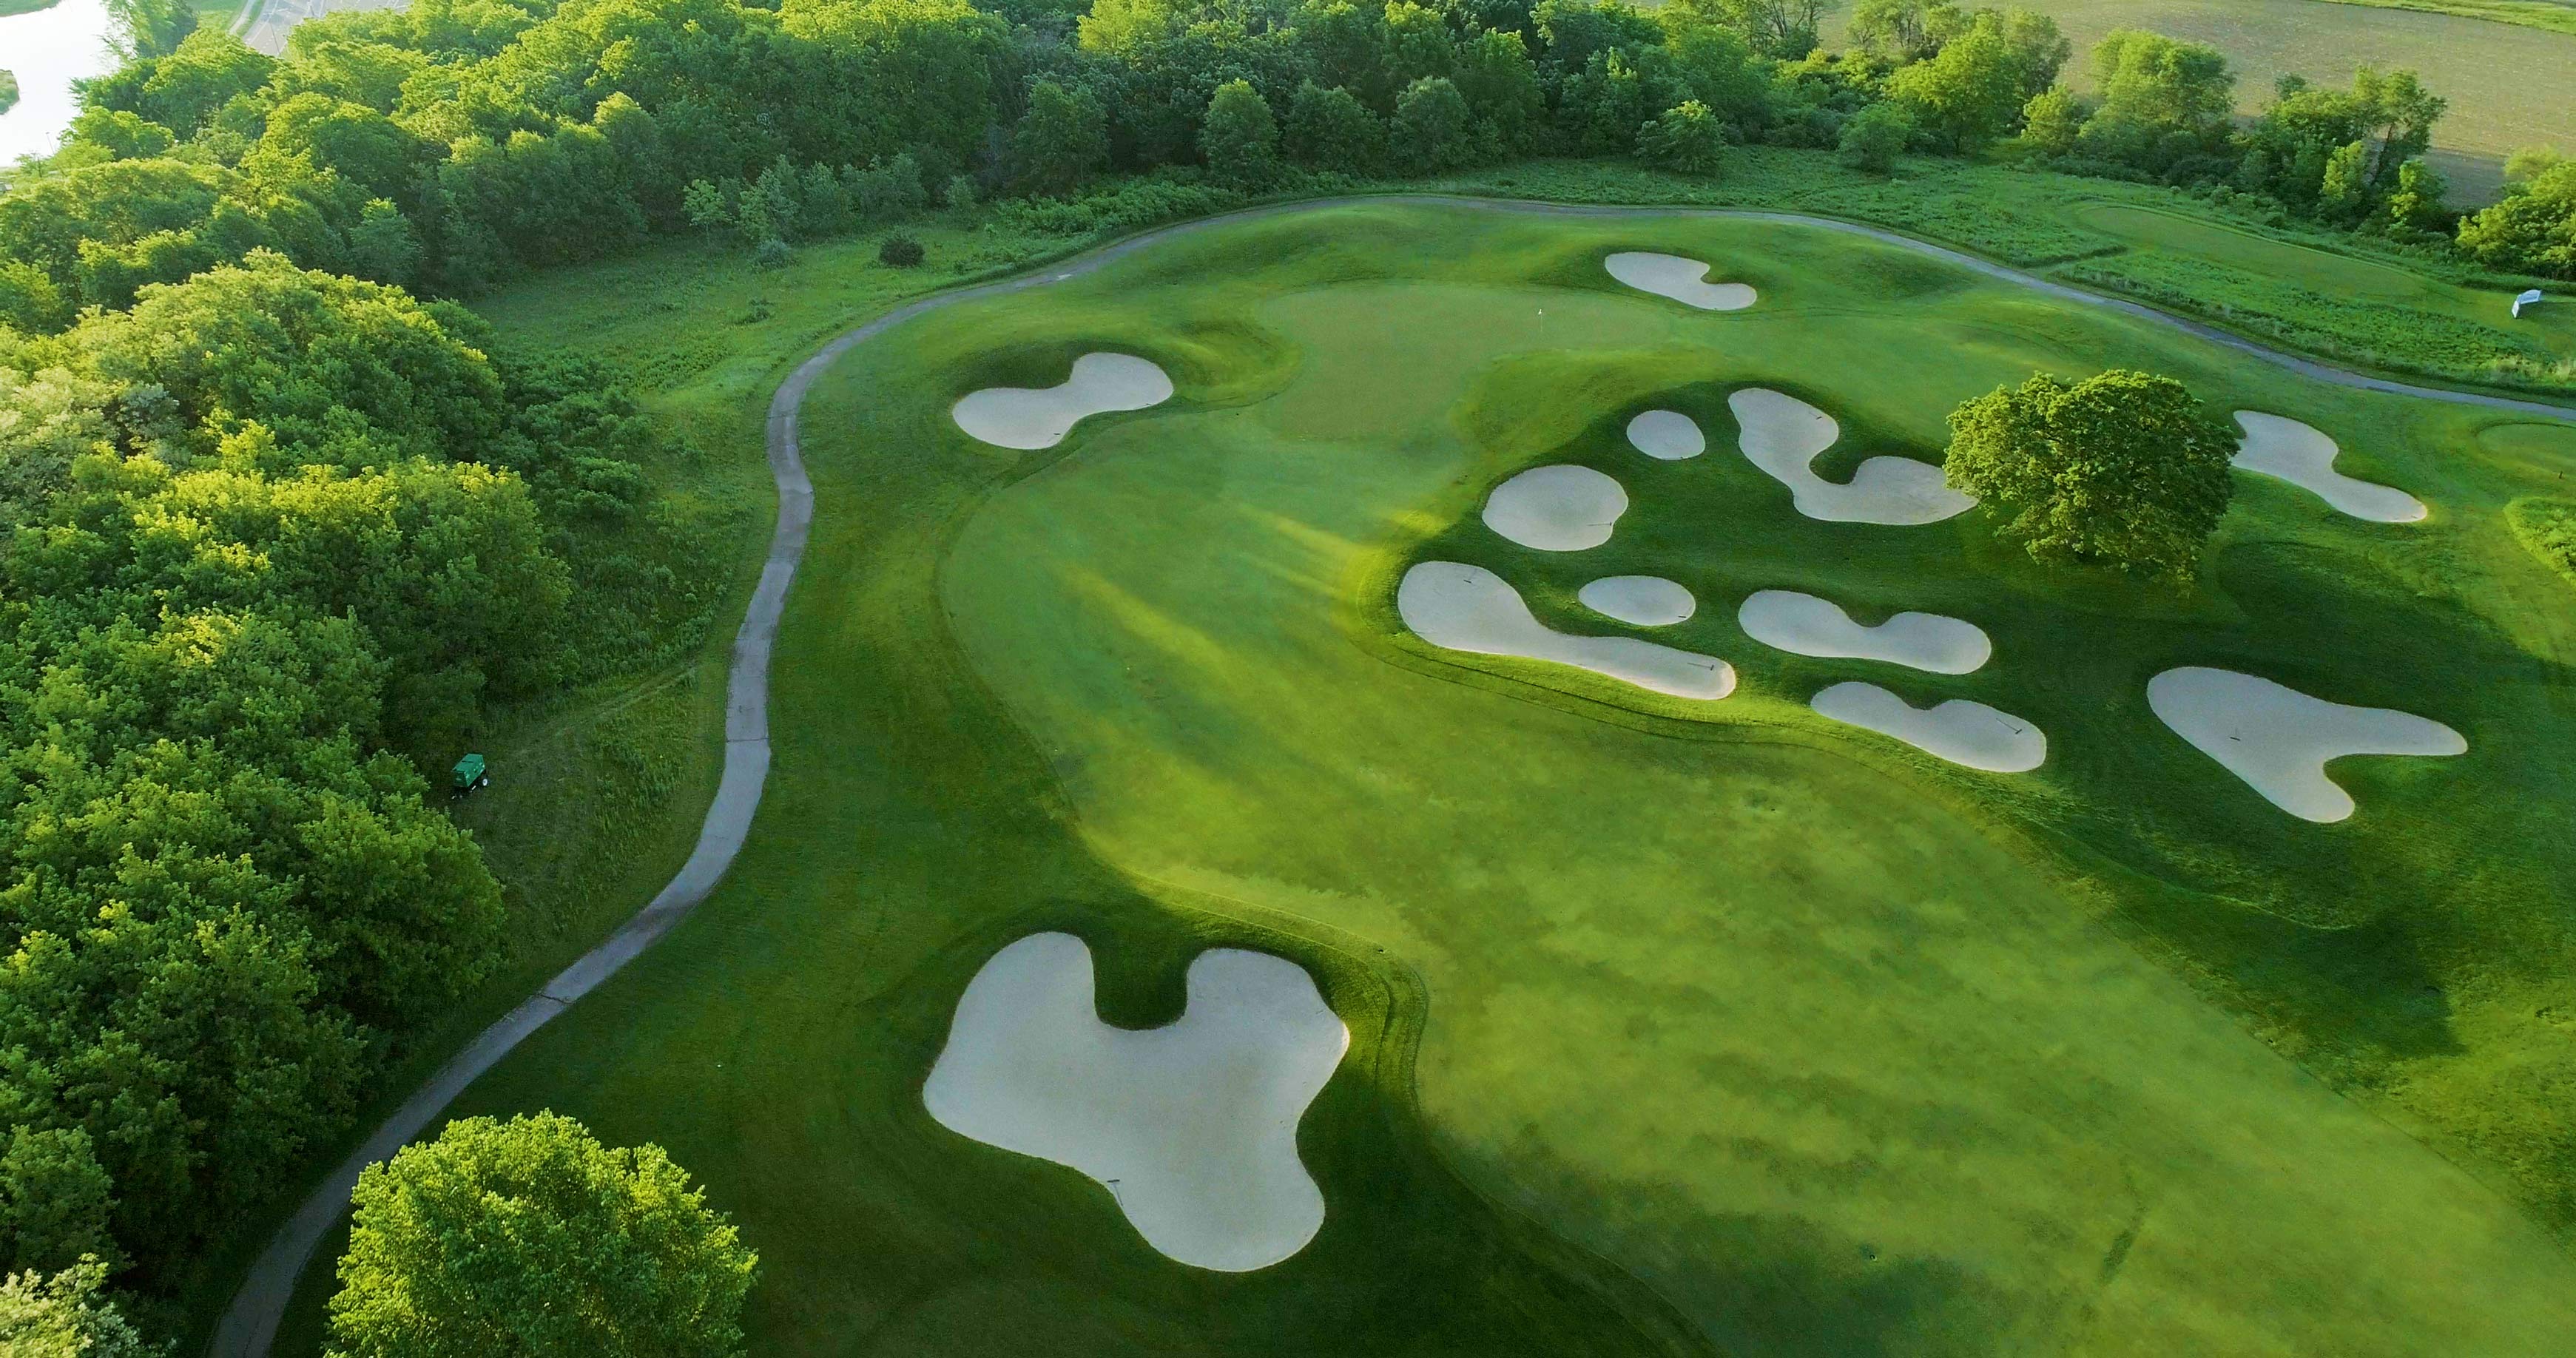
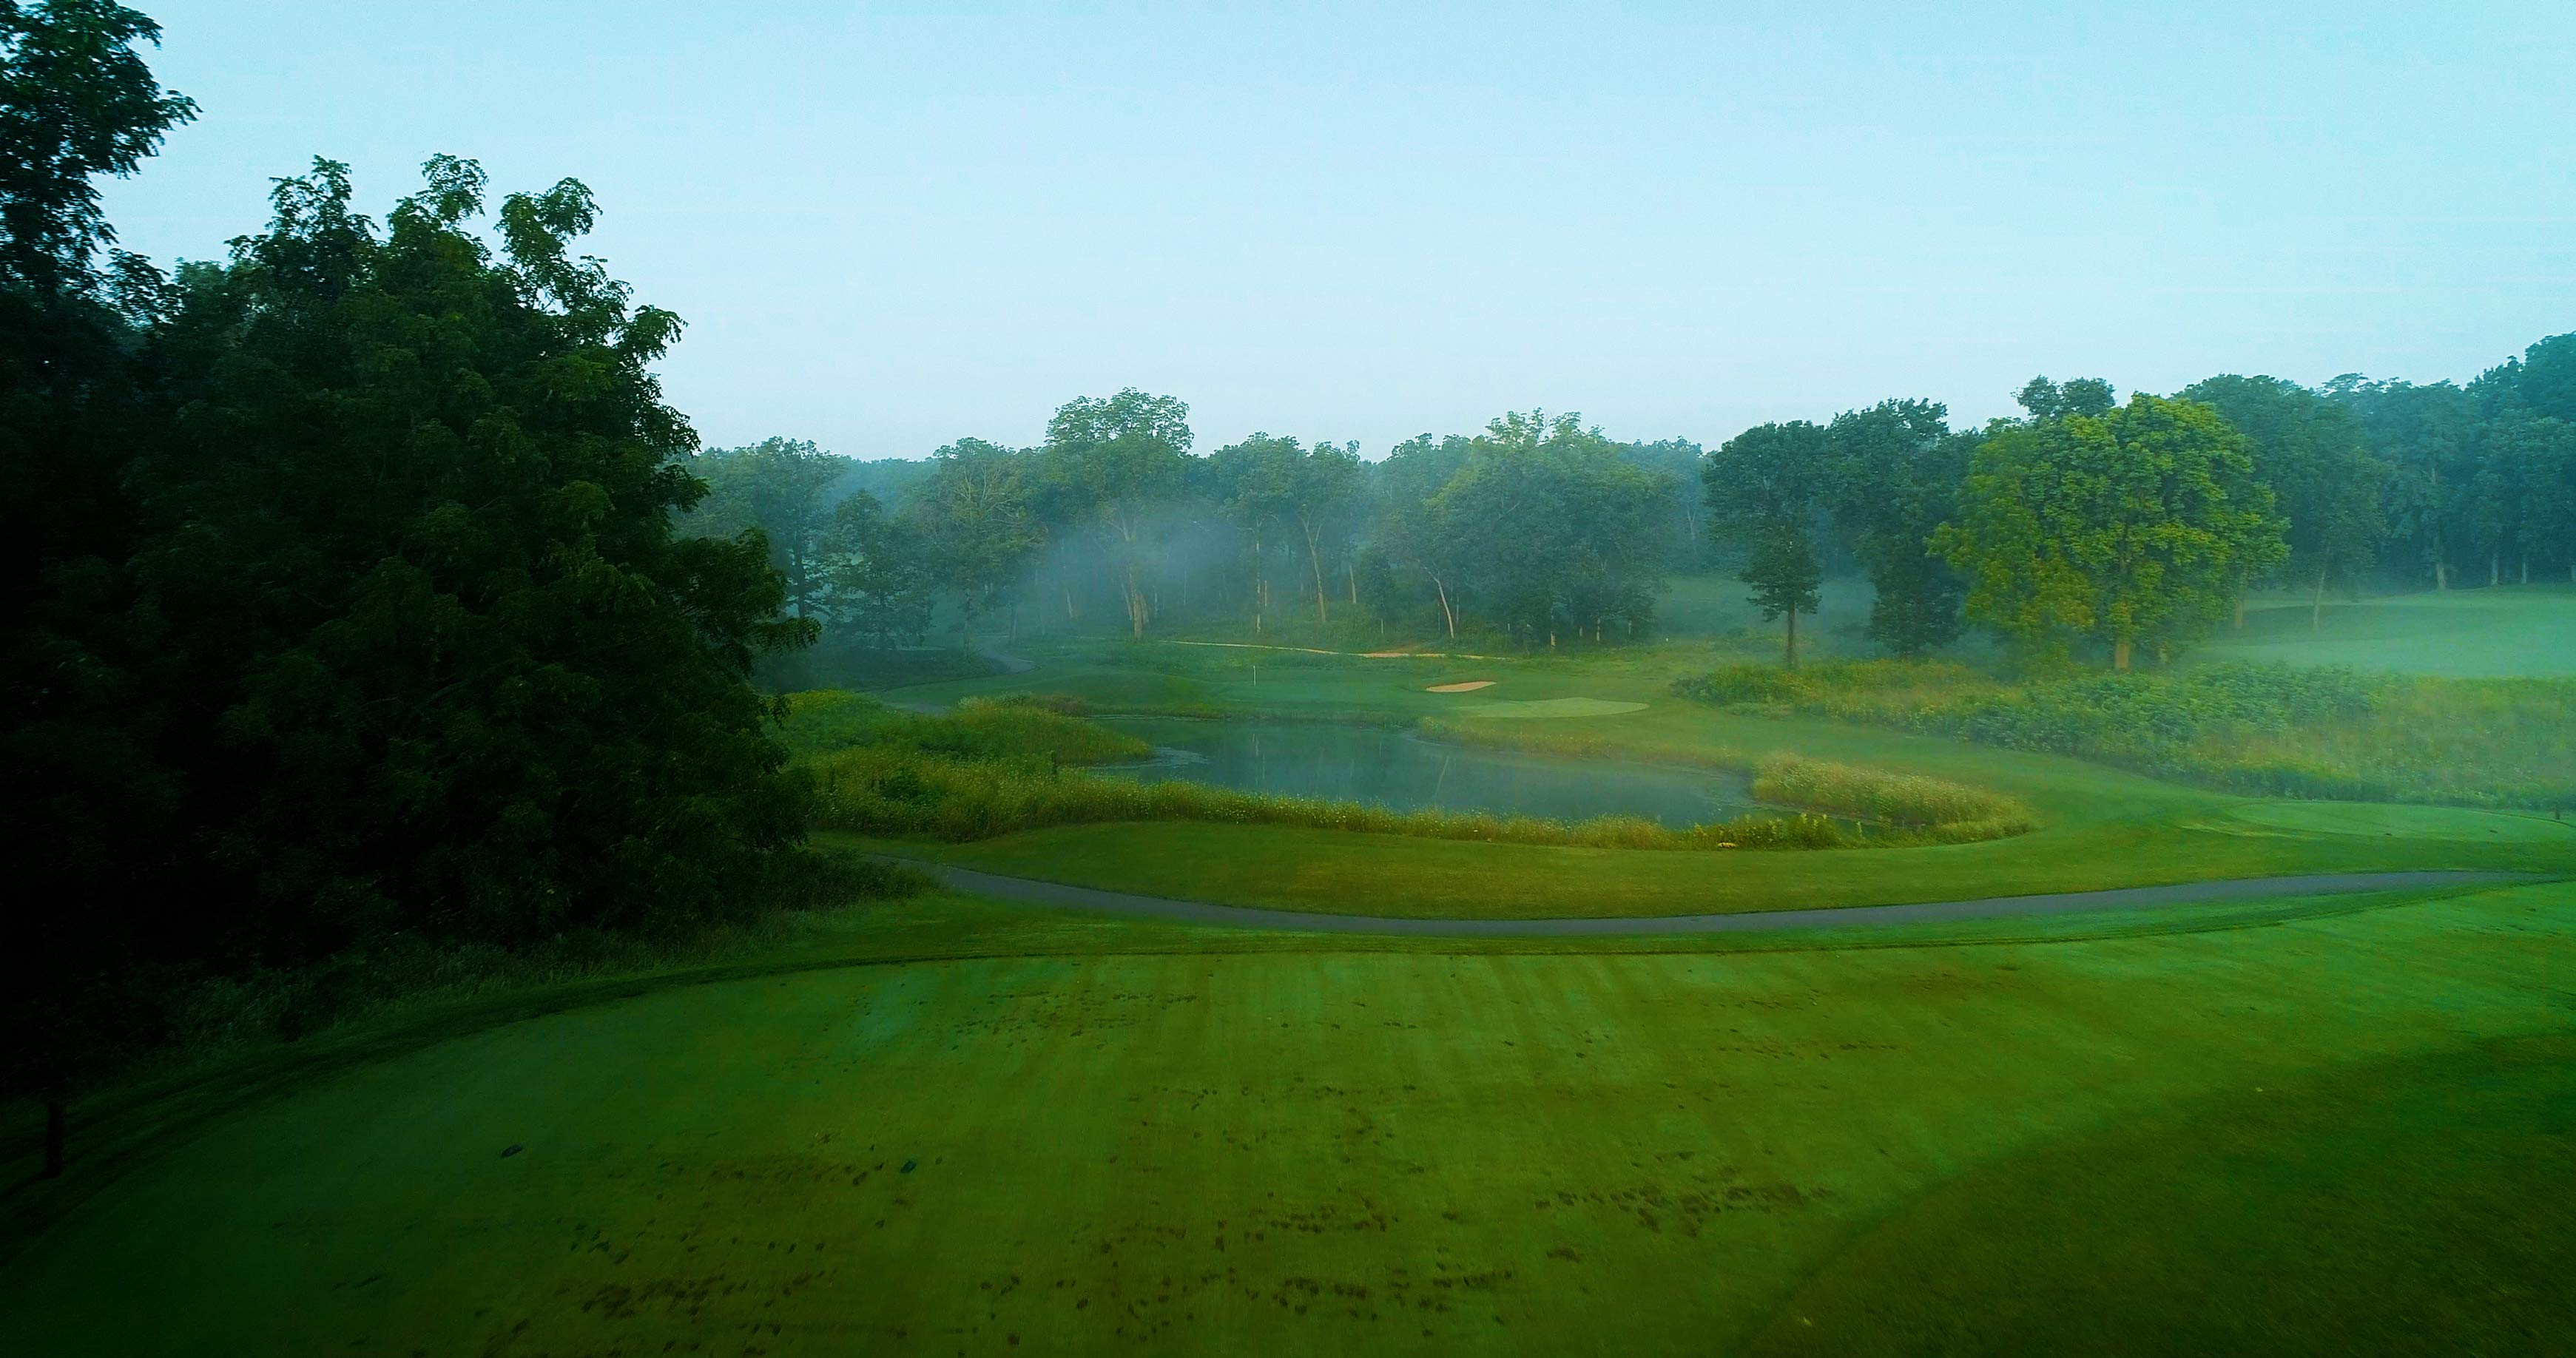
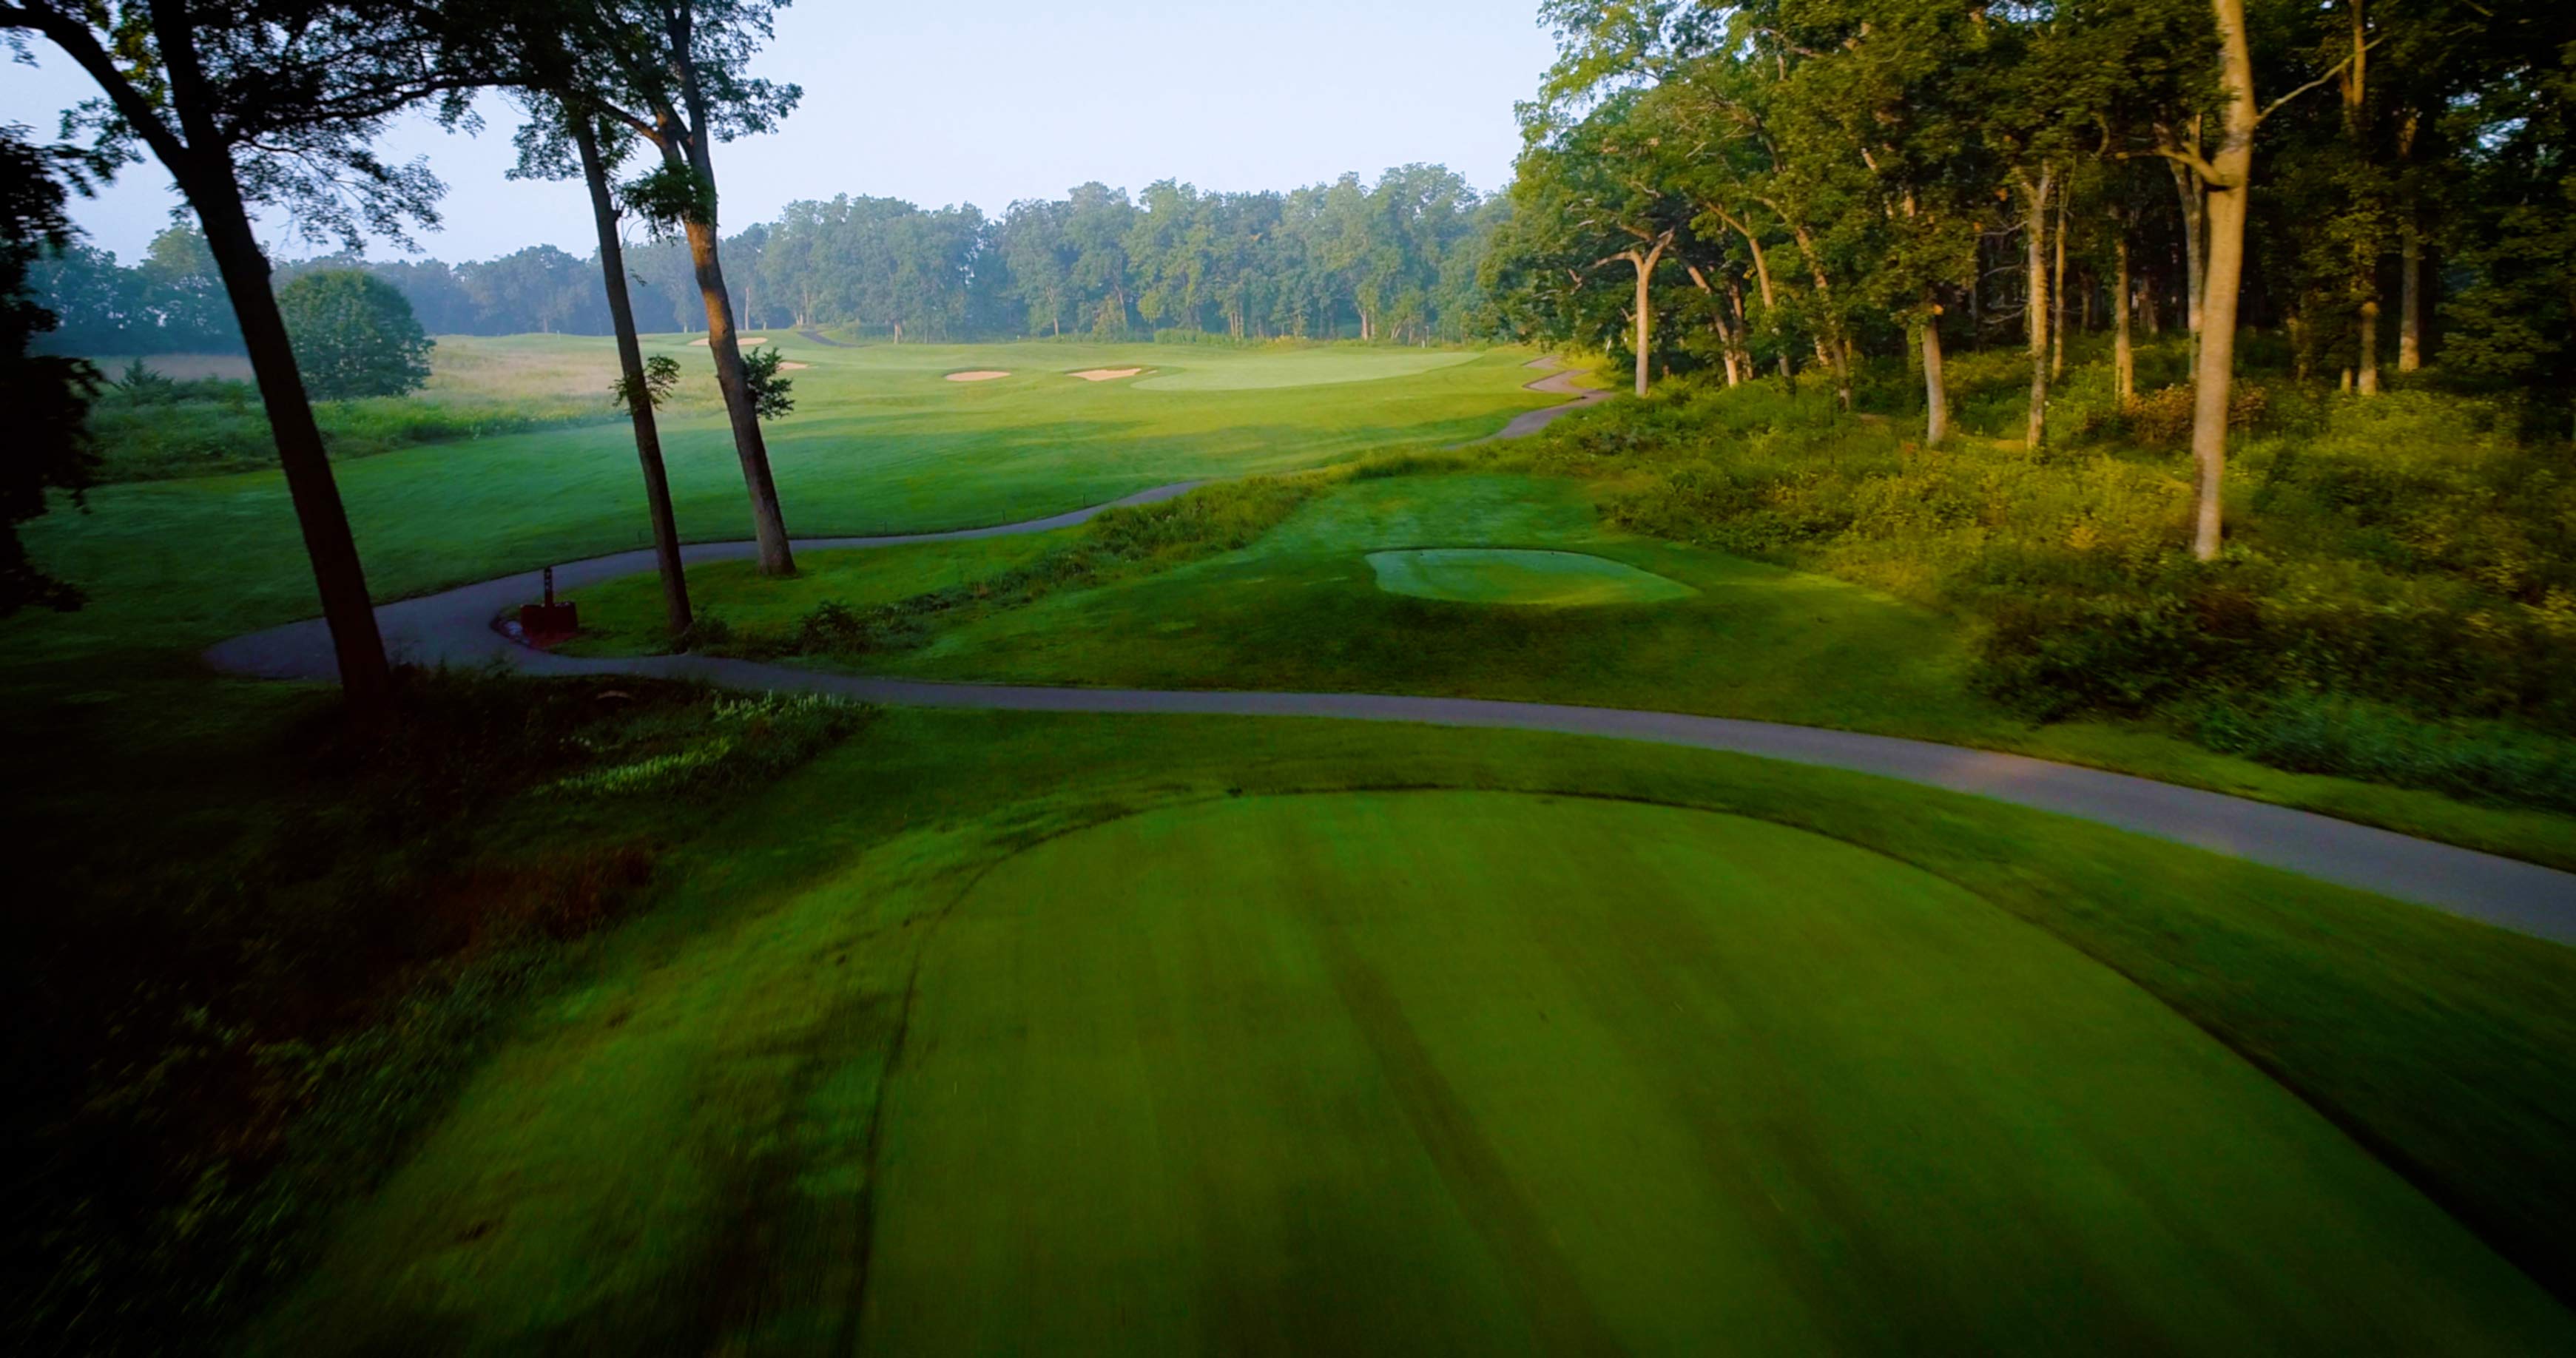
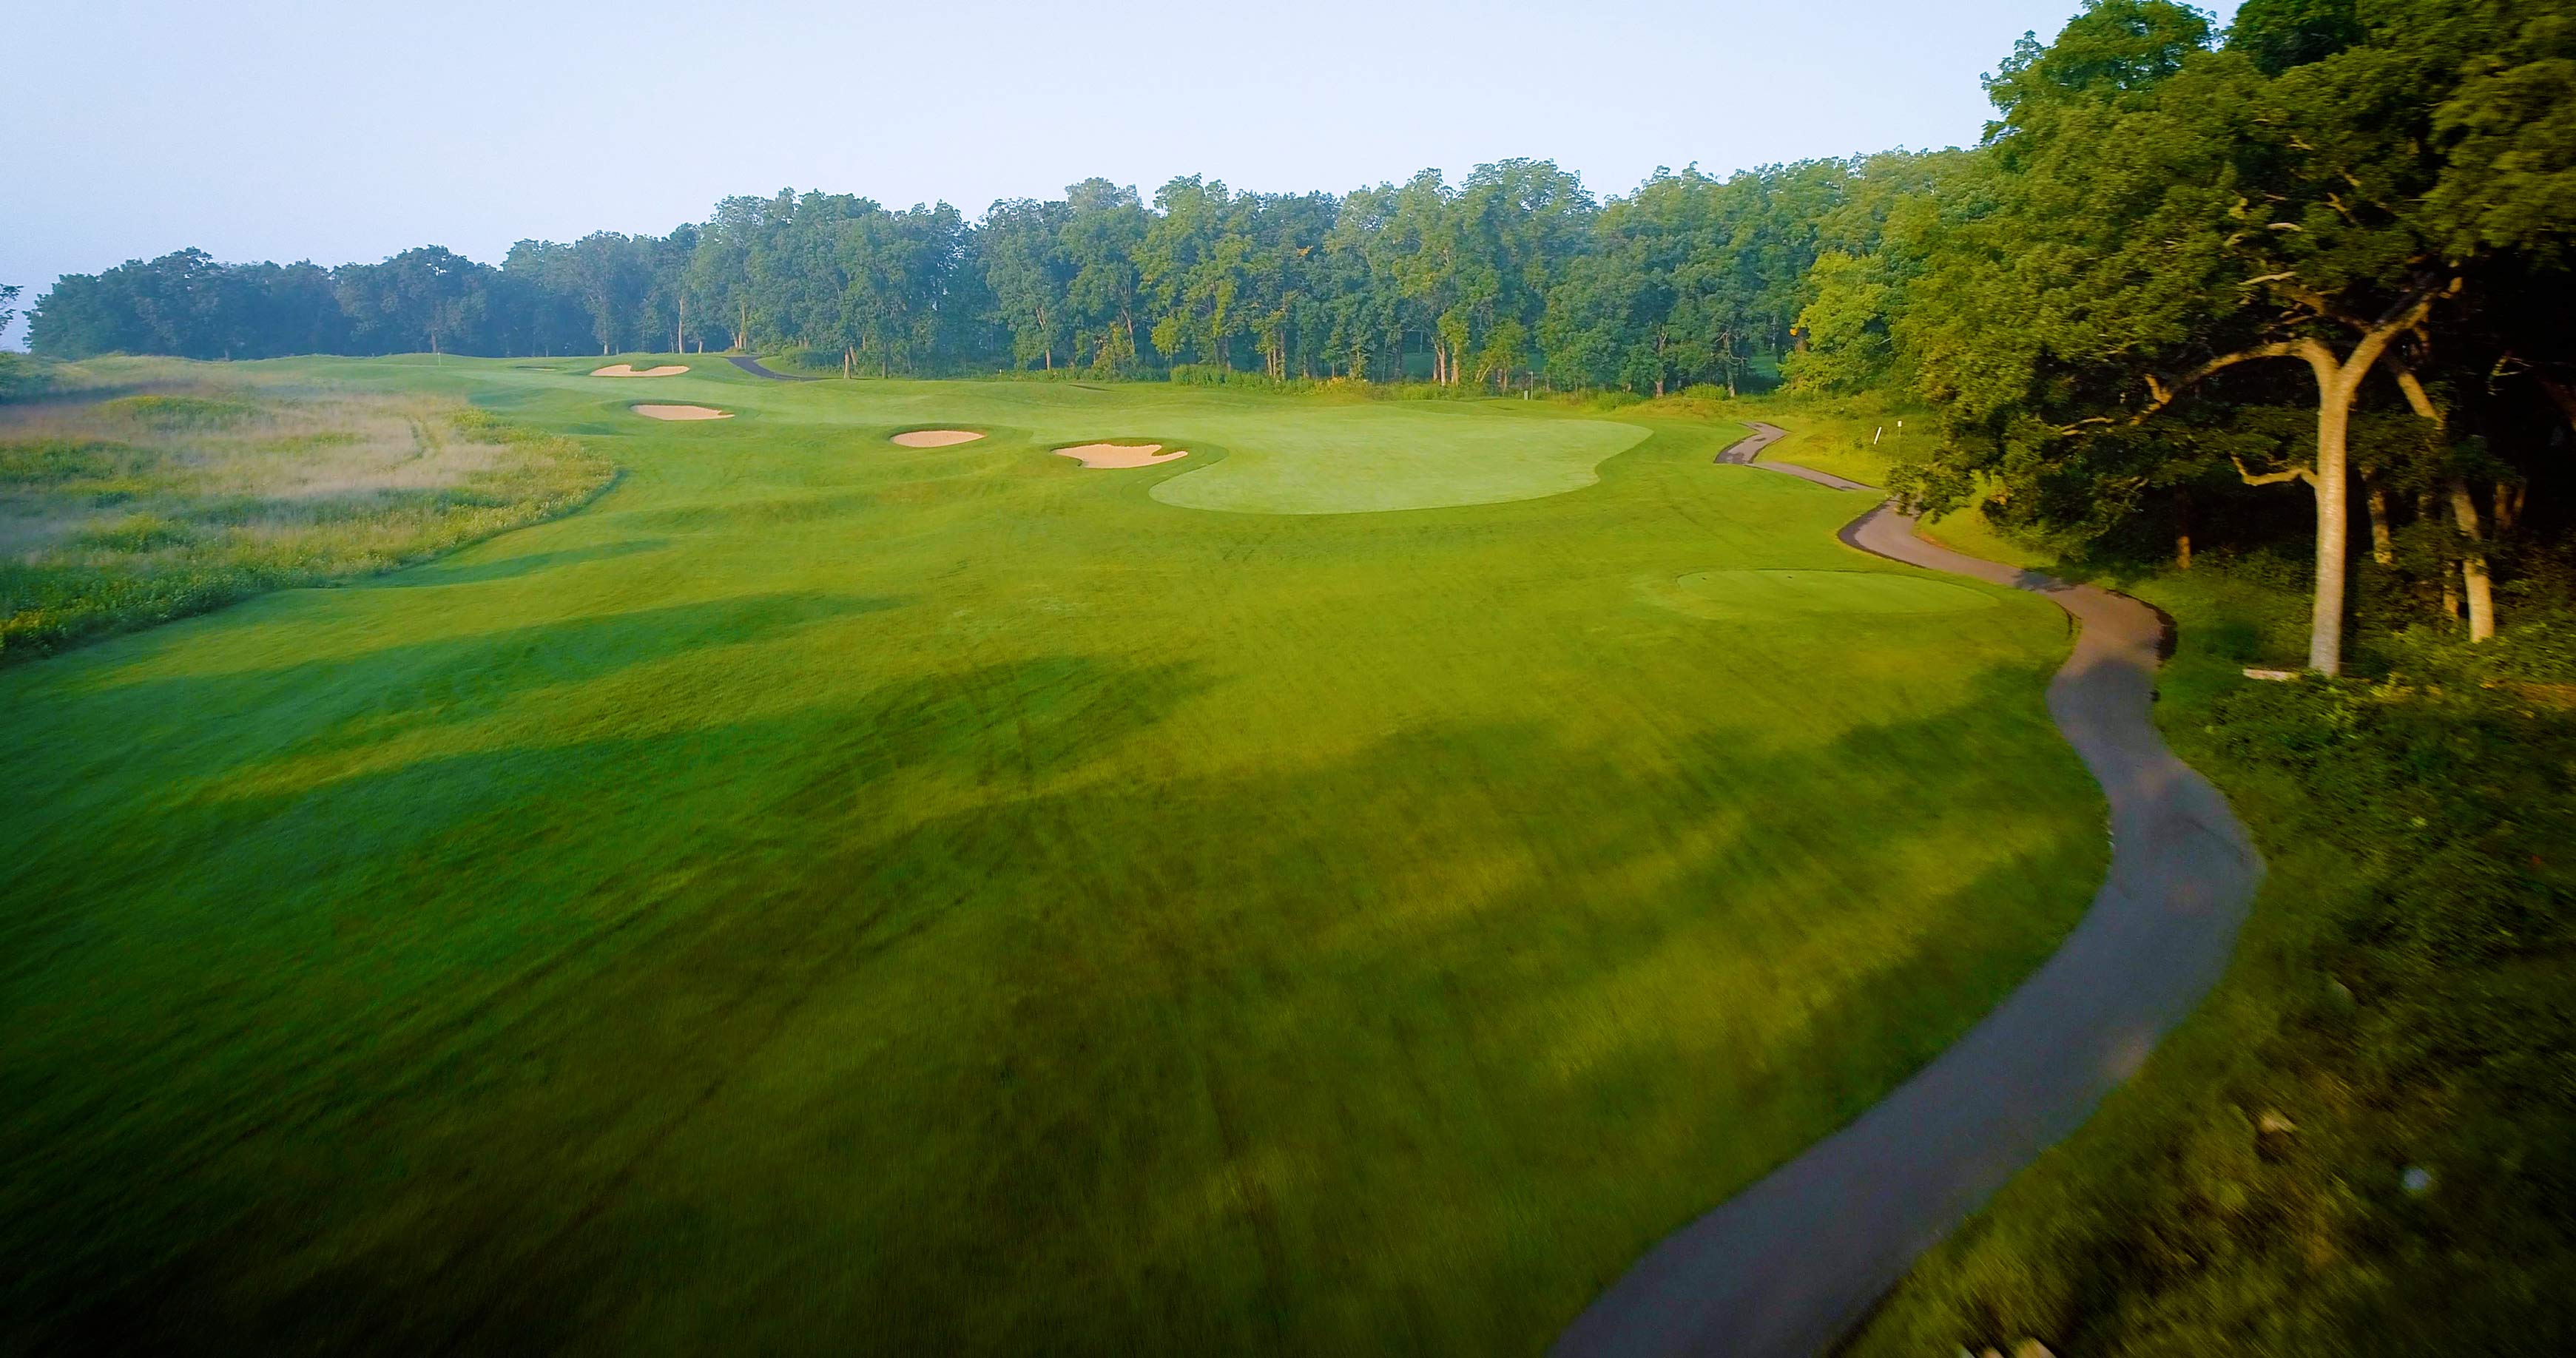
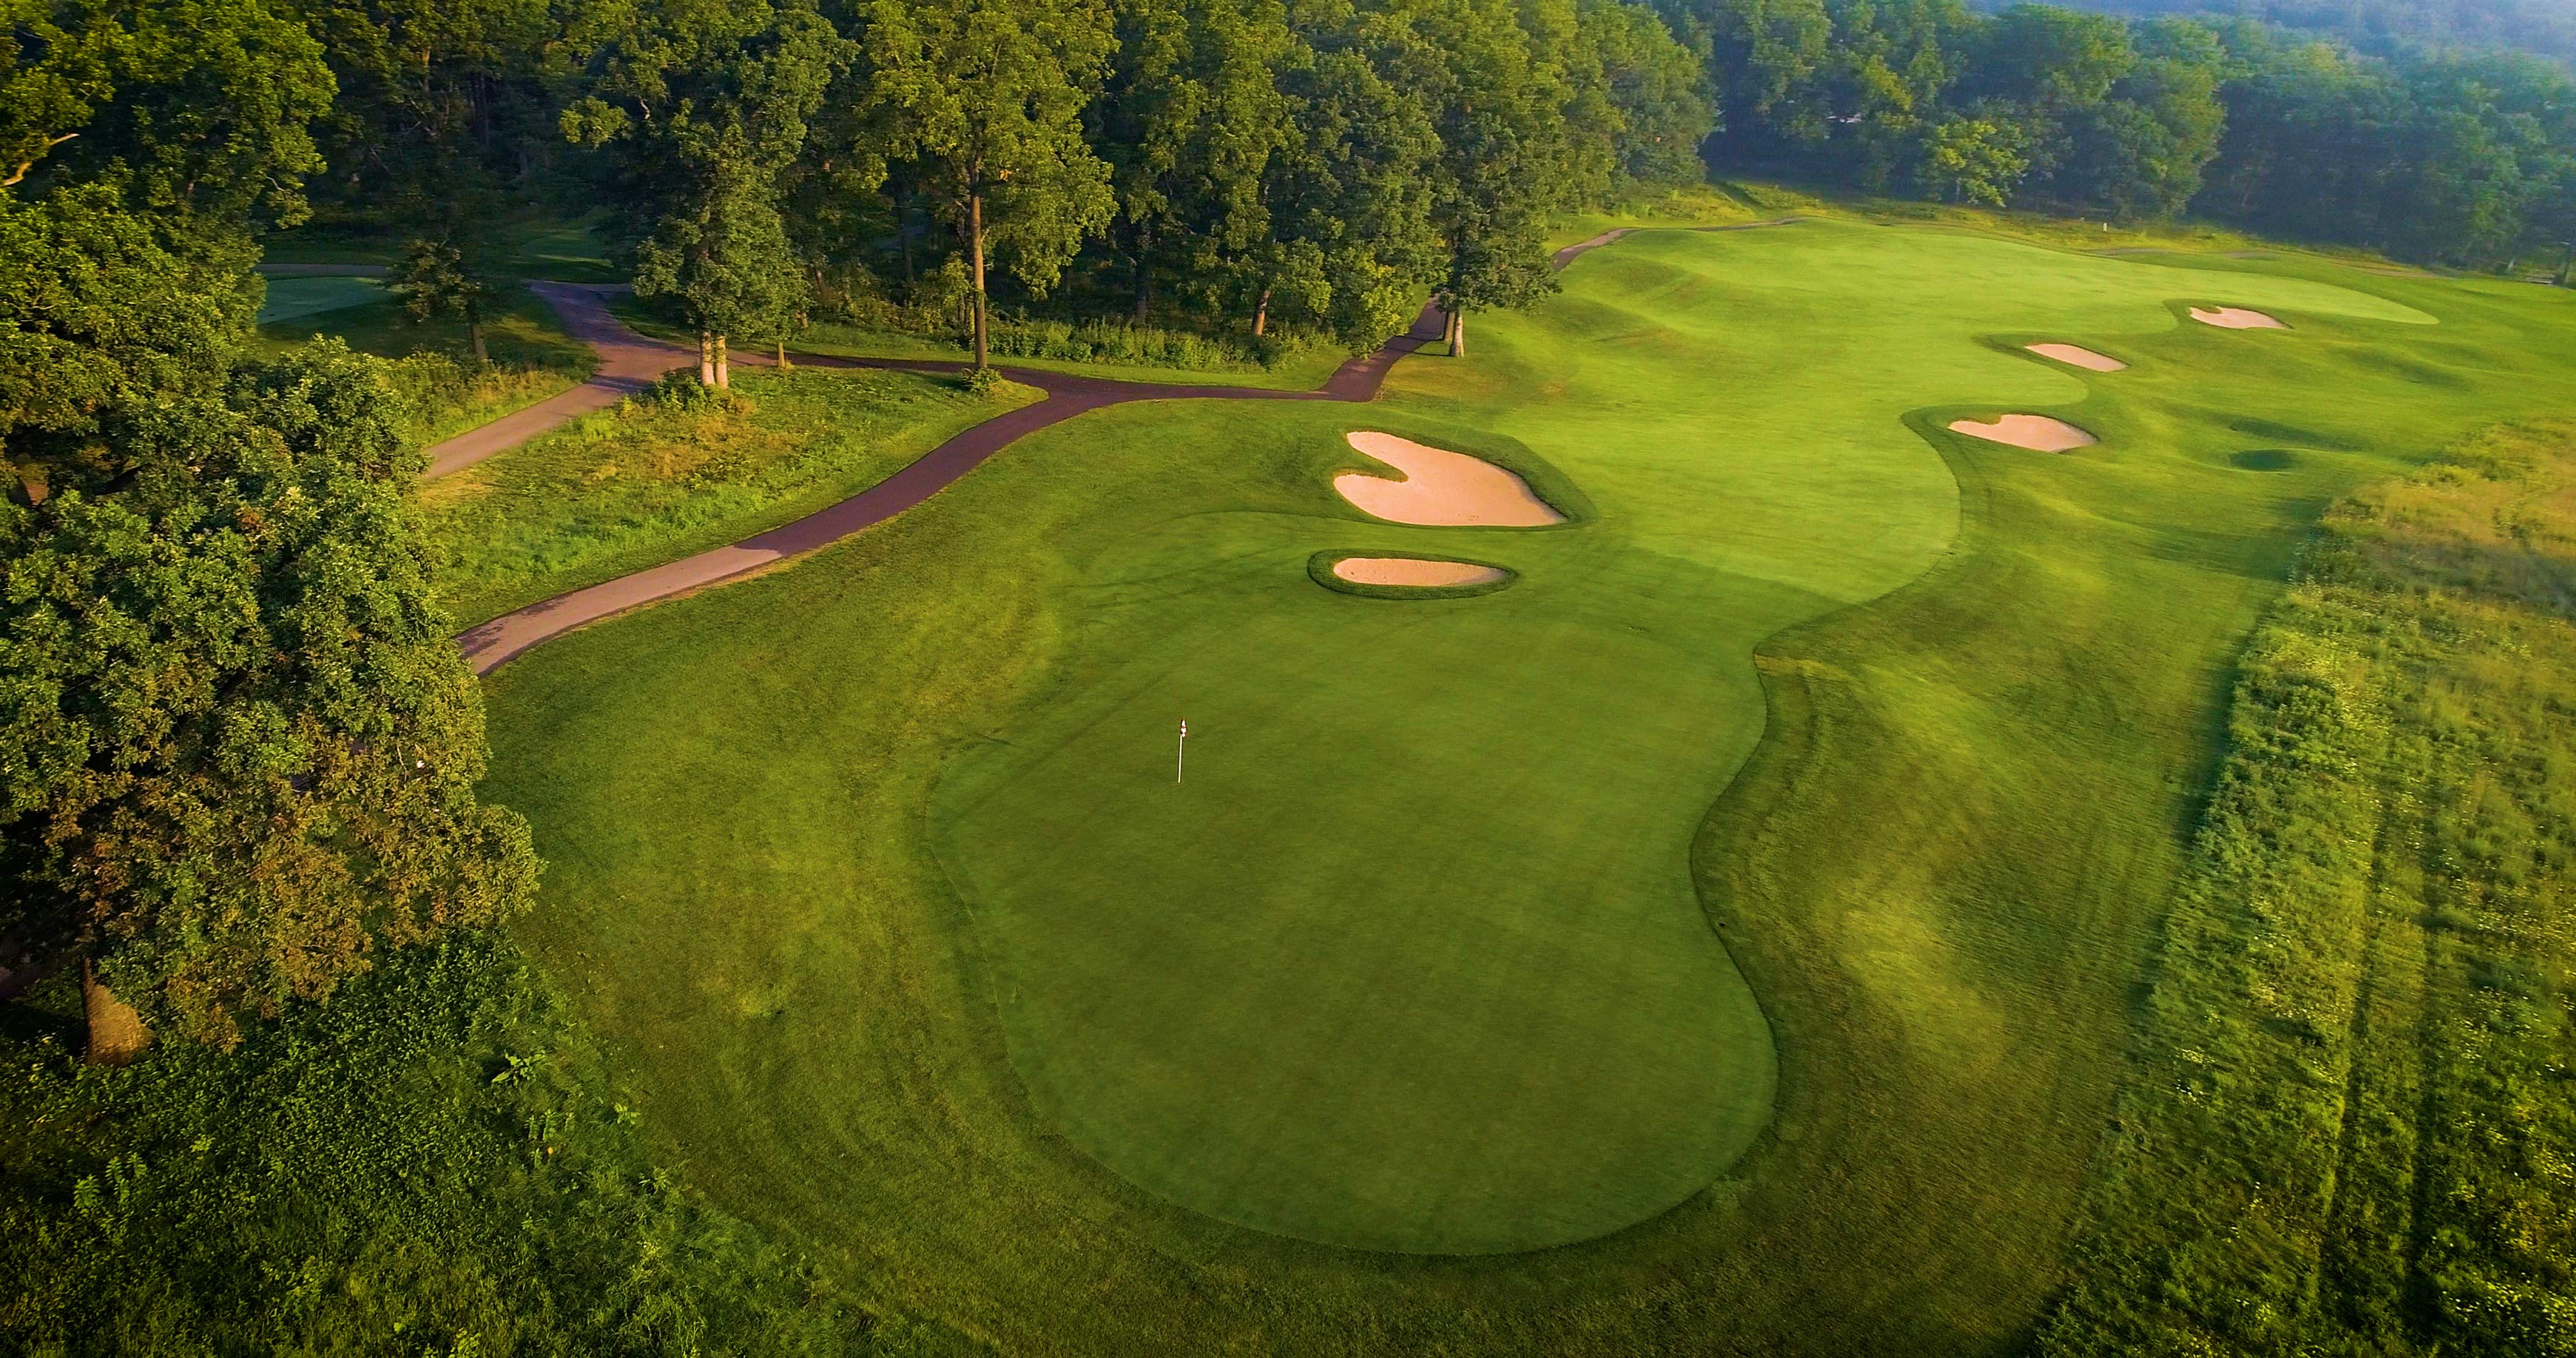
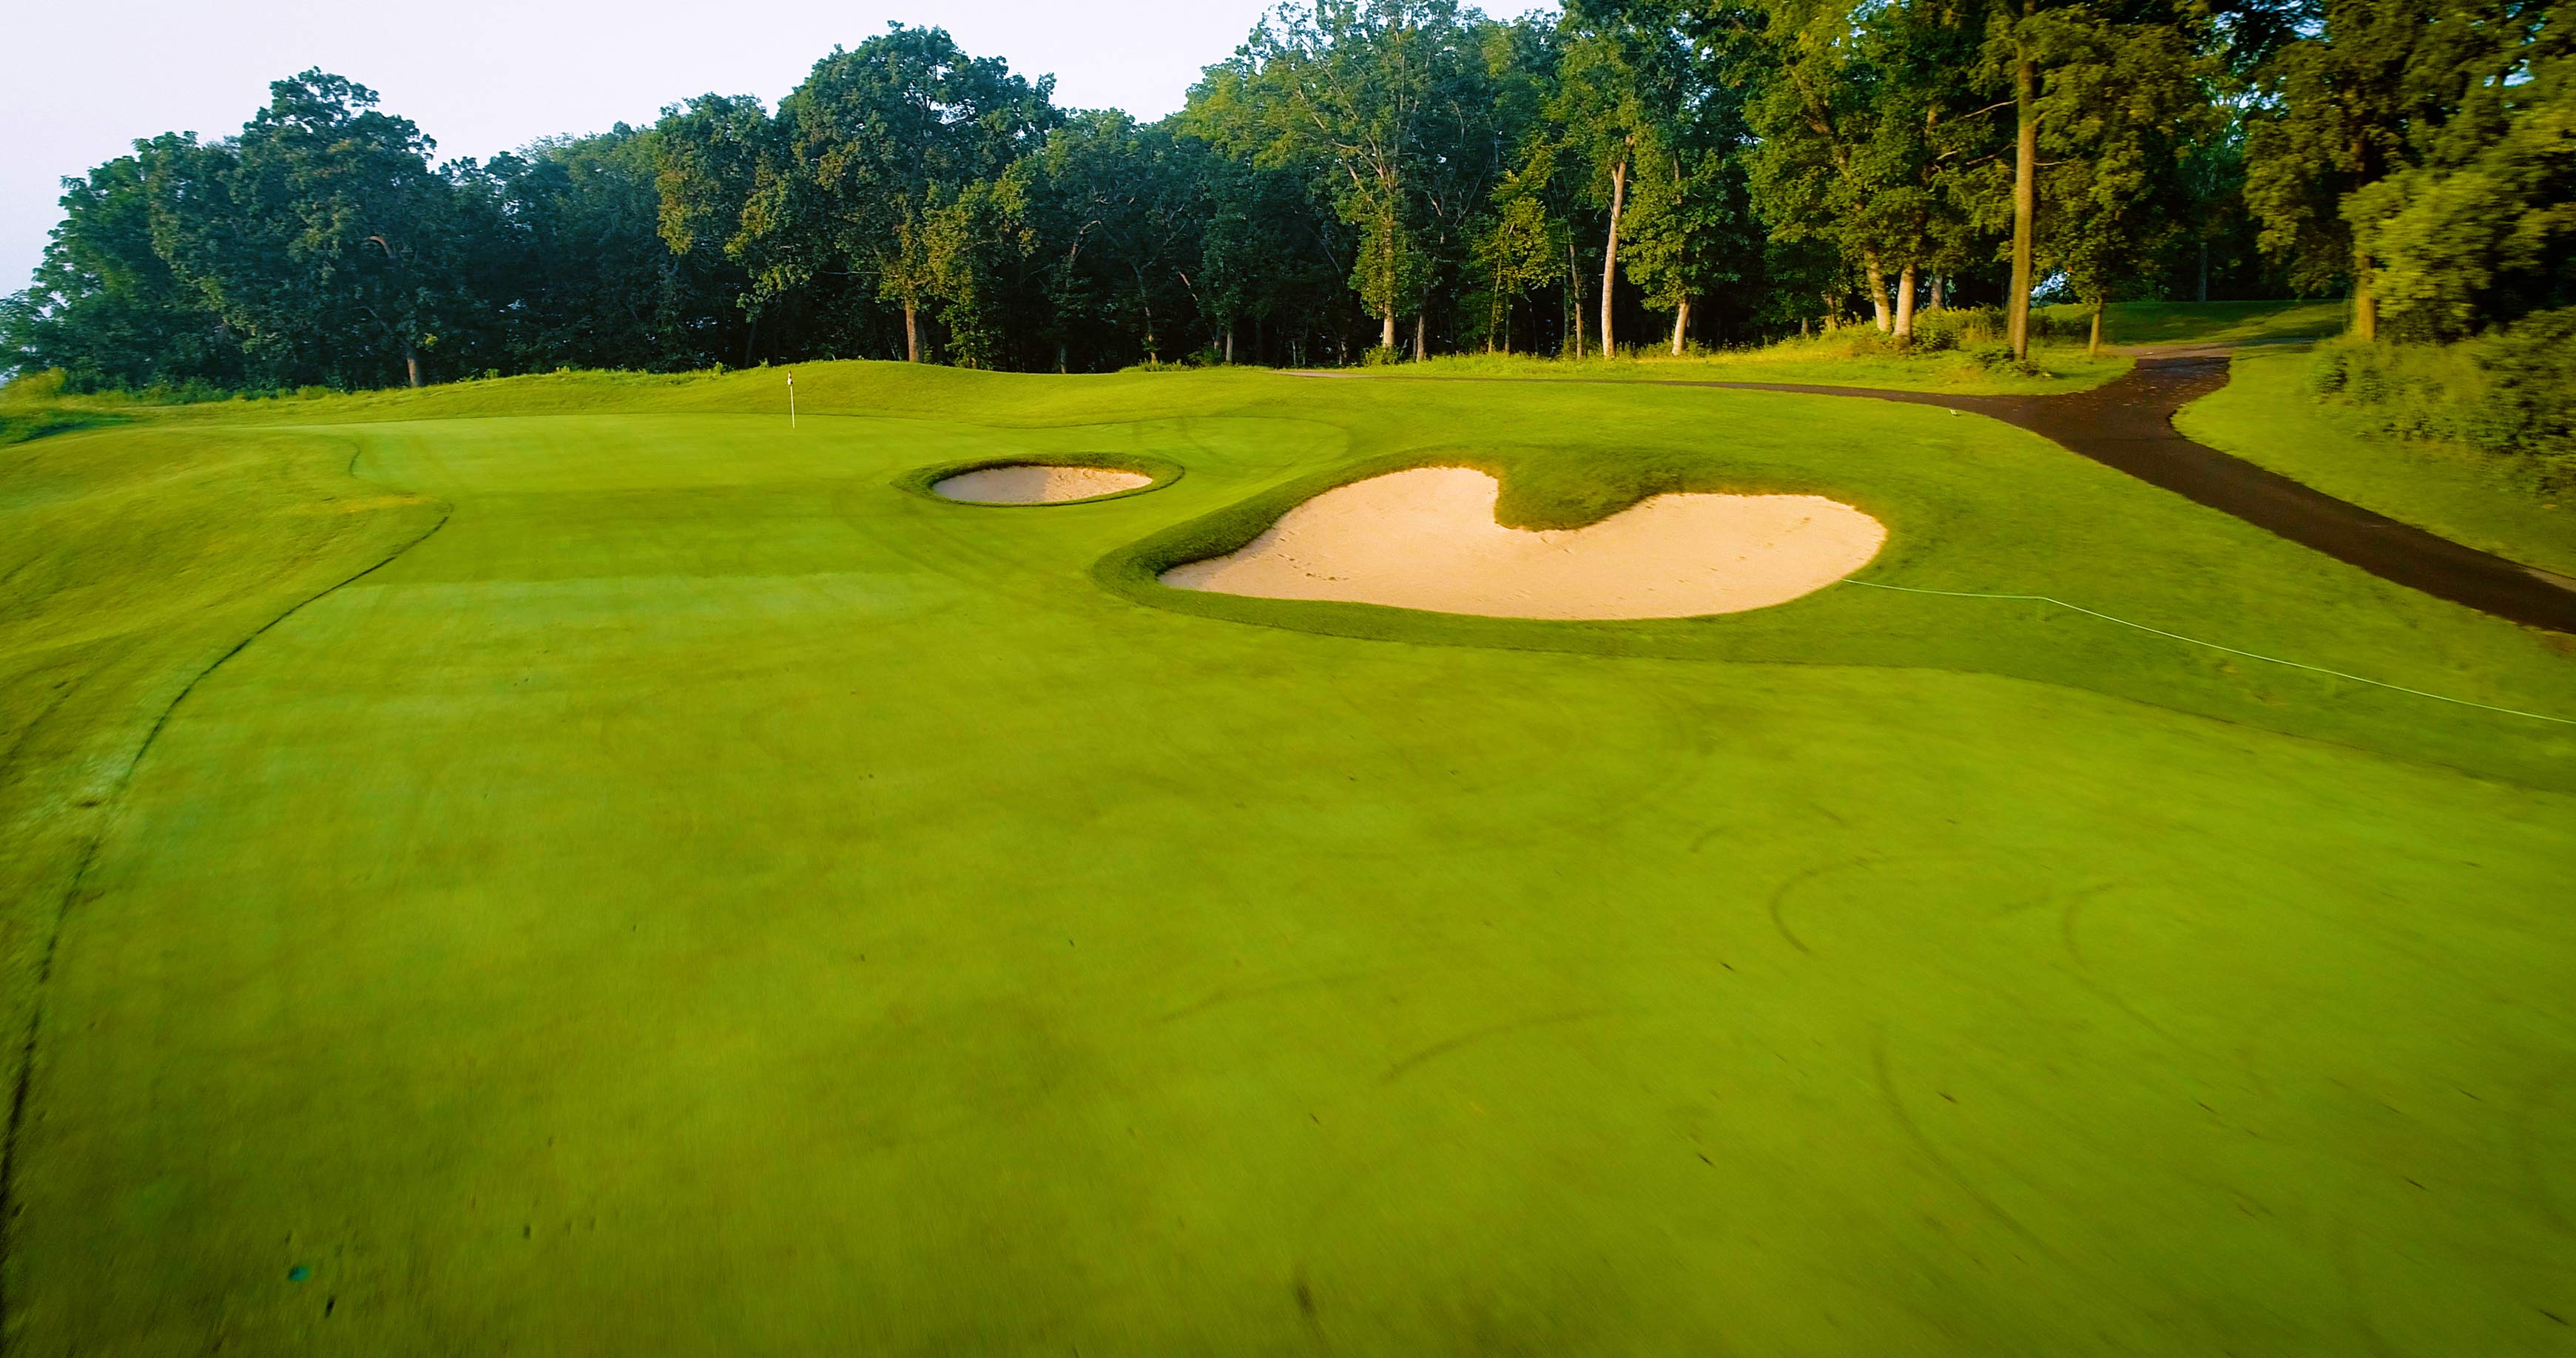
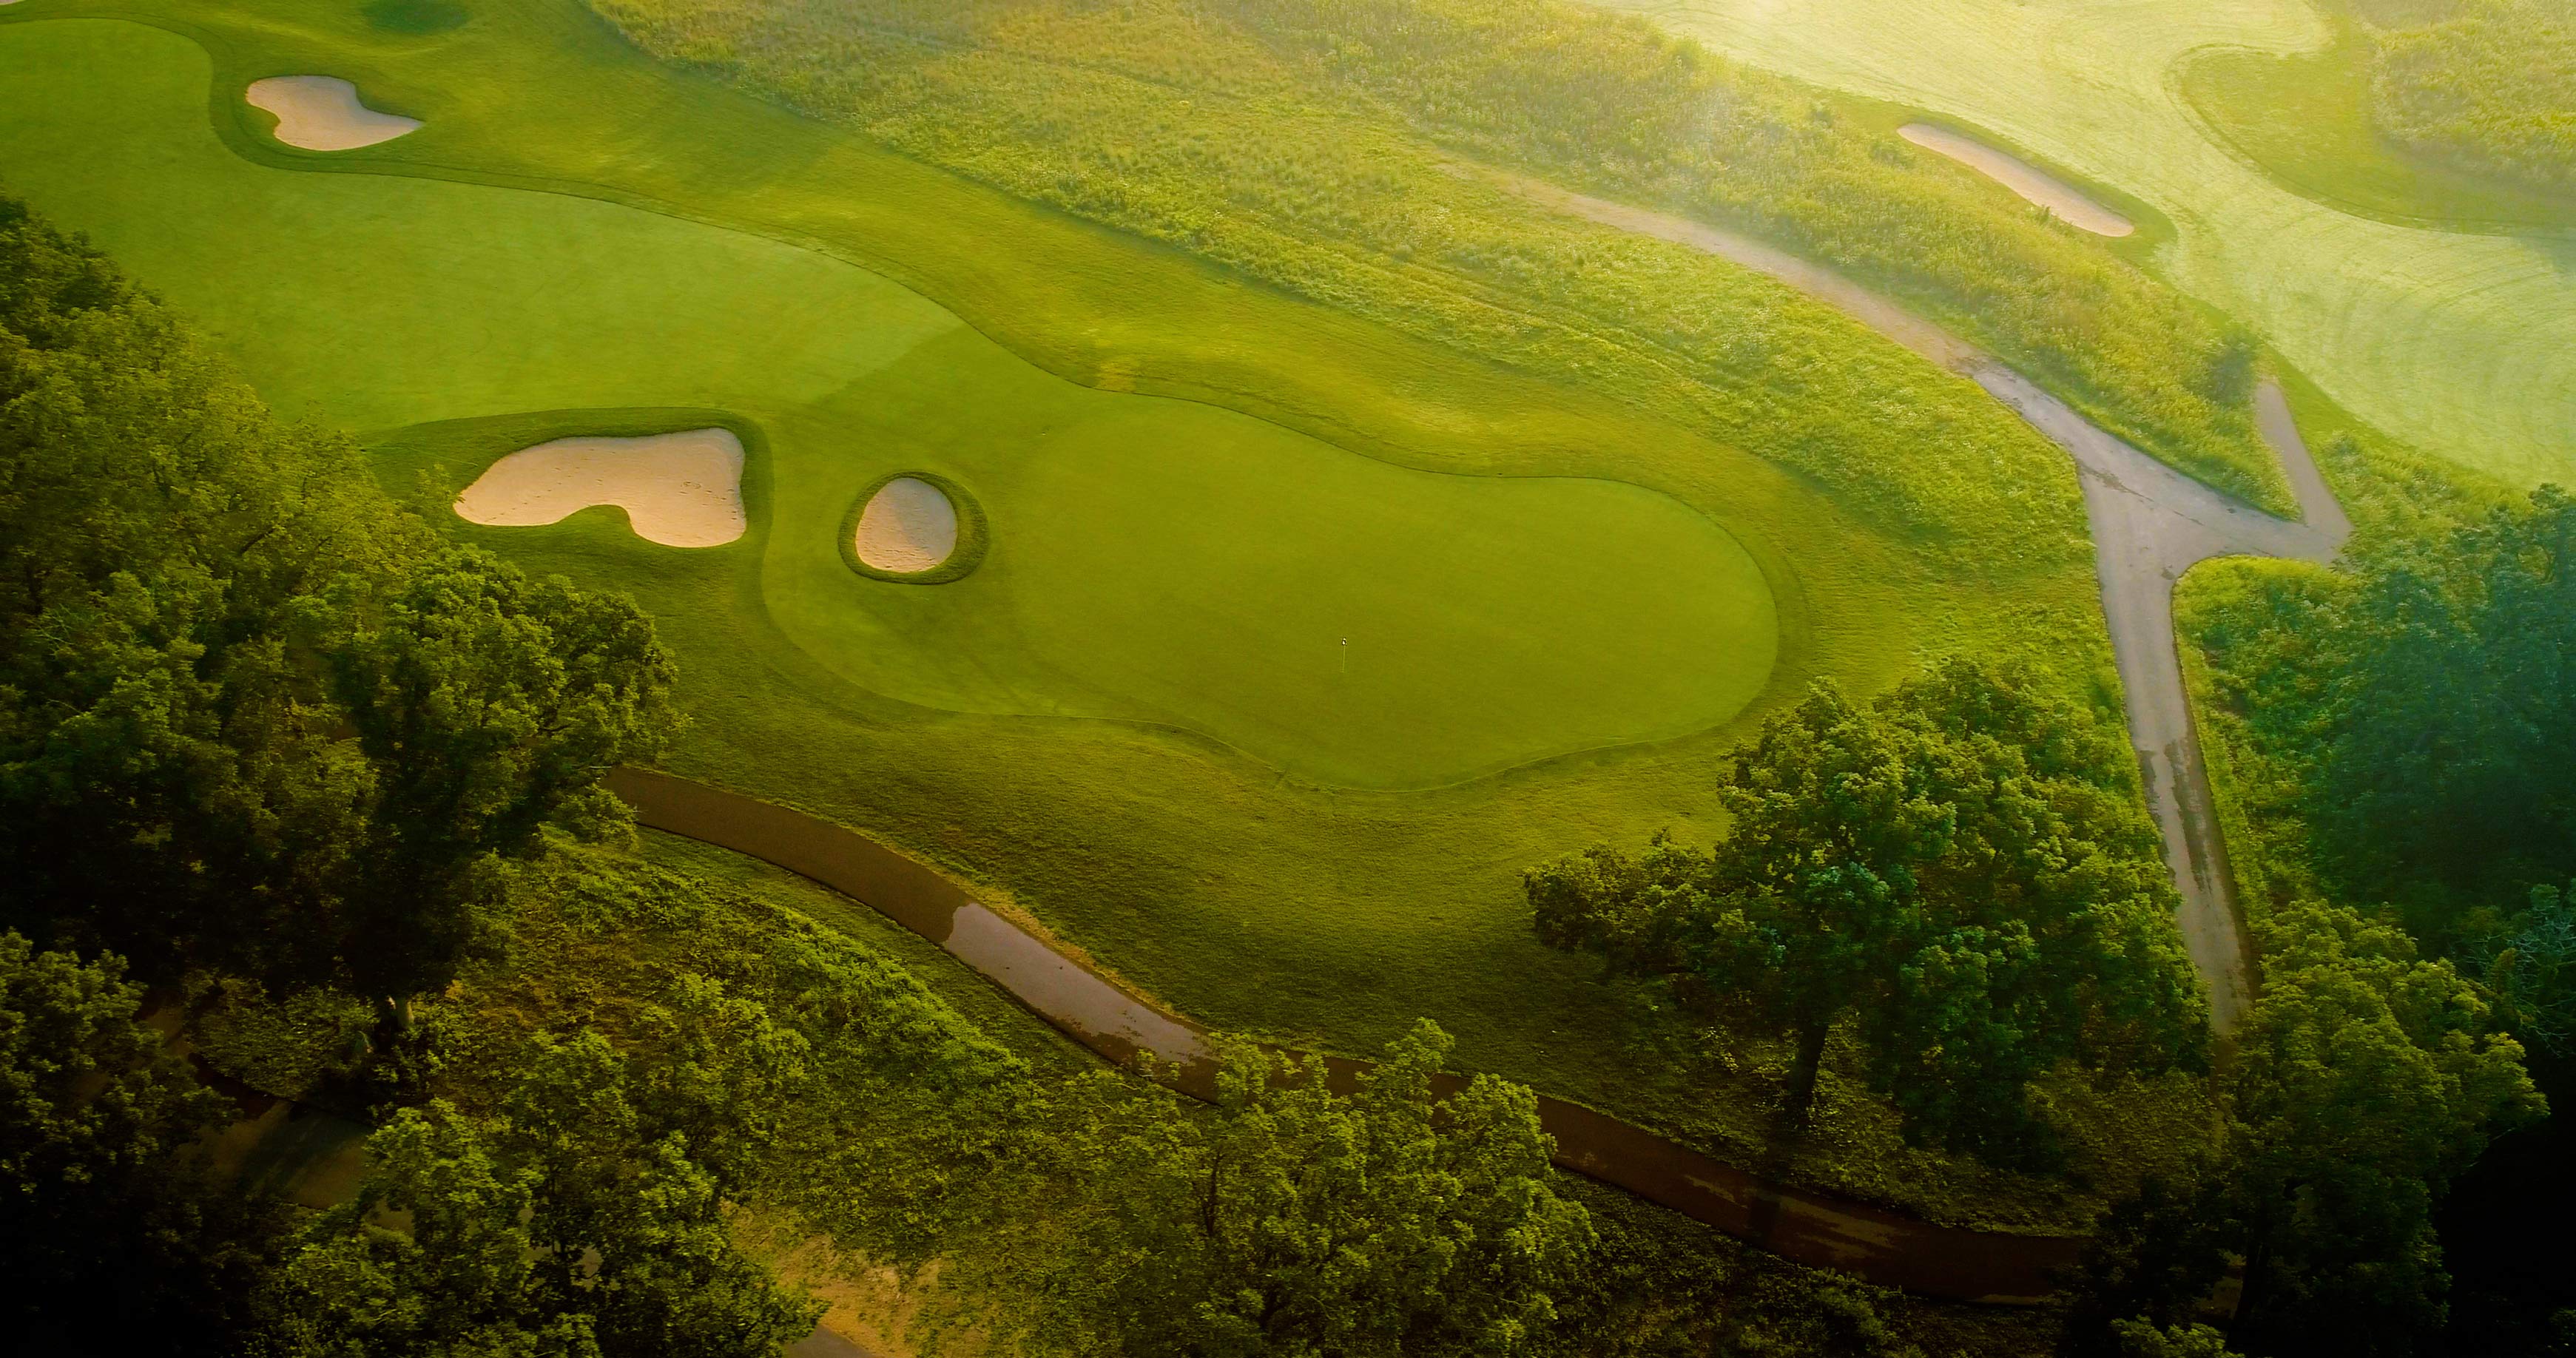
The first hole is a straightaway medium length par 4 that plays from the high point of the property, and looks out at the picturesque skyline of Verona, Wis. A two-tiered green with a hidden creek behind makes the short or middle iron approach honest.
2
PAR 5
The second hole is a risk/reward par 5 with a number of options off the tee. A split fairway bisected by a large oak tree forces players to select their angle of attack. The shallow green sits on the edge of a wooded ravine and slopes from back-to-front.
3
PAR 3
The third hole is a long downhill par 3 to a wide, shallow green. The green features a narrow peninsula on the left hand side that makes club selection critical. Numerous tees provide many different options for length and angle.
4
PAR 4
The fourth hole is a long uphill par 4 framed by Morse Pond on the right and a hedgerow on the left. The back tees play across the pond while the forward tees do not require the carry. The green is perched above deep bunkers right, and a fairway hollow left.
5
PAR 3
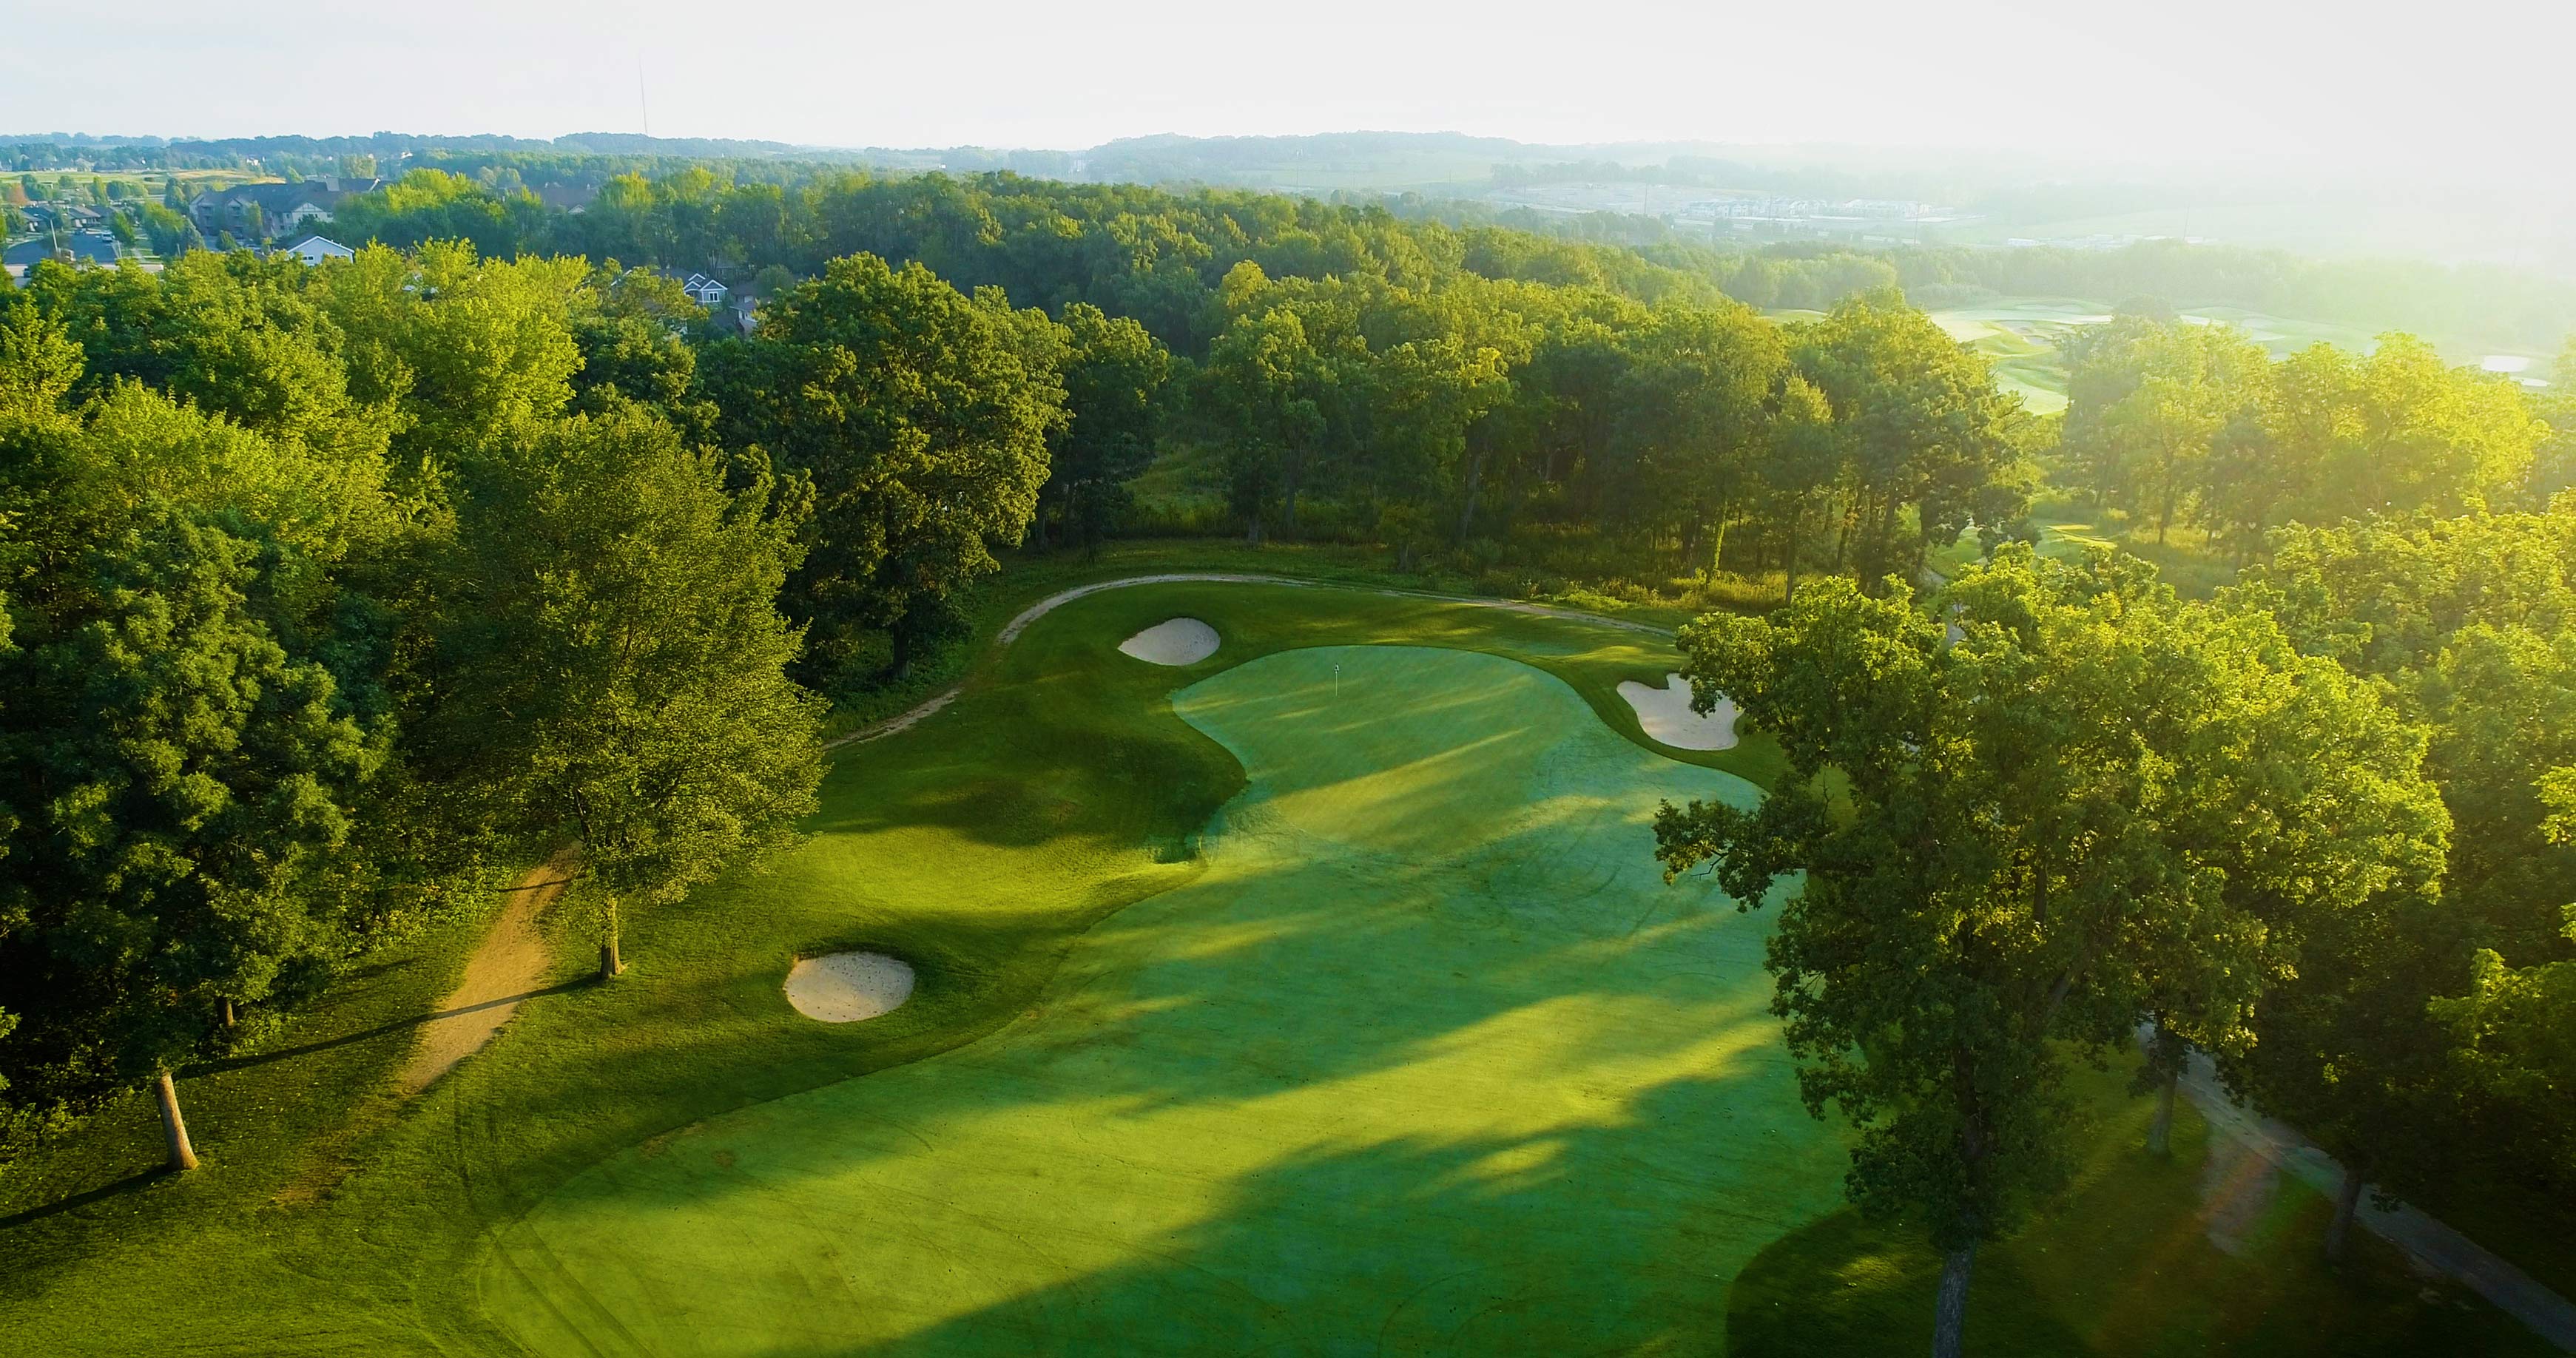
The fifth hole is a medium length par 3 that plays across a deep ravine and looks out at the O.J. Noer Turfgrass Facility. The green is guarded by bunkers short left and short right.
6
PAR 5
At 623 yards, the sixth hole is the longest on the course. The hole moves gently right to left to a well-guarded green out on a point. The second shot requires players to decide whether or not to challenge a pinch in the fairway.
7
PAR 4
The seventh hole is a medium length par 4 that works from right to left. The green sits at the base of a large glacial drumlin. The approach is partially blind to this tricky green that is flanked by five bunkers on the right side.
8
PAR 3
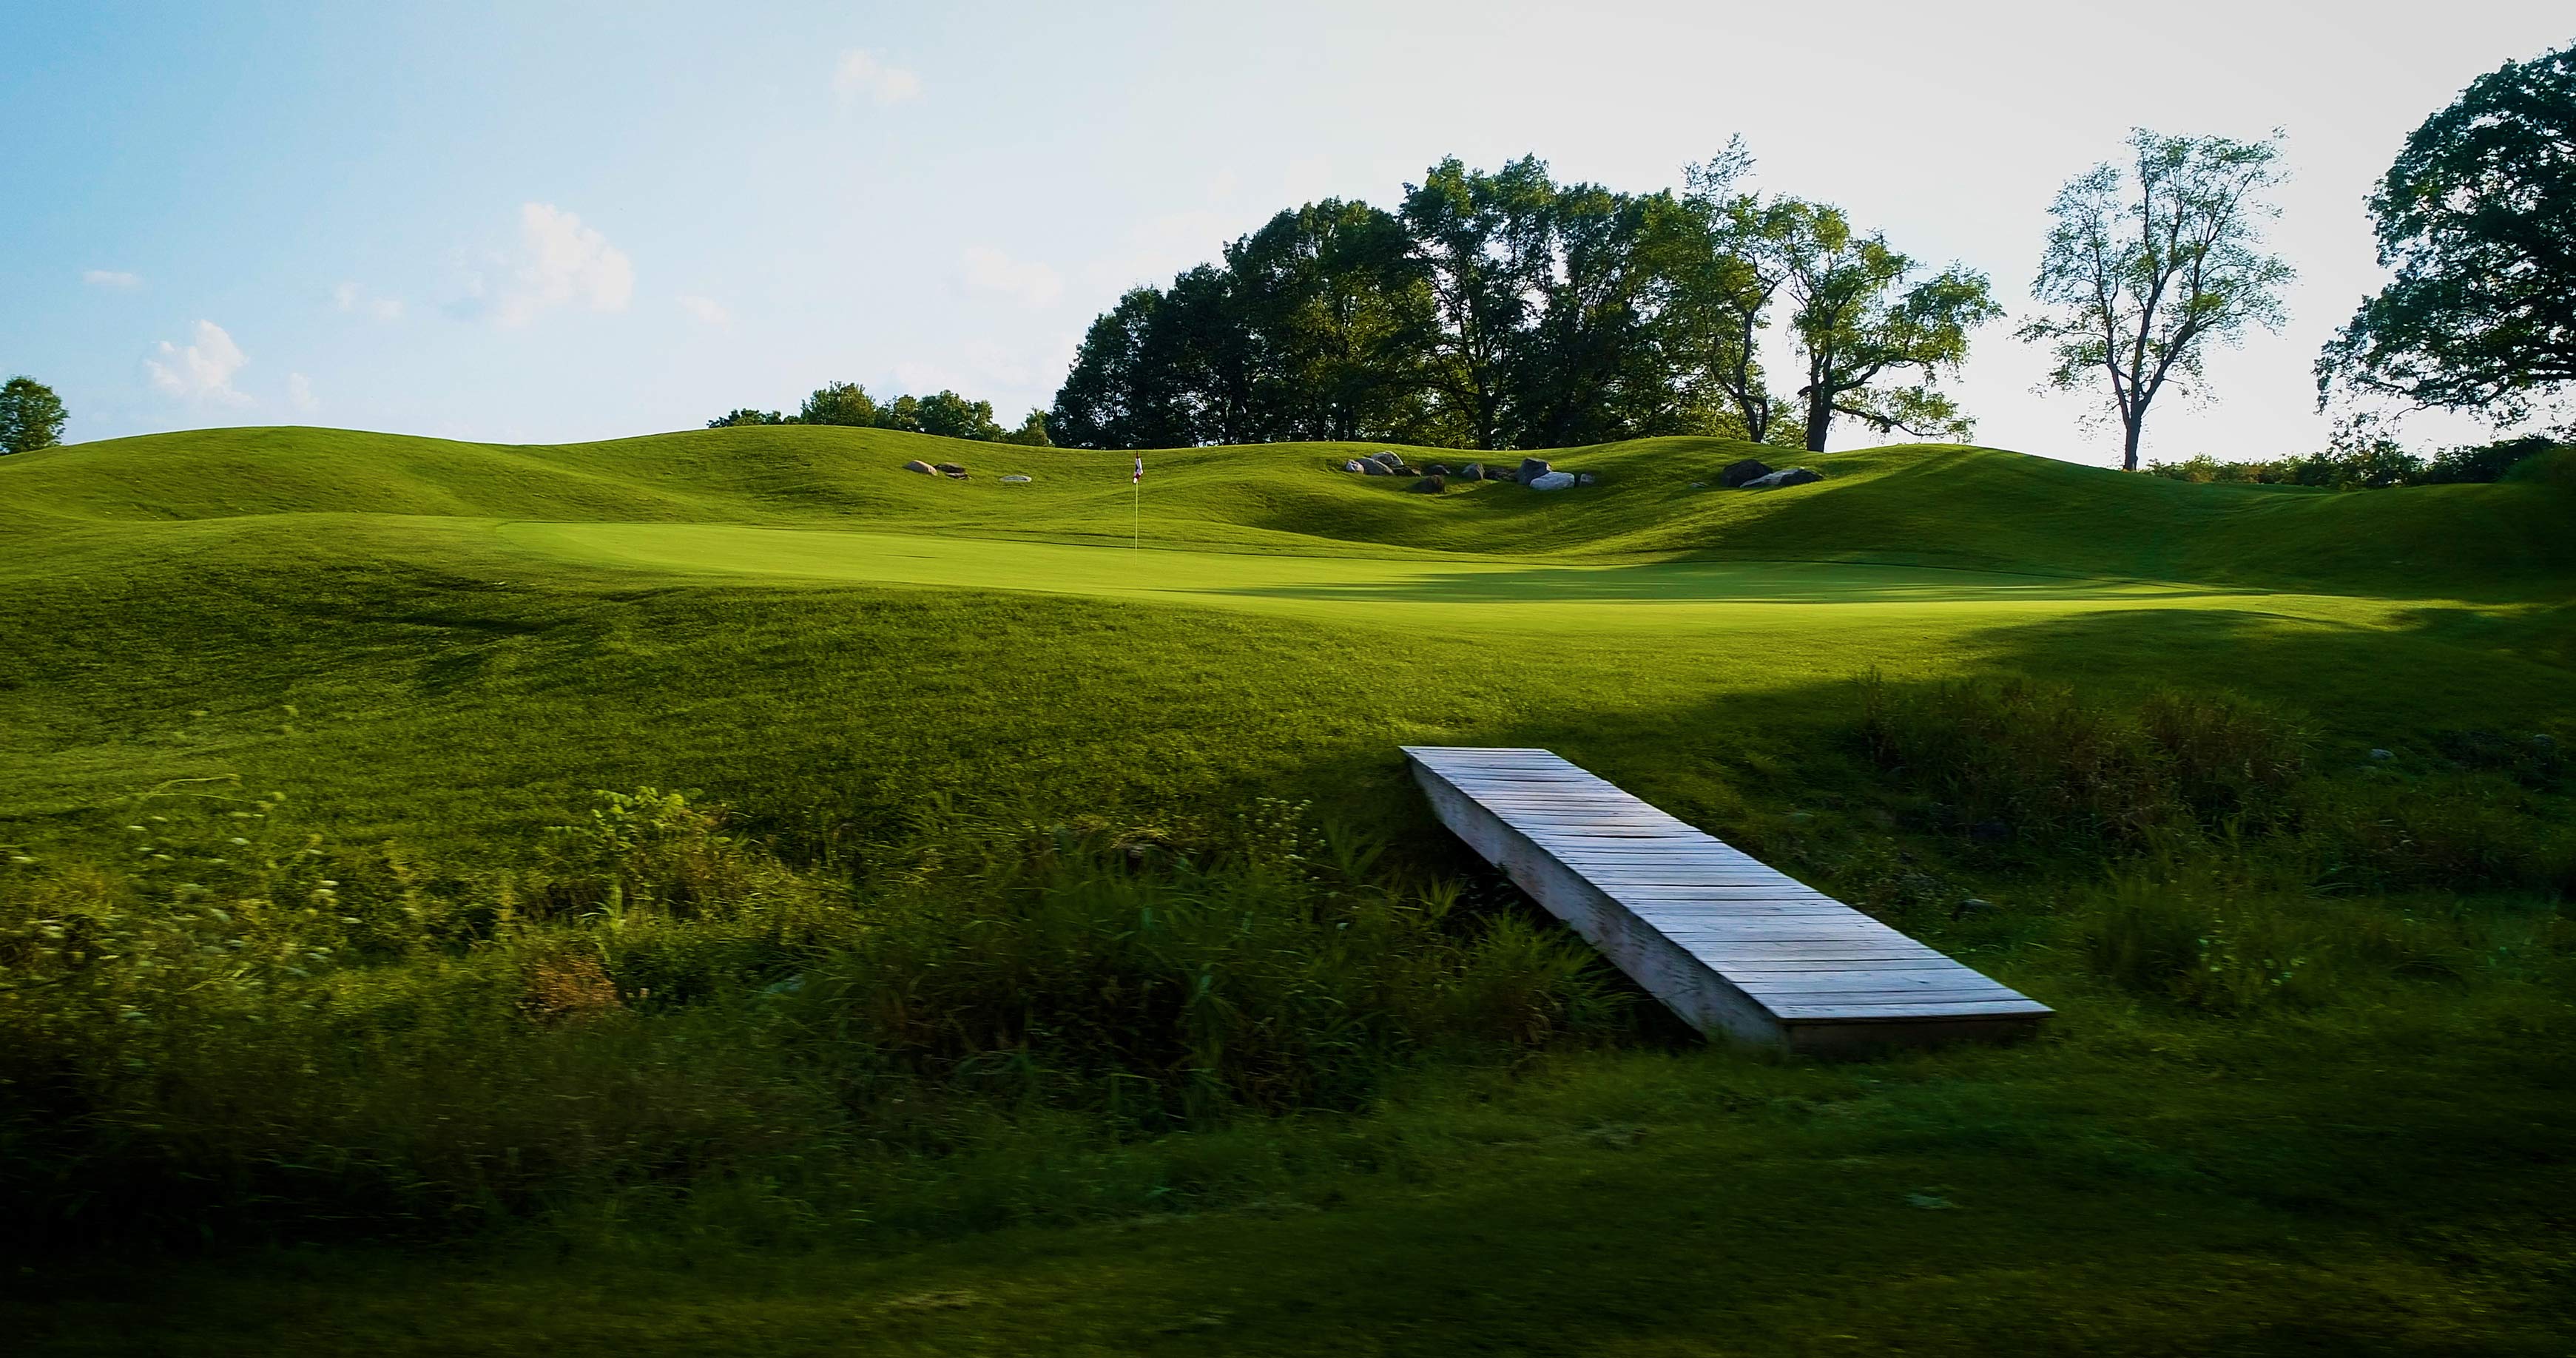
The eighth hole is a medium length, downhill par 3. The green is flanked by large oak trees right and left; a rocky creek is in front, and a strong hillside behind. The green slopes sharply from back-to-front.
9
PAR 5
The ninth hole is a medium length dogleg left par 5. The tee shot is played through a narrow chute of trees to a fairway with trees left and bunkers right. From there the hole turns sharply to the left and then climbs to a green set into a wooded hillside.
10
PAR 4
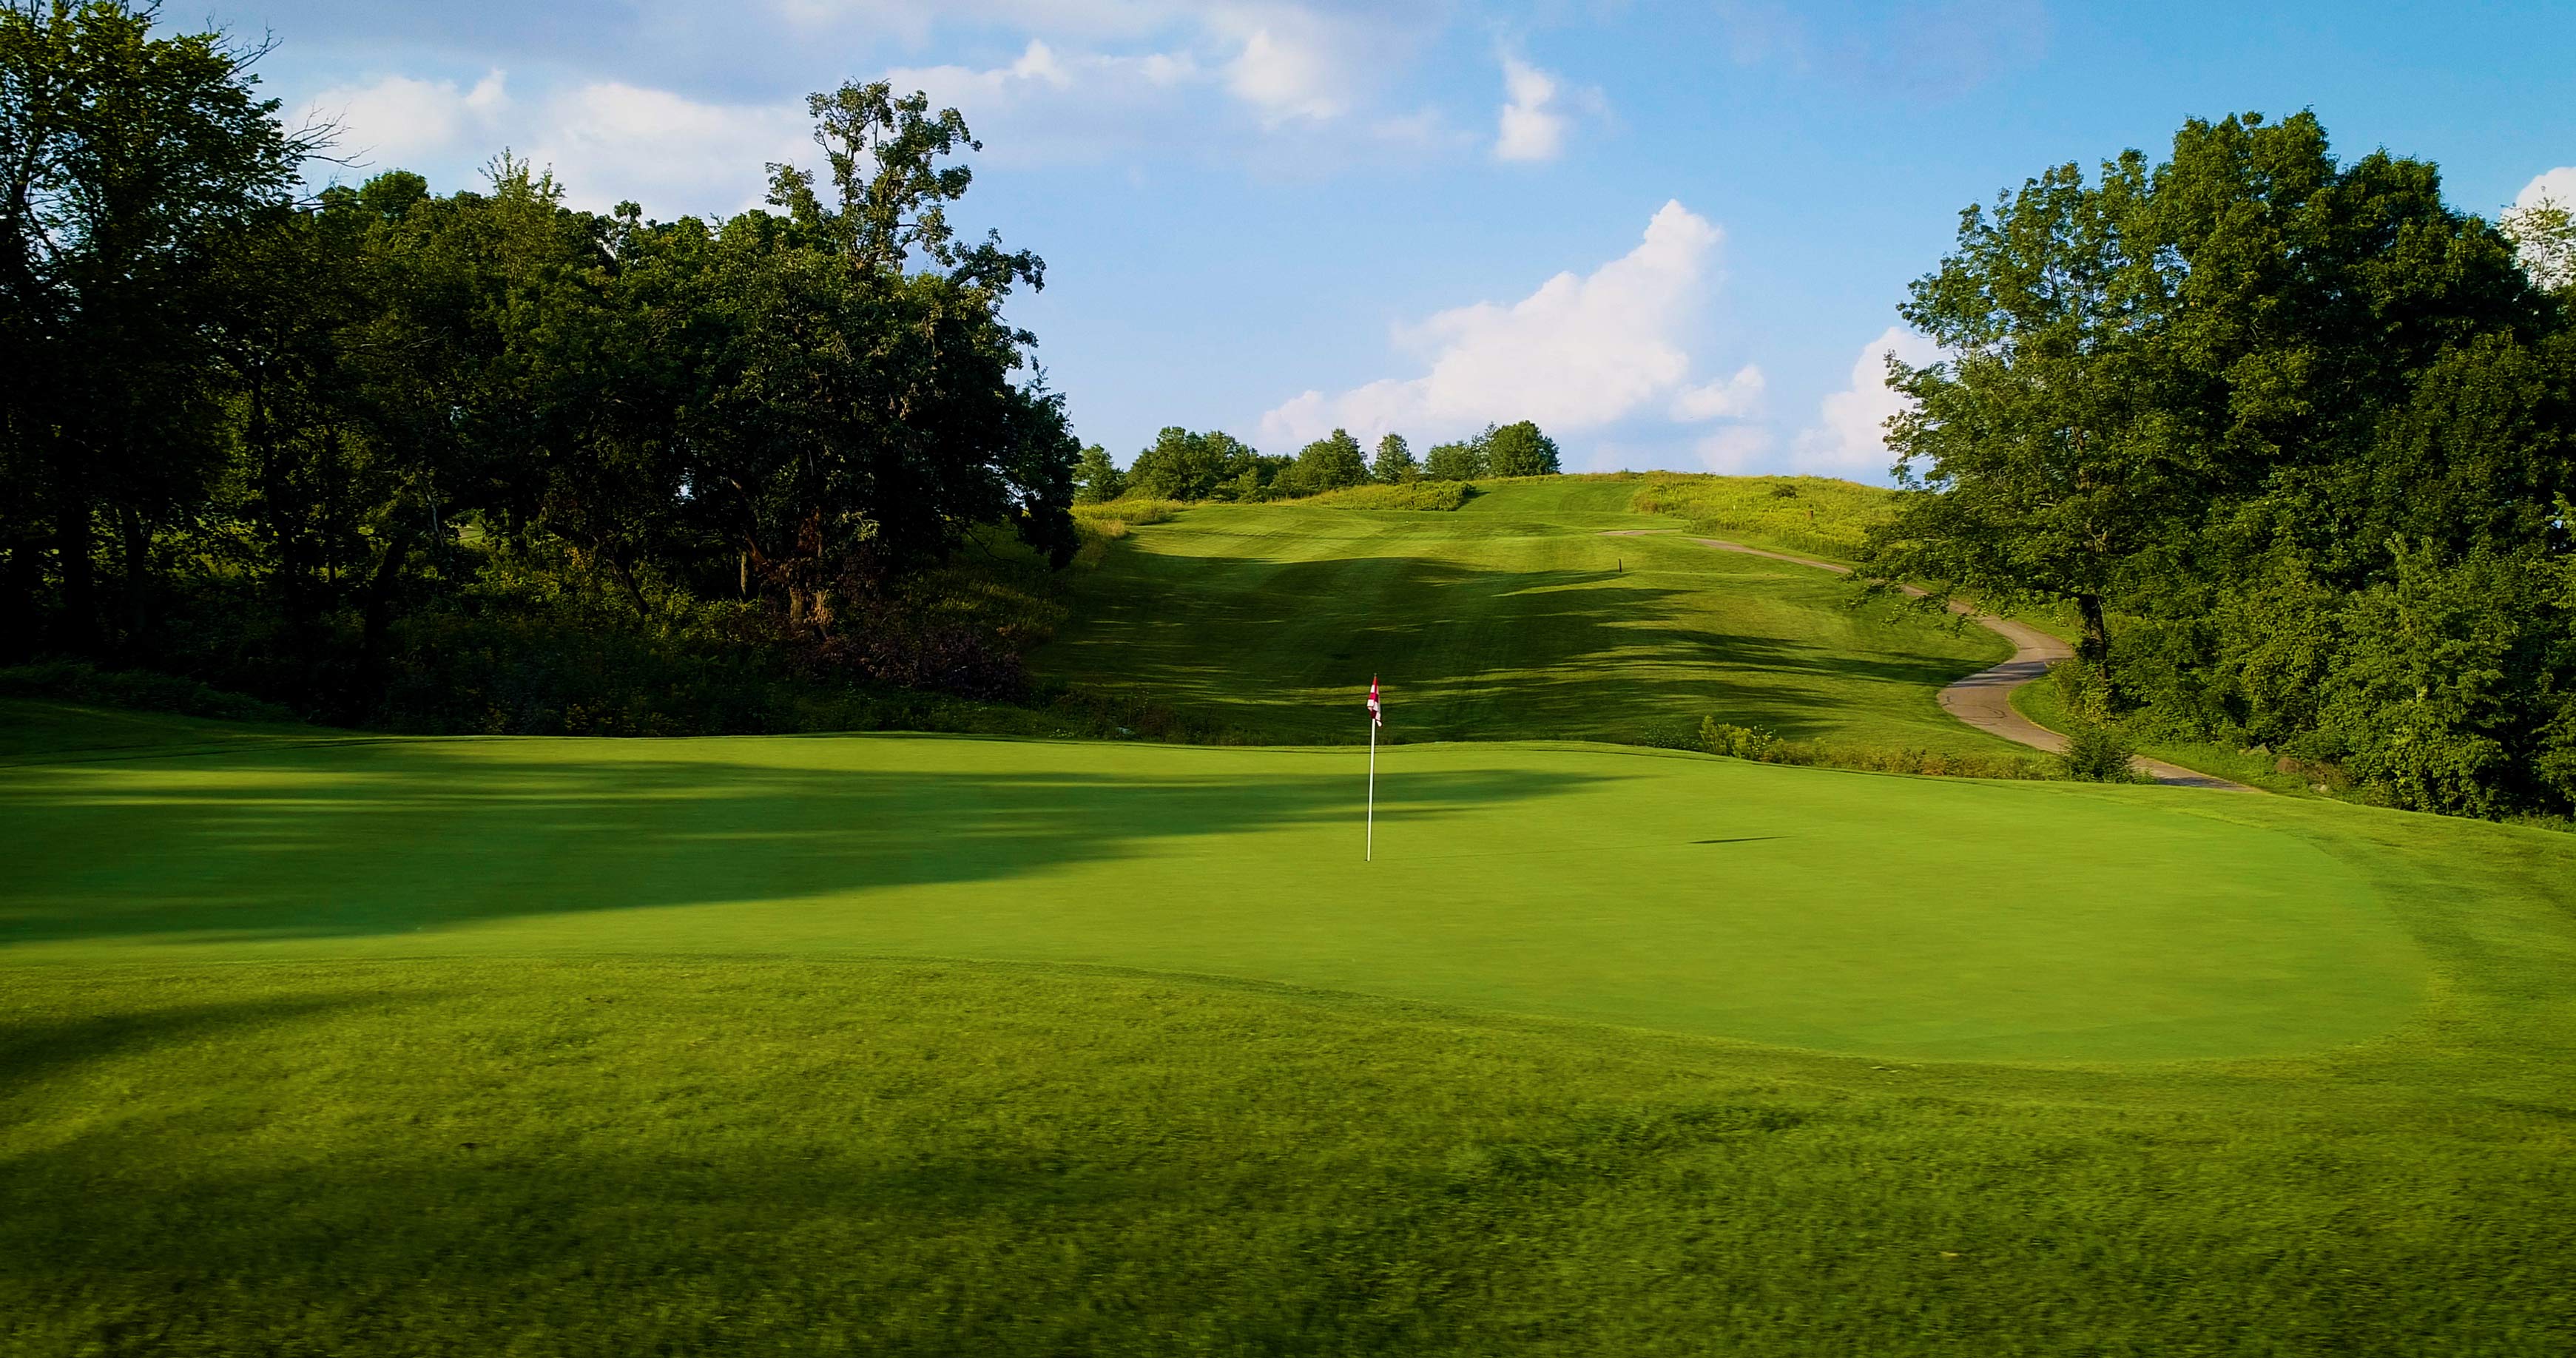
Unlike the front nine, the 10th hole plays through the hardwood forest. The long par 4 turns gently from right to left to a deep two-tiered green.
11
PAR 4
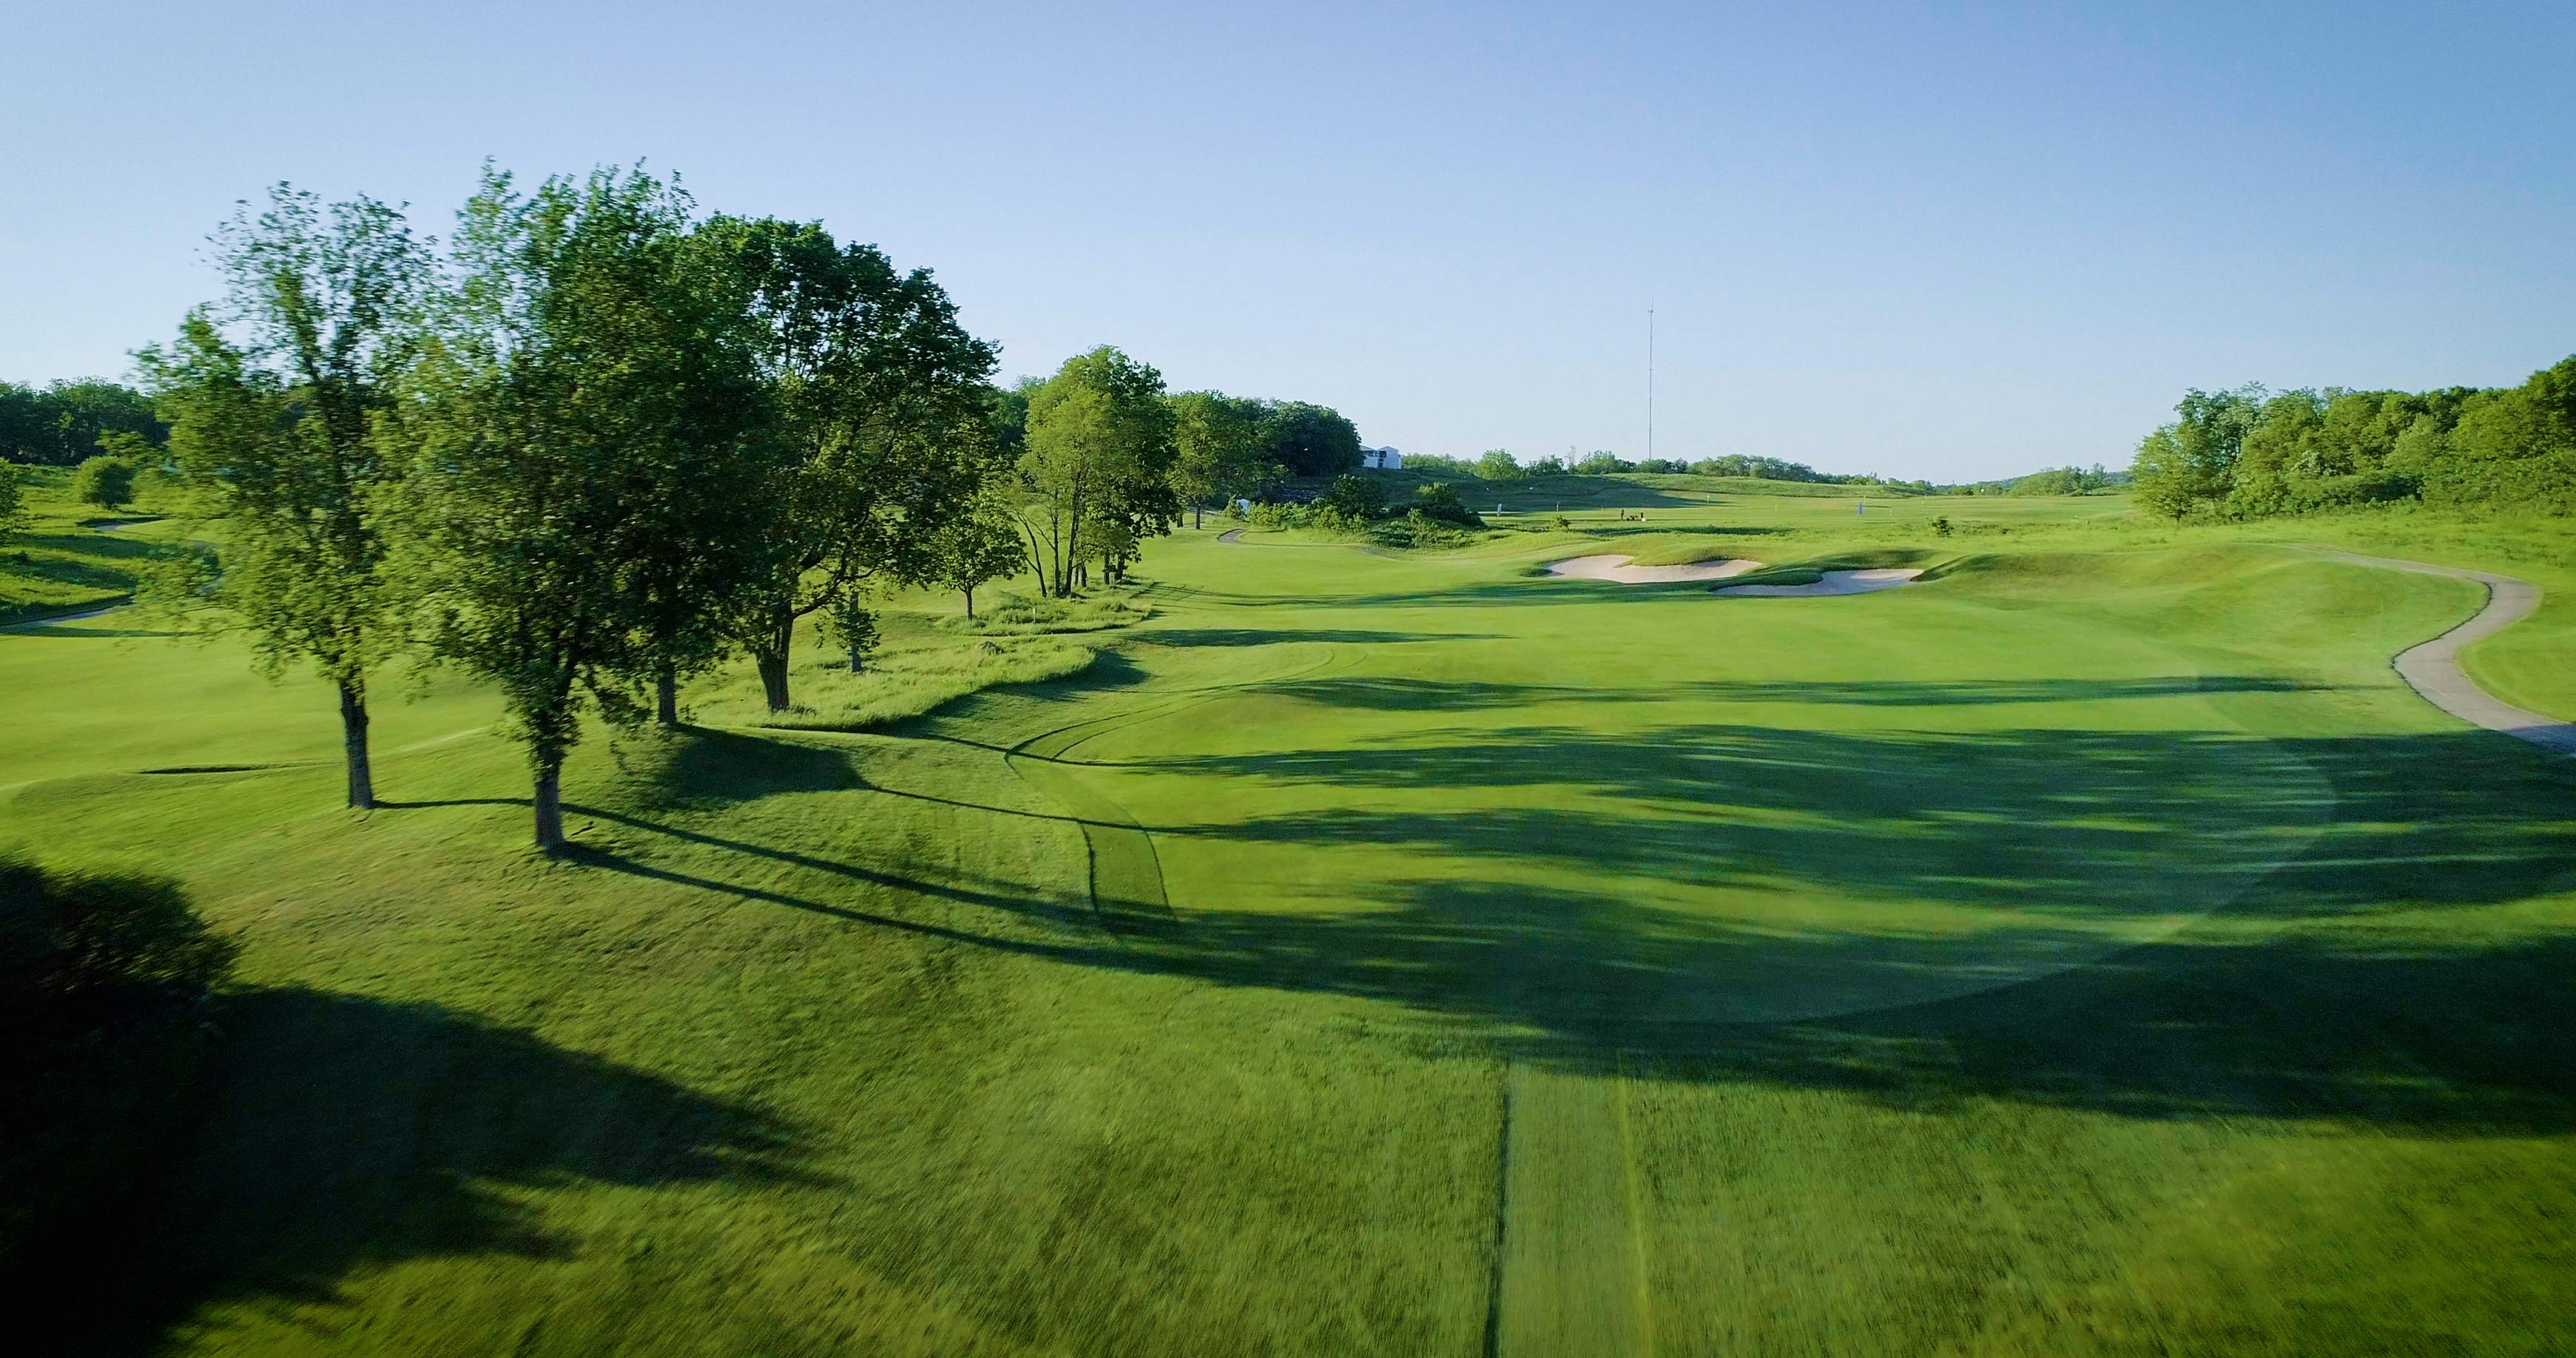
The 11th hole is a long par 5 that sweeps form left to right. Two deep bunkers guard the right side of the fairway off the tee. The second shot is pinched by a large oak on the right and bunkers left. The narrow, deep green has bunkers left and long, and rough on the right.
12
PAR 3
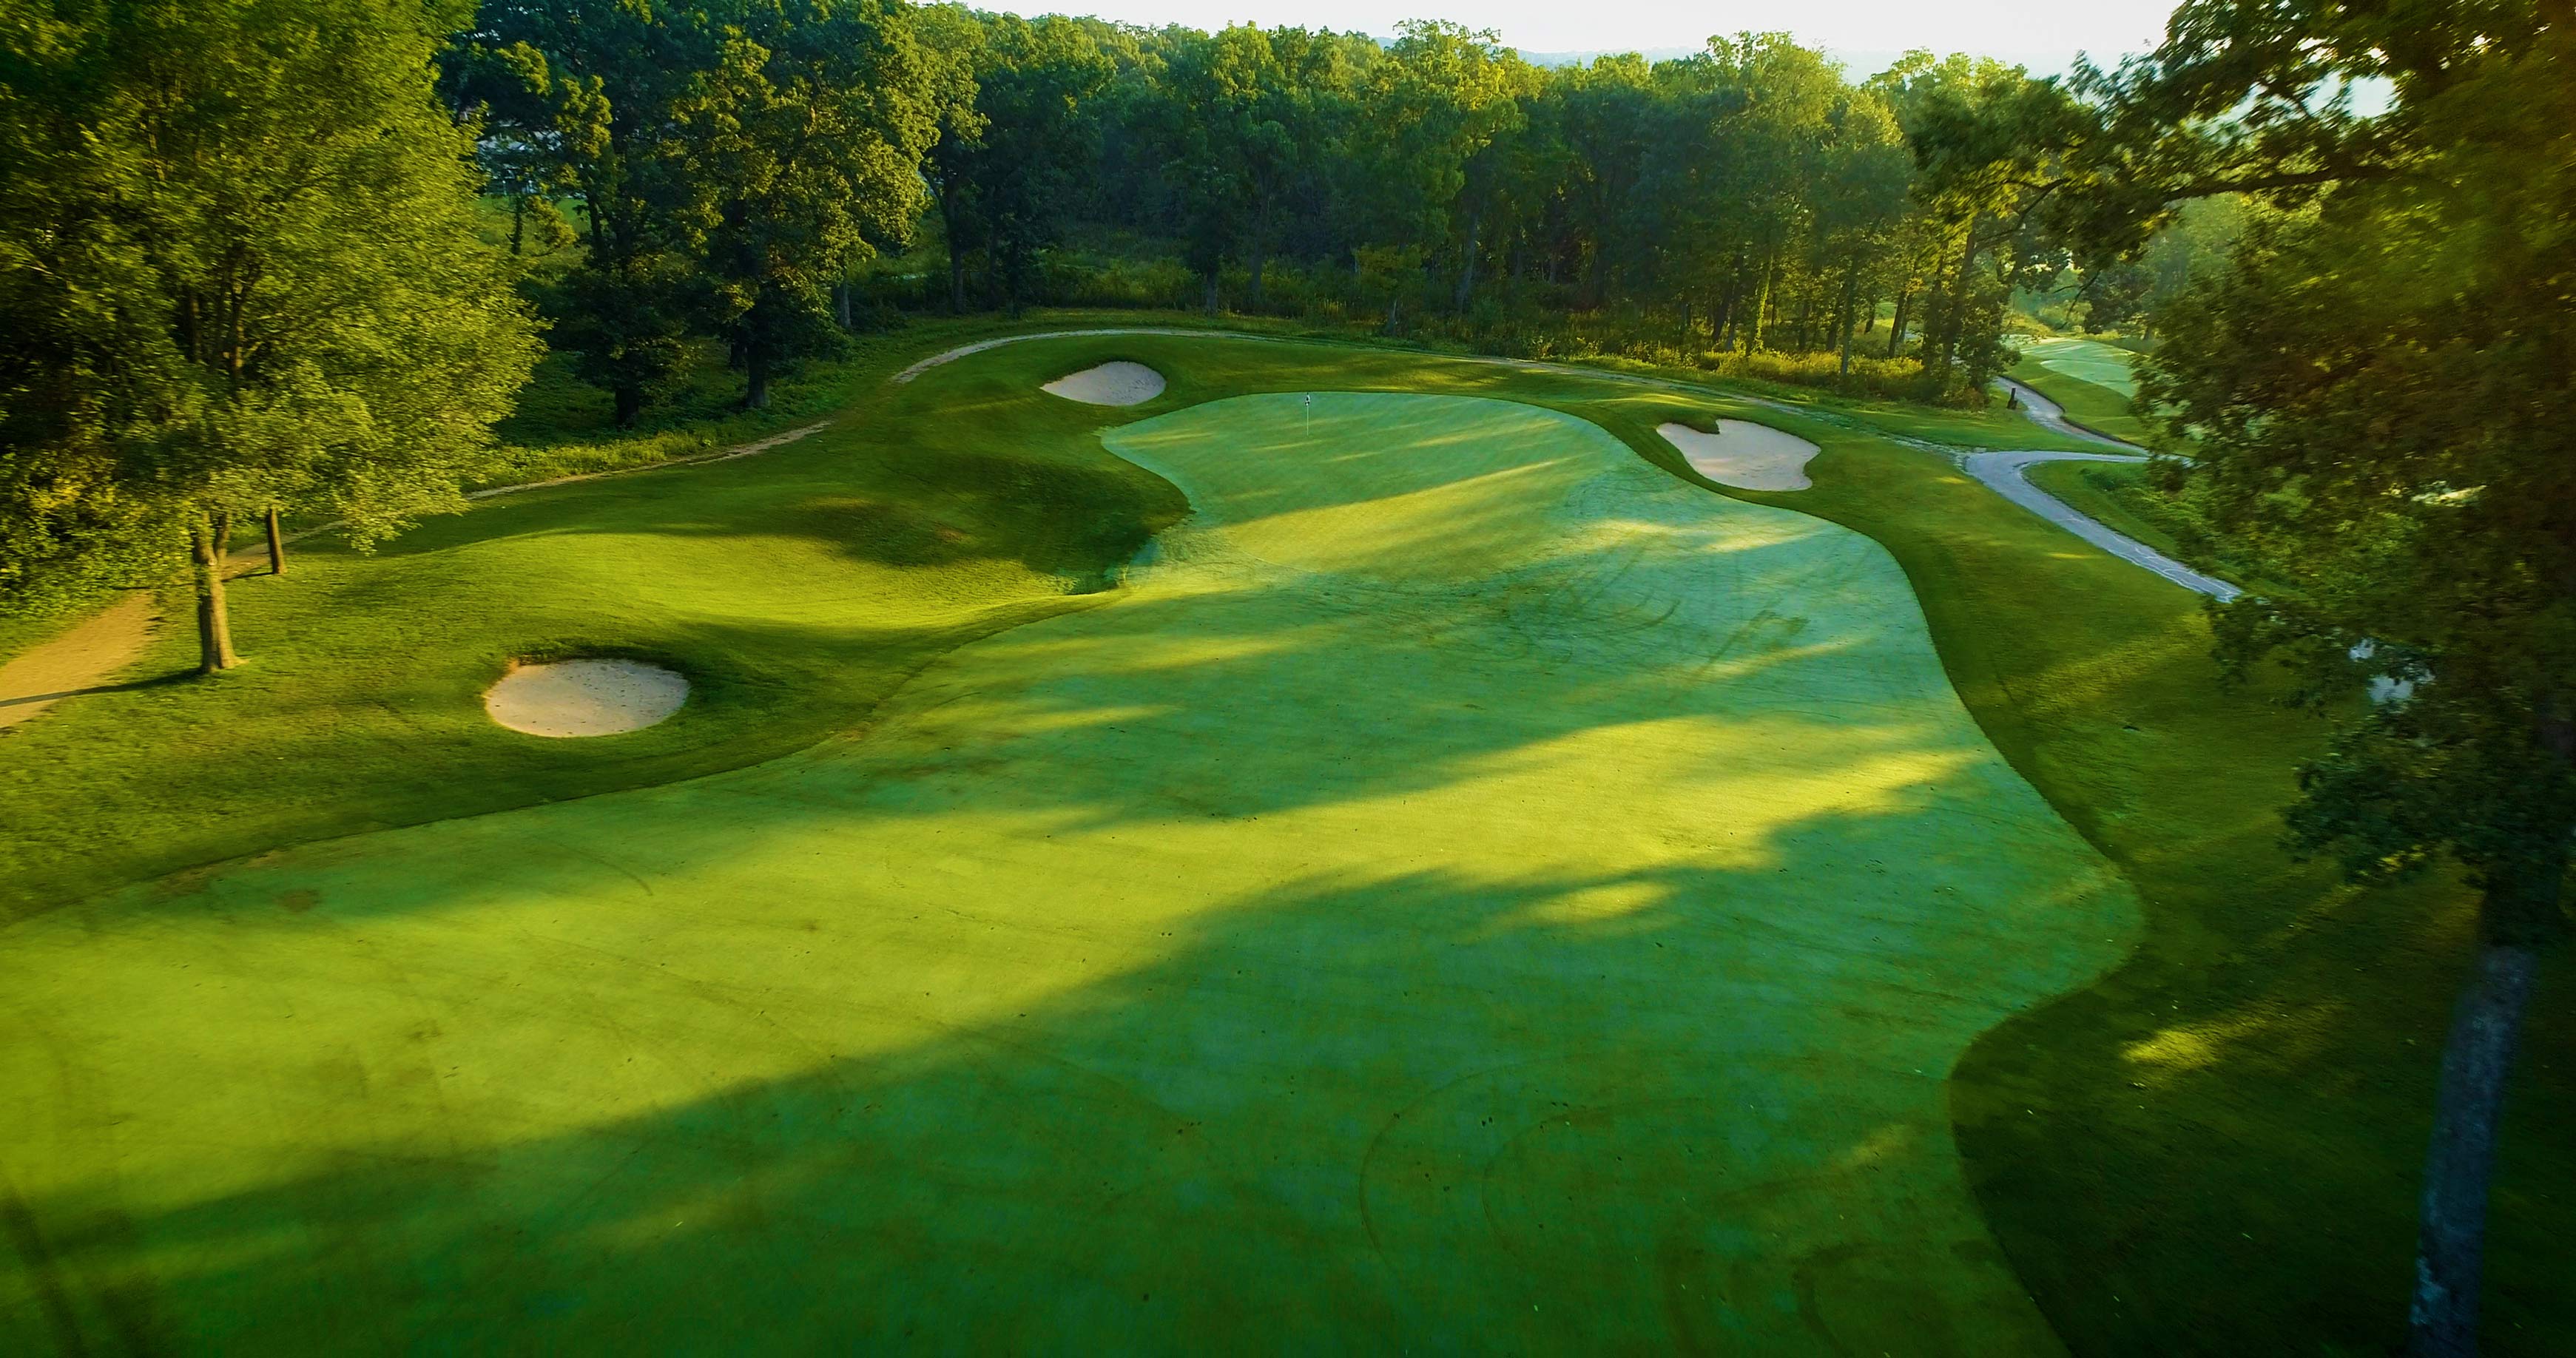
The 12th hole is a medium length downhill par 3 to a tight green. Bunkers flank both sides of this skinny surface.
13
PAR 4
The short par 4 13th hole plays uphill in a tree-lined valley. One large bunker protects the left side of the fairway. The green sits at the top of the valley and is guarded by bunkers short and long.
14
PAR 4
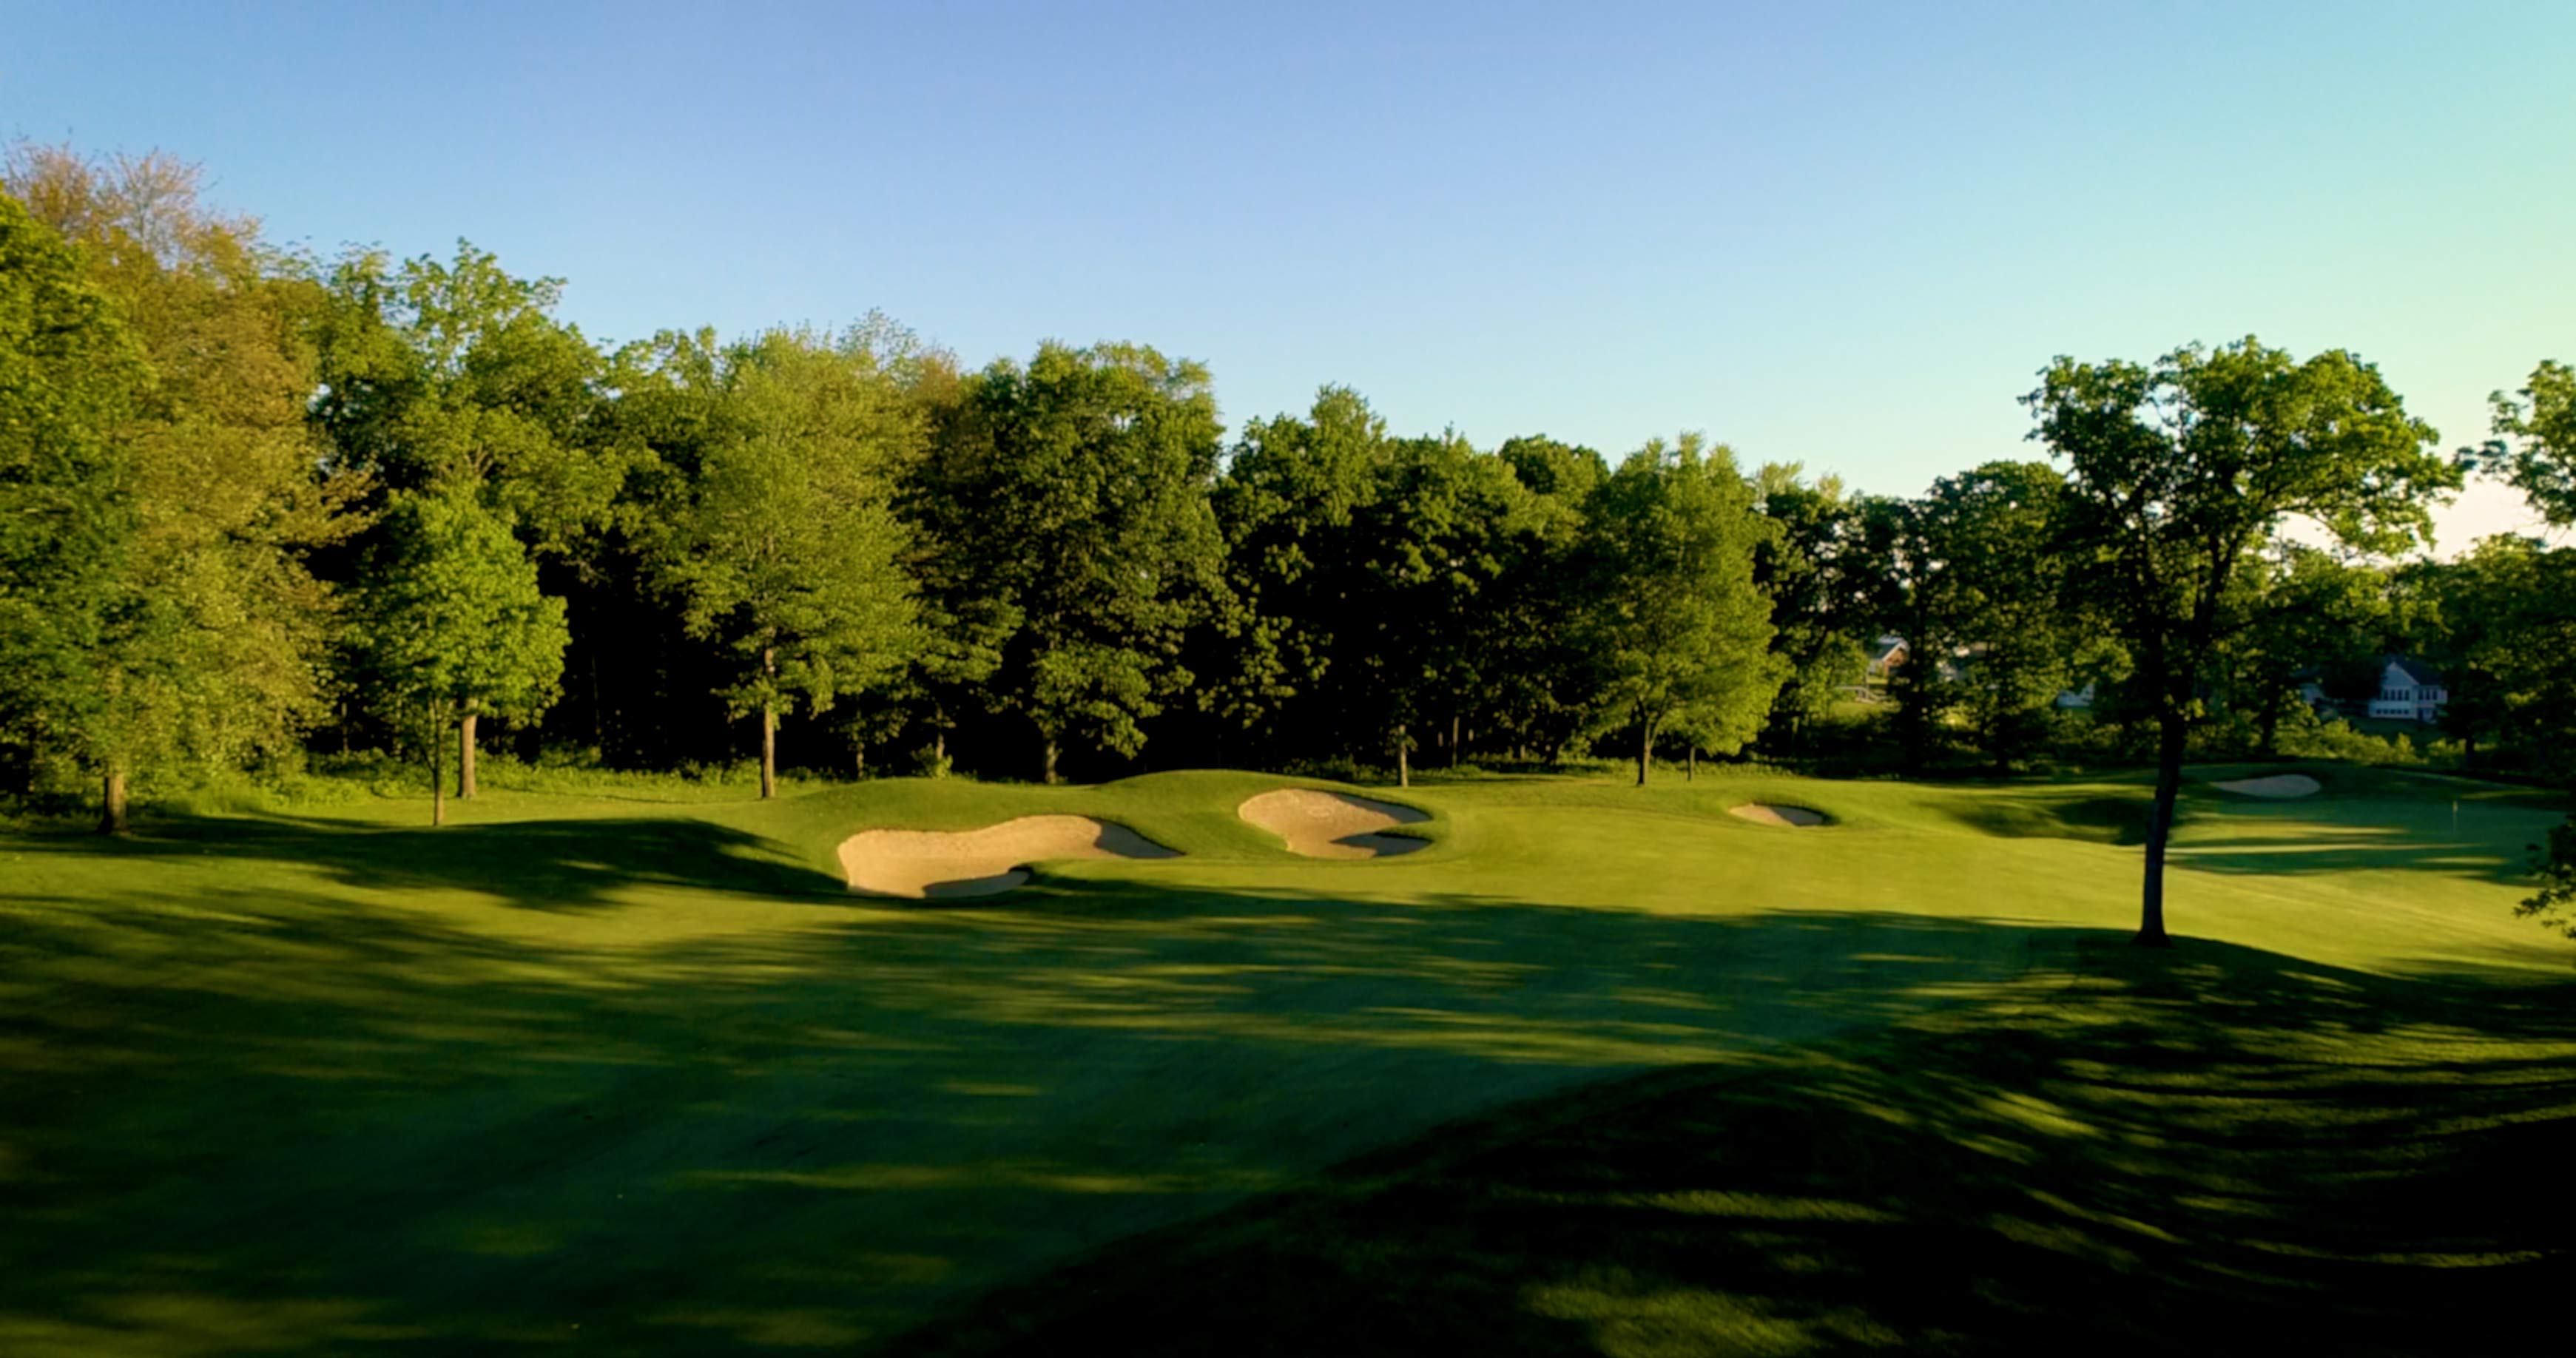
The 14th hole is a medium length par 4 that plays up and over a gentle rise. The tee shot is flanked by three bunkers left, and right. The green is open to the front, with bunkers right and left.
15
PAR 4
The 15th hole is a drivable par 4 with a number of options off the tee. The hole moves from left-to-right and falls downhill. A large elm tree frames the right side of the landing area forcing players to lay back or challenge the tree. The back-to-front green is surrounded by bunkers and rough hollows.
16
PAR 5
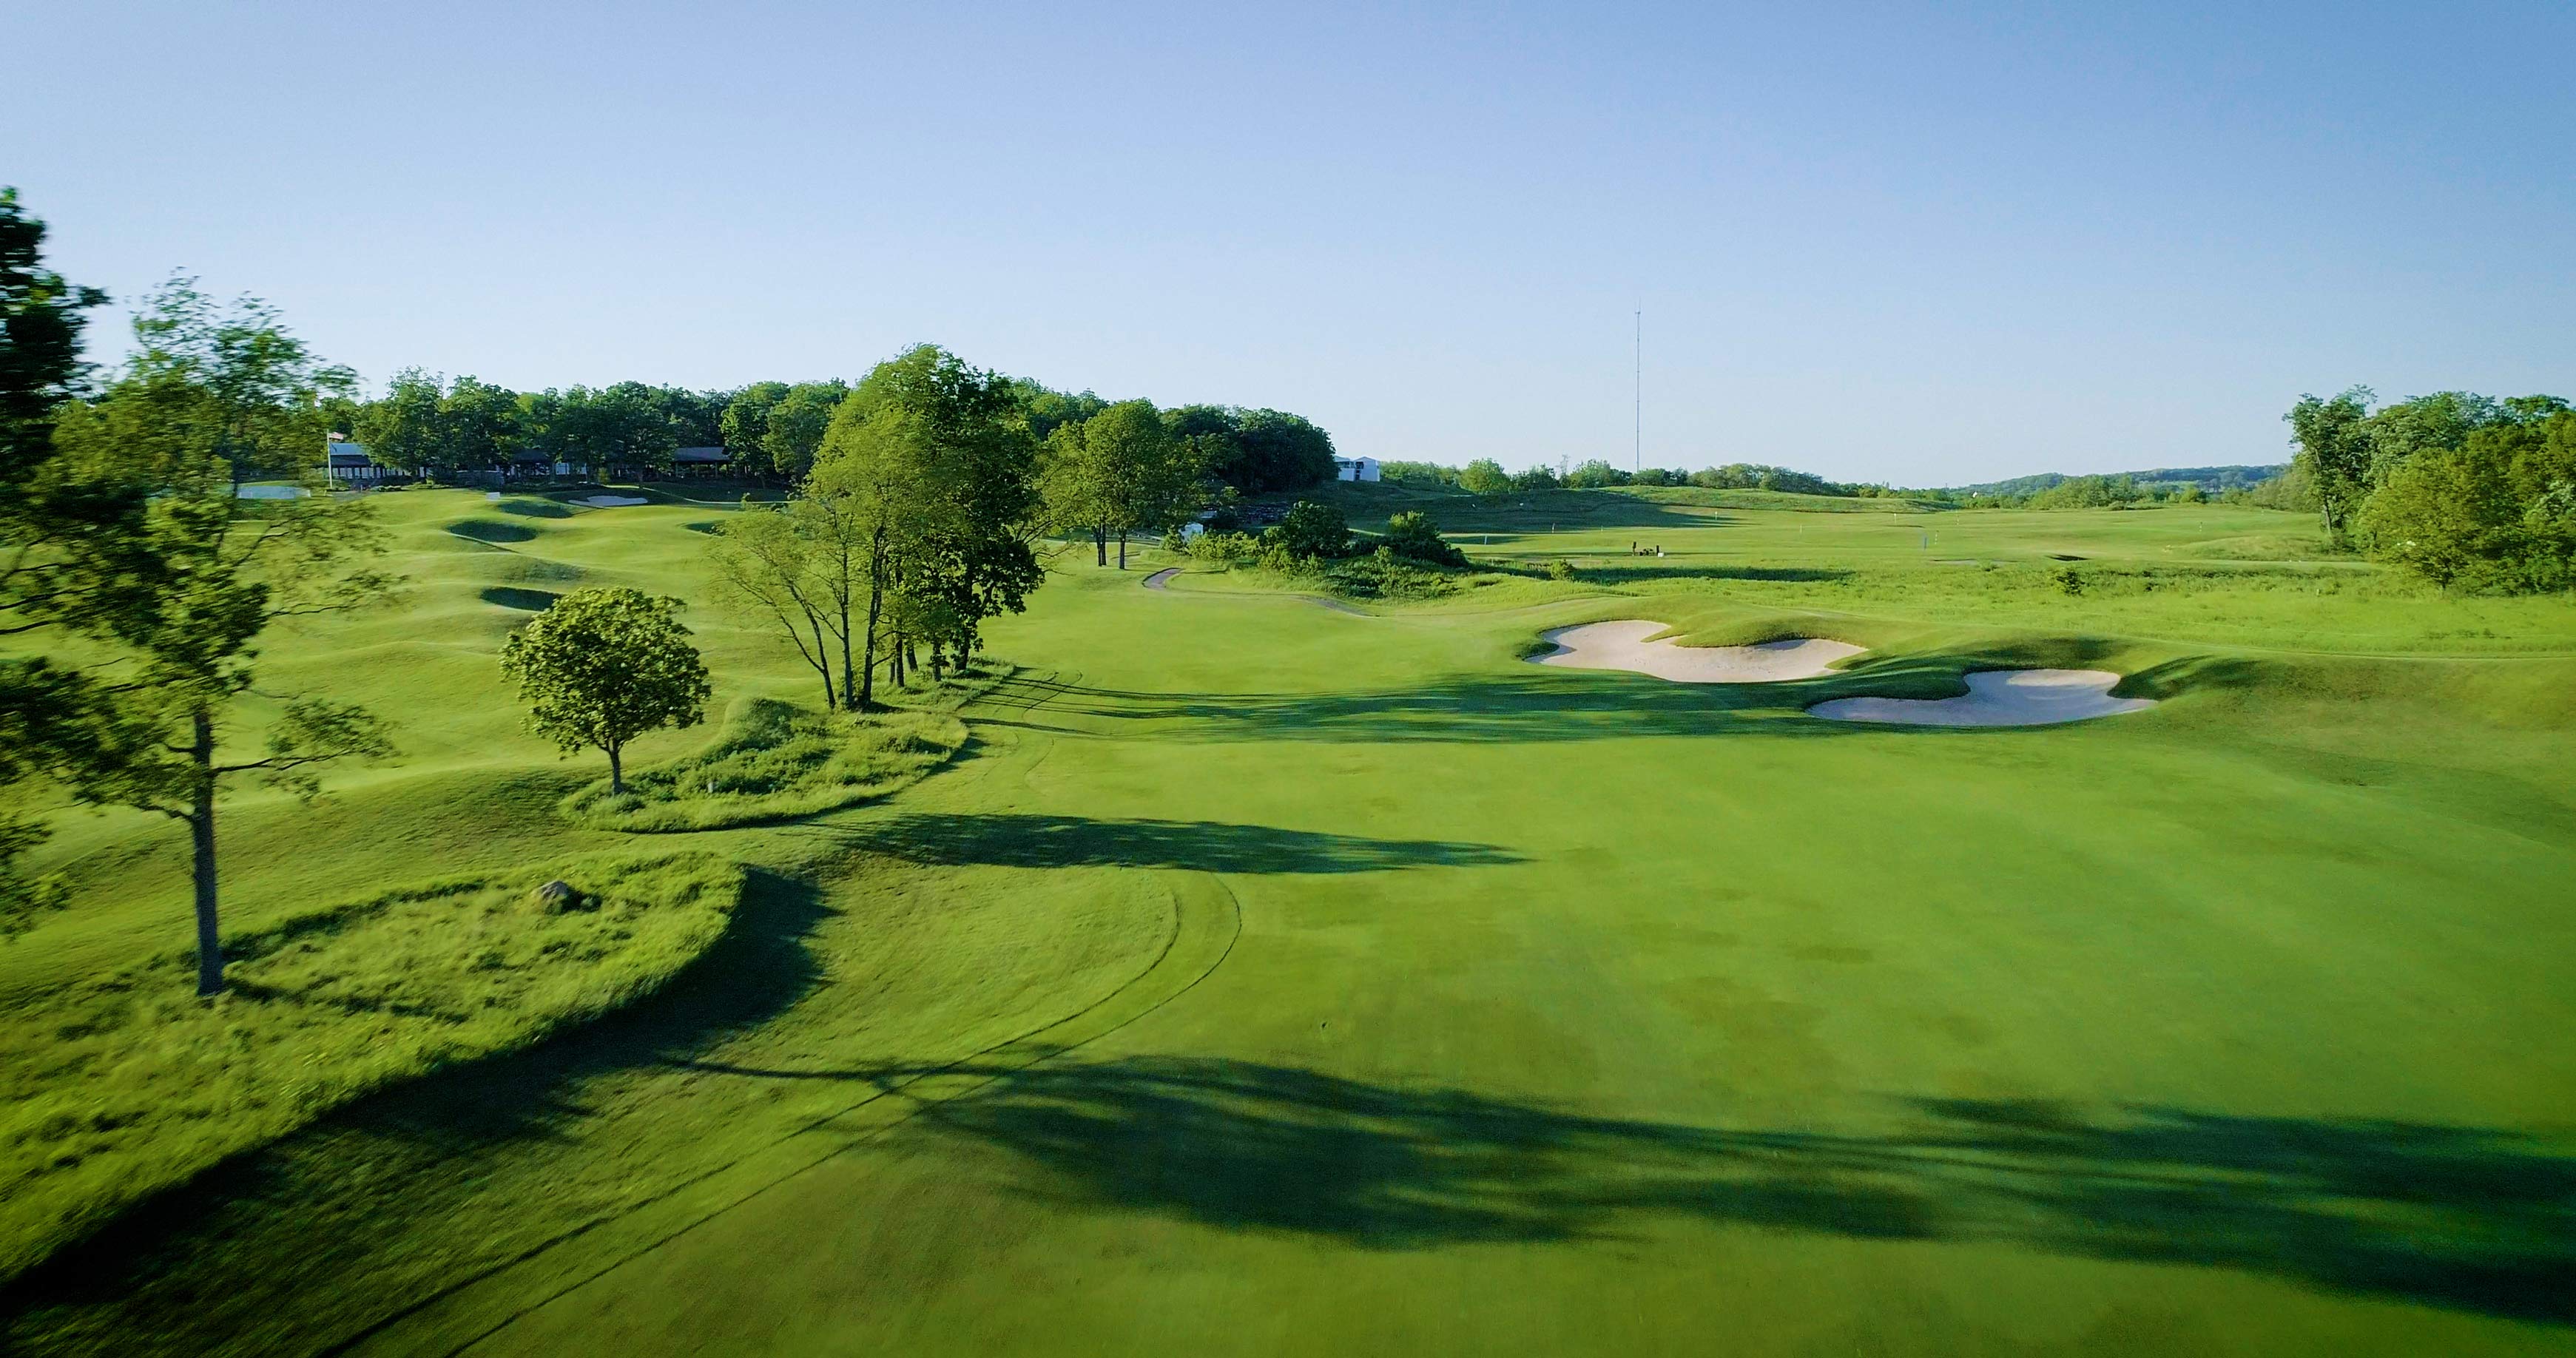
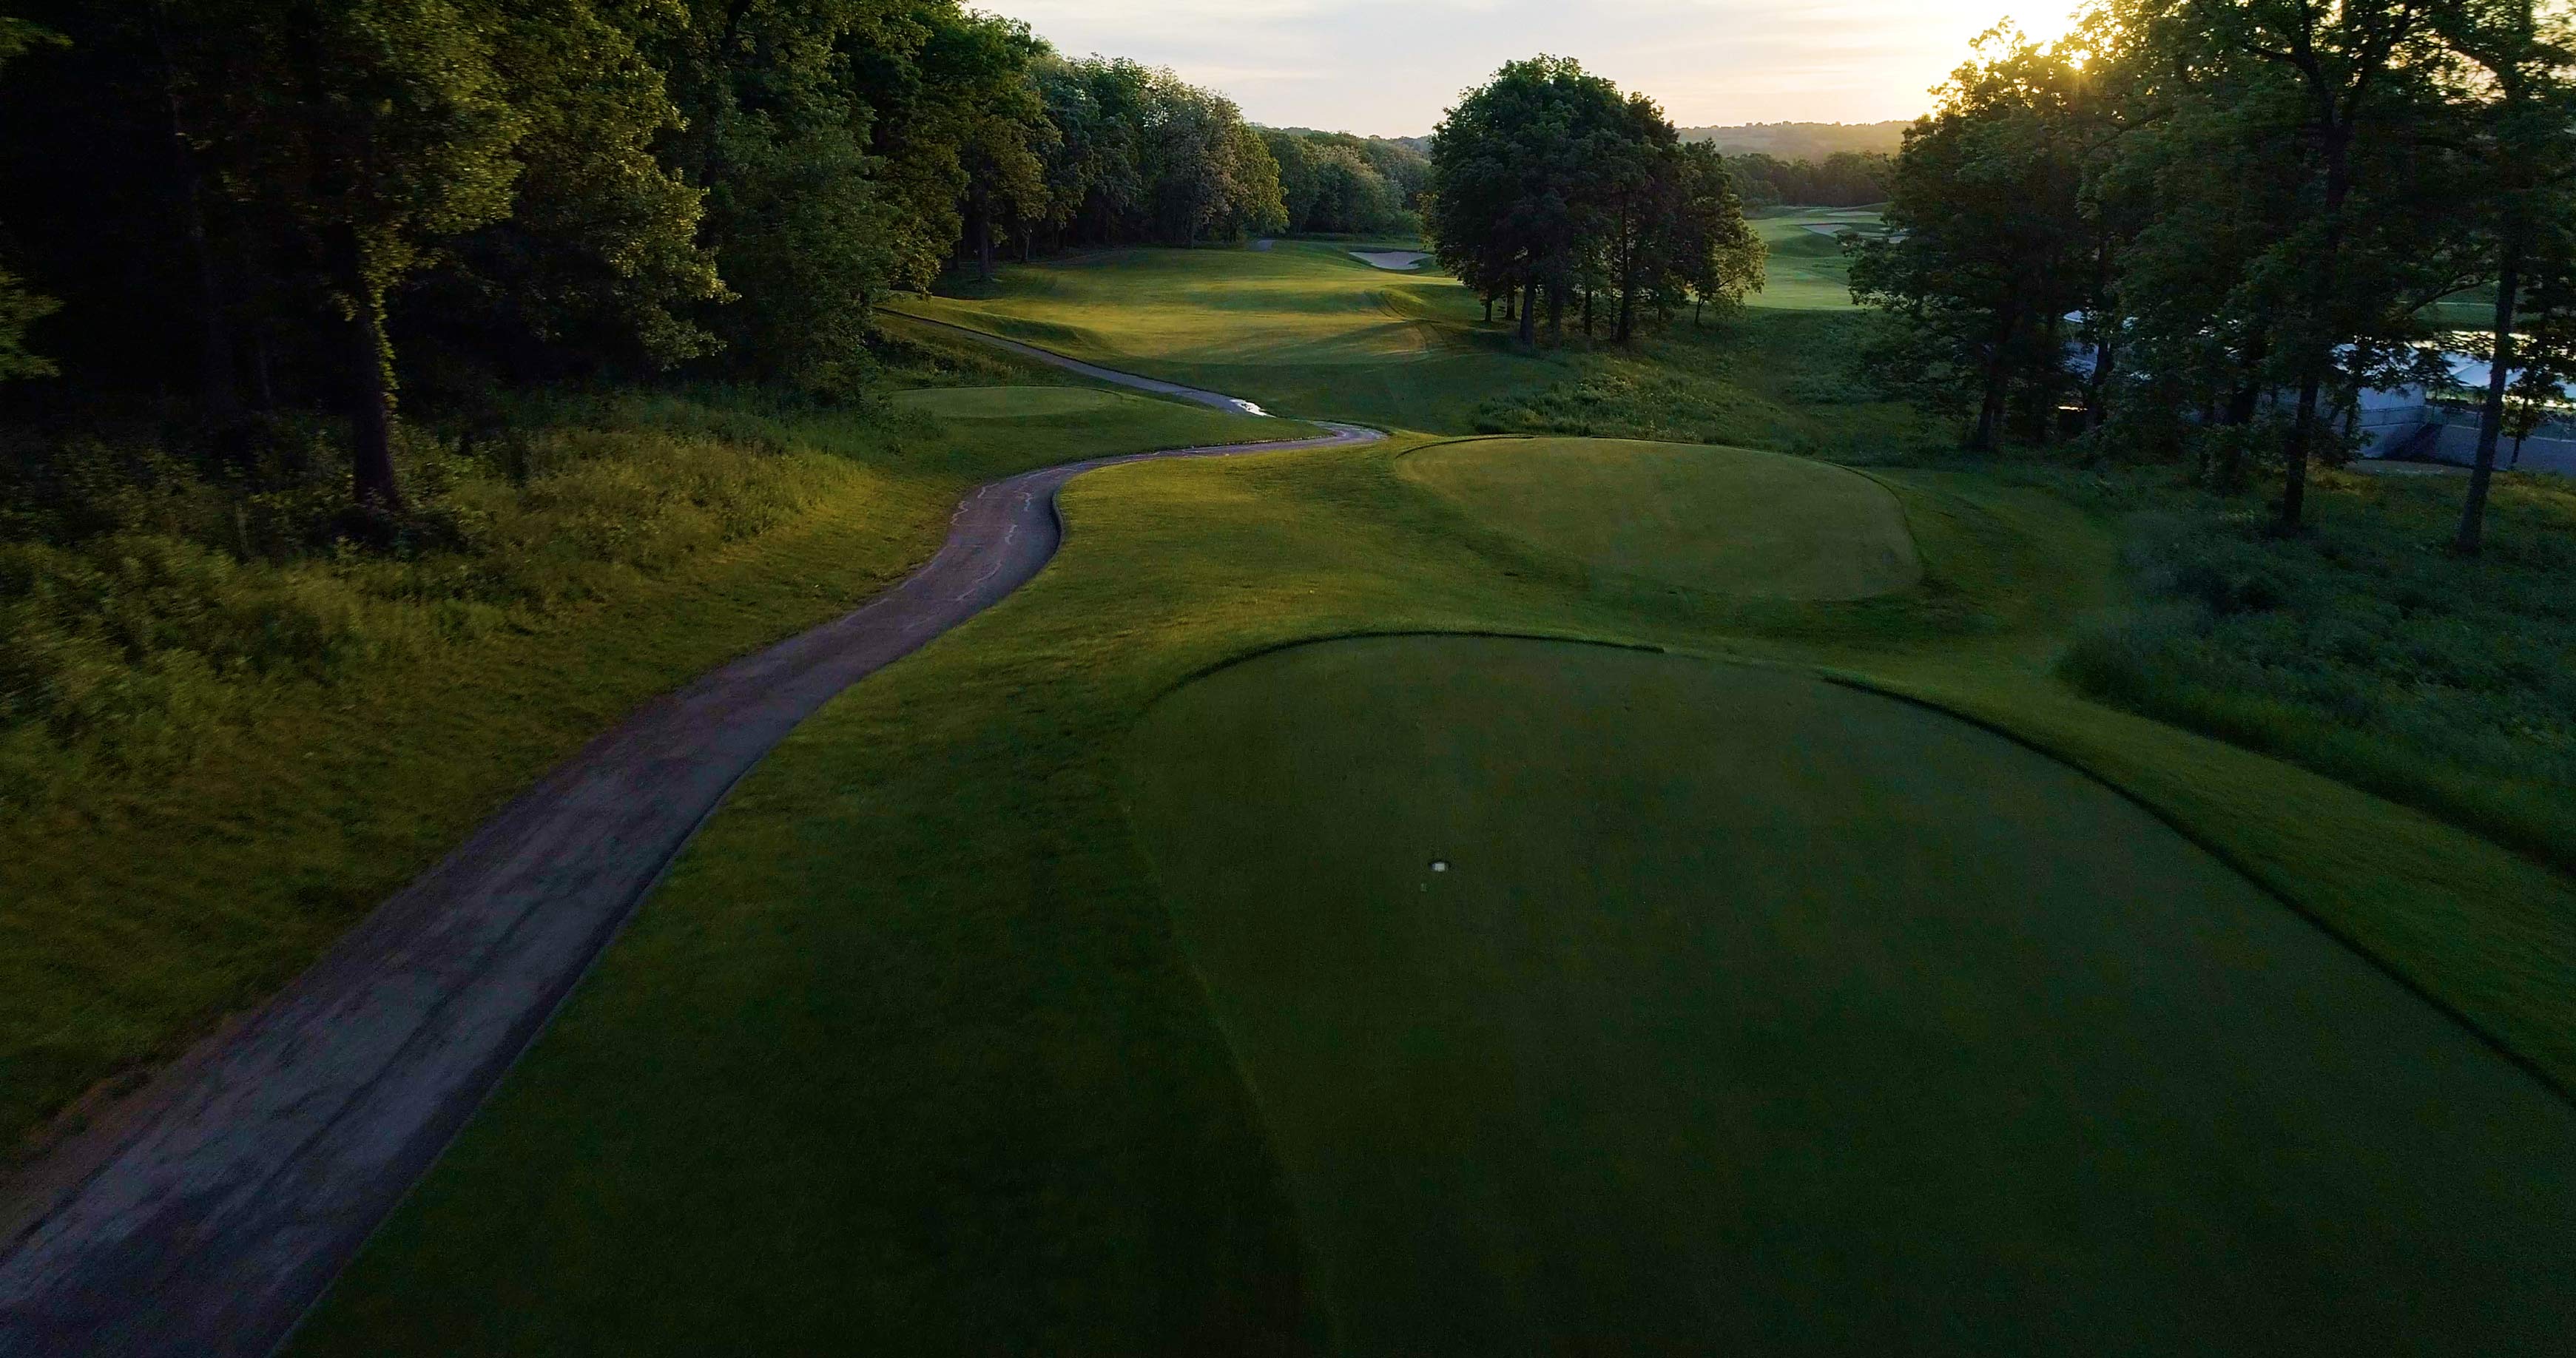
The 16th signature hole is a reachable par 5 with a number of options off the tee as well as the approach. The downhill tee shot is played through the woods to a split fairway bisected by large cottonwoods. Once out in the open, the second shot is highlighted by numerous central bunkers and a lone tree on a hill. Entrances to the green can be found at the far left and far right.
17
PAR 3
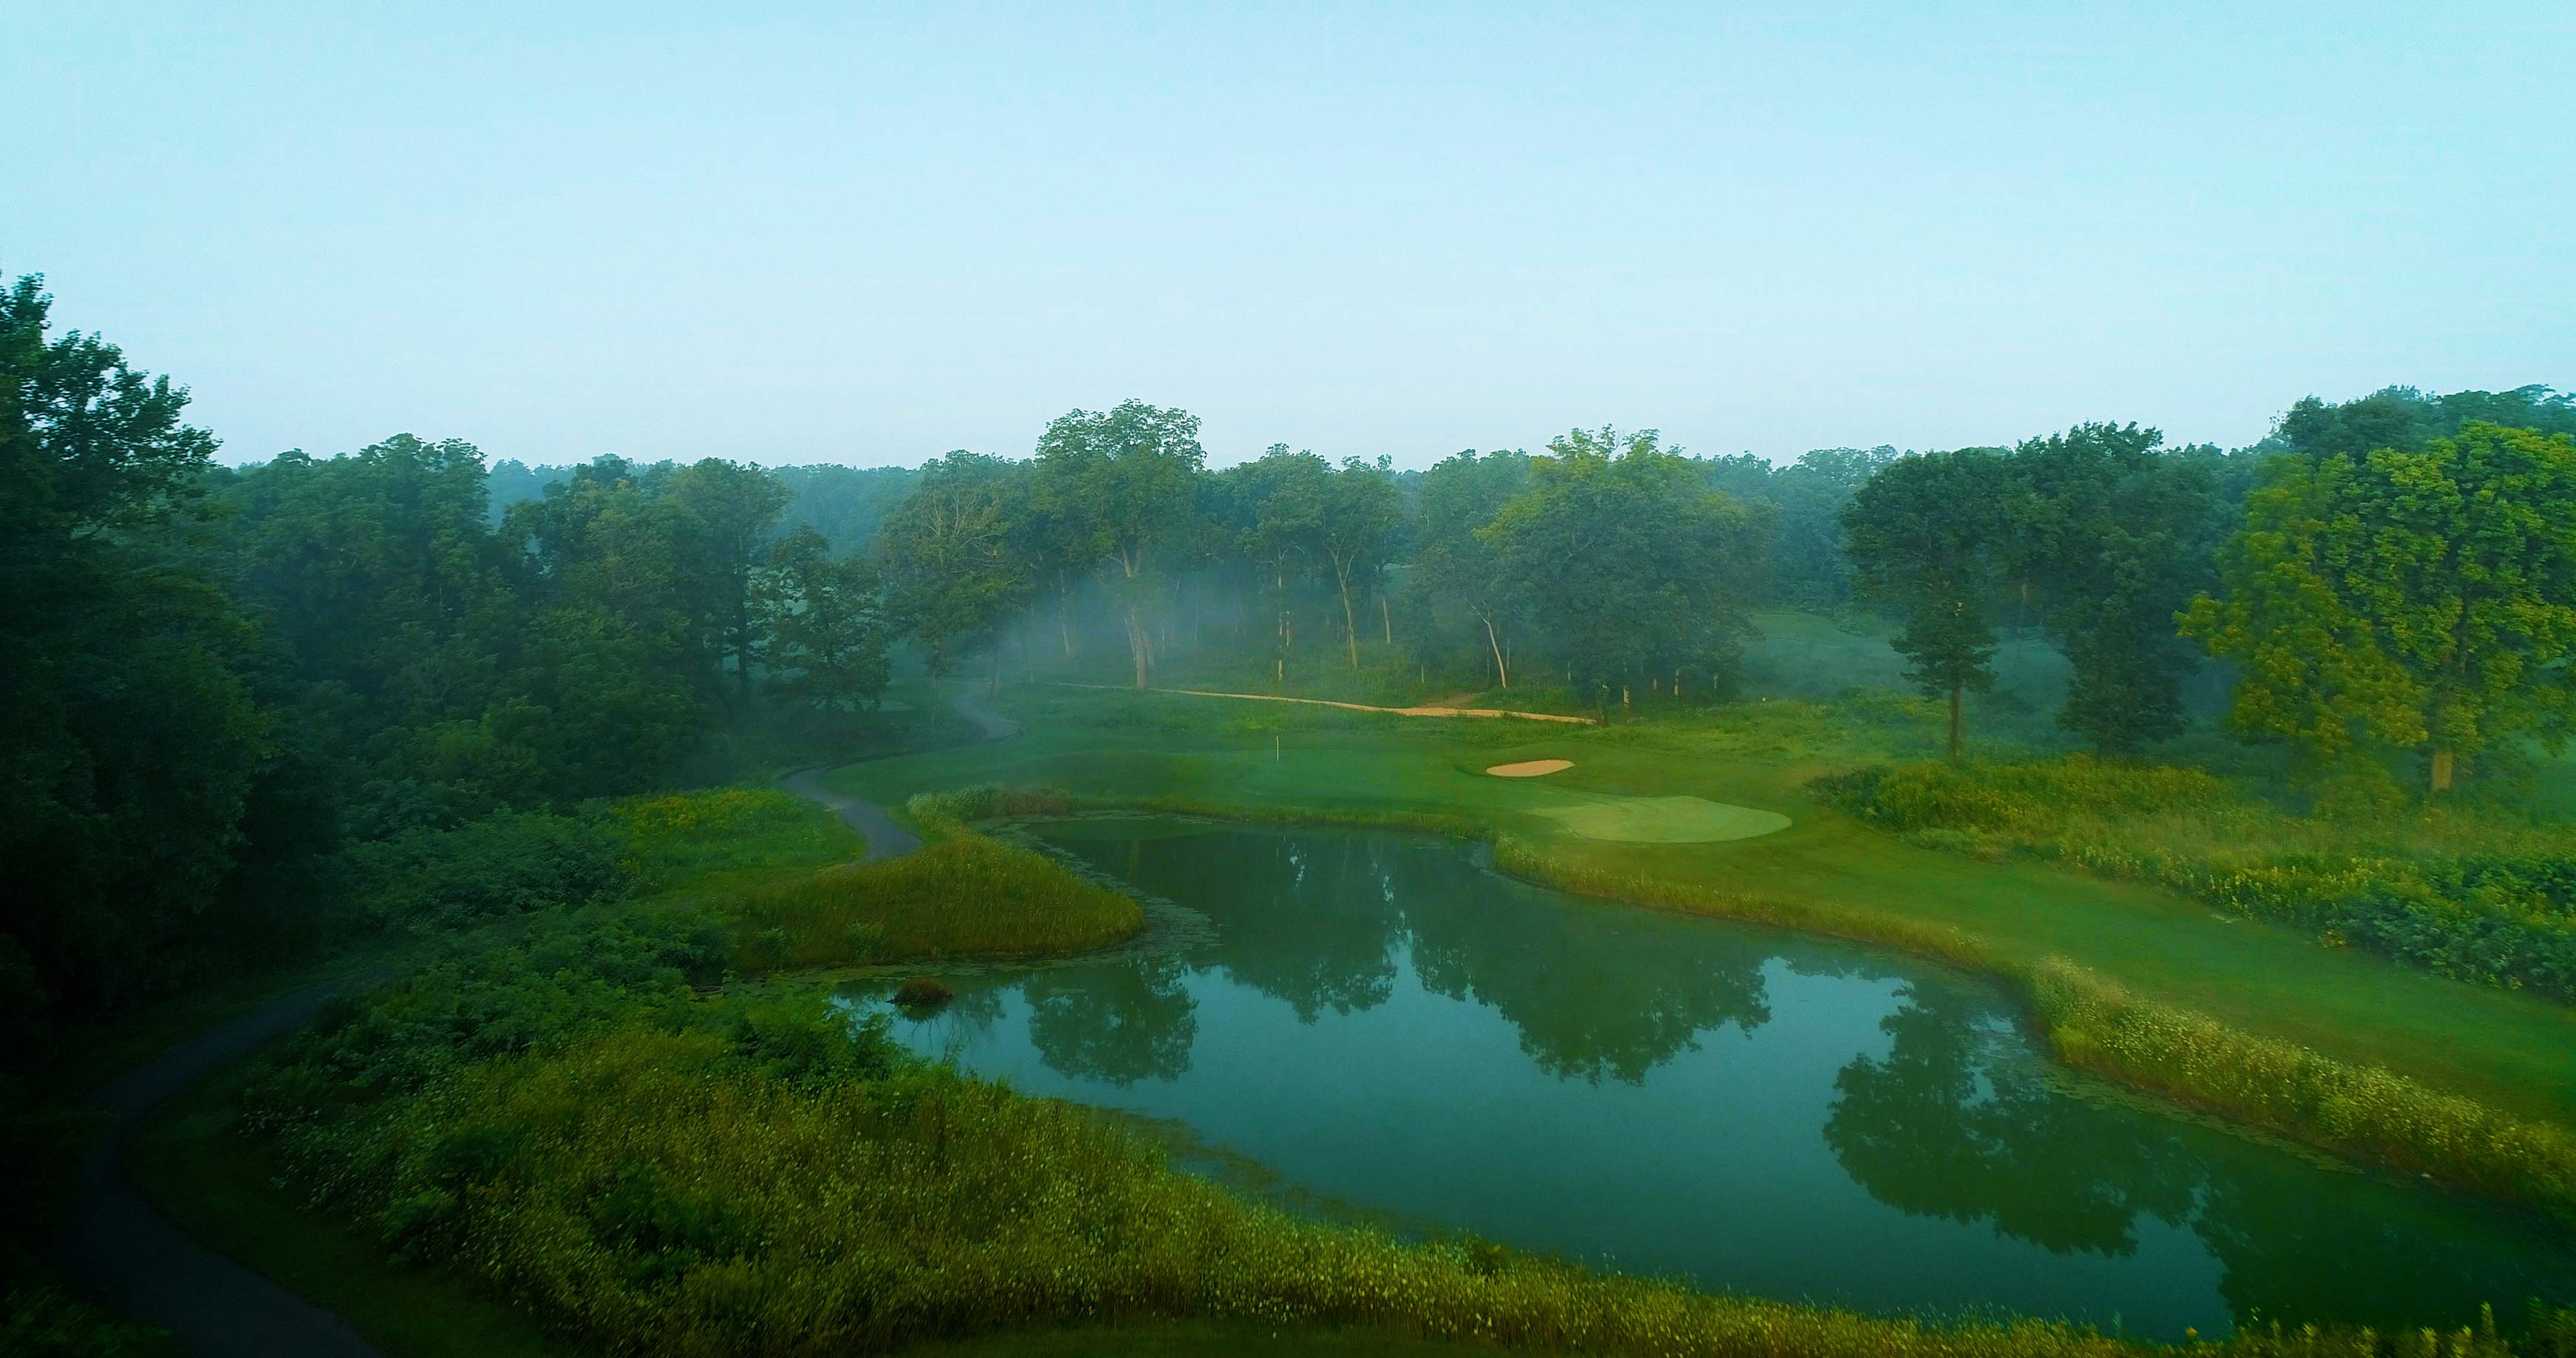
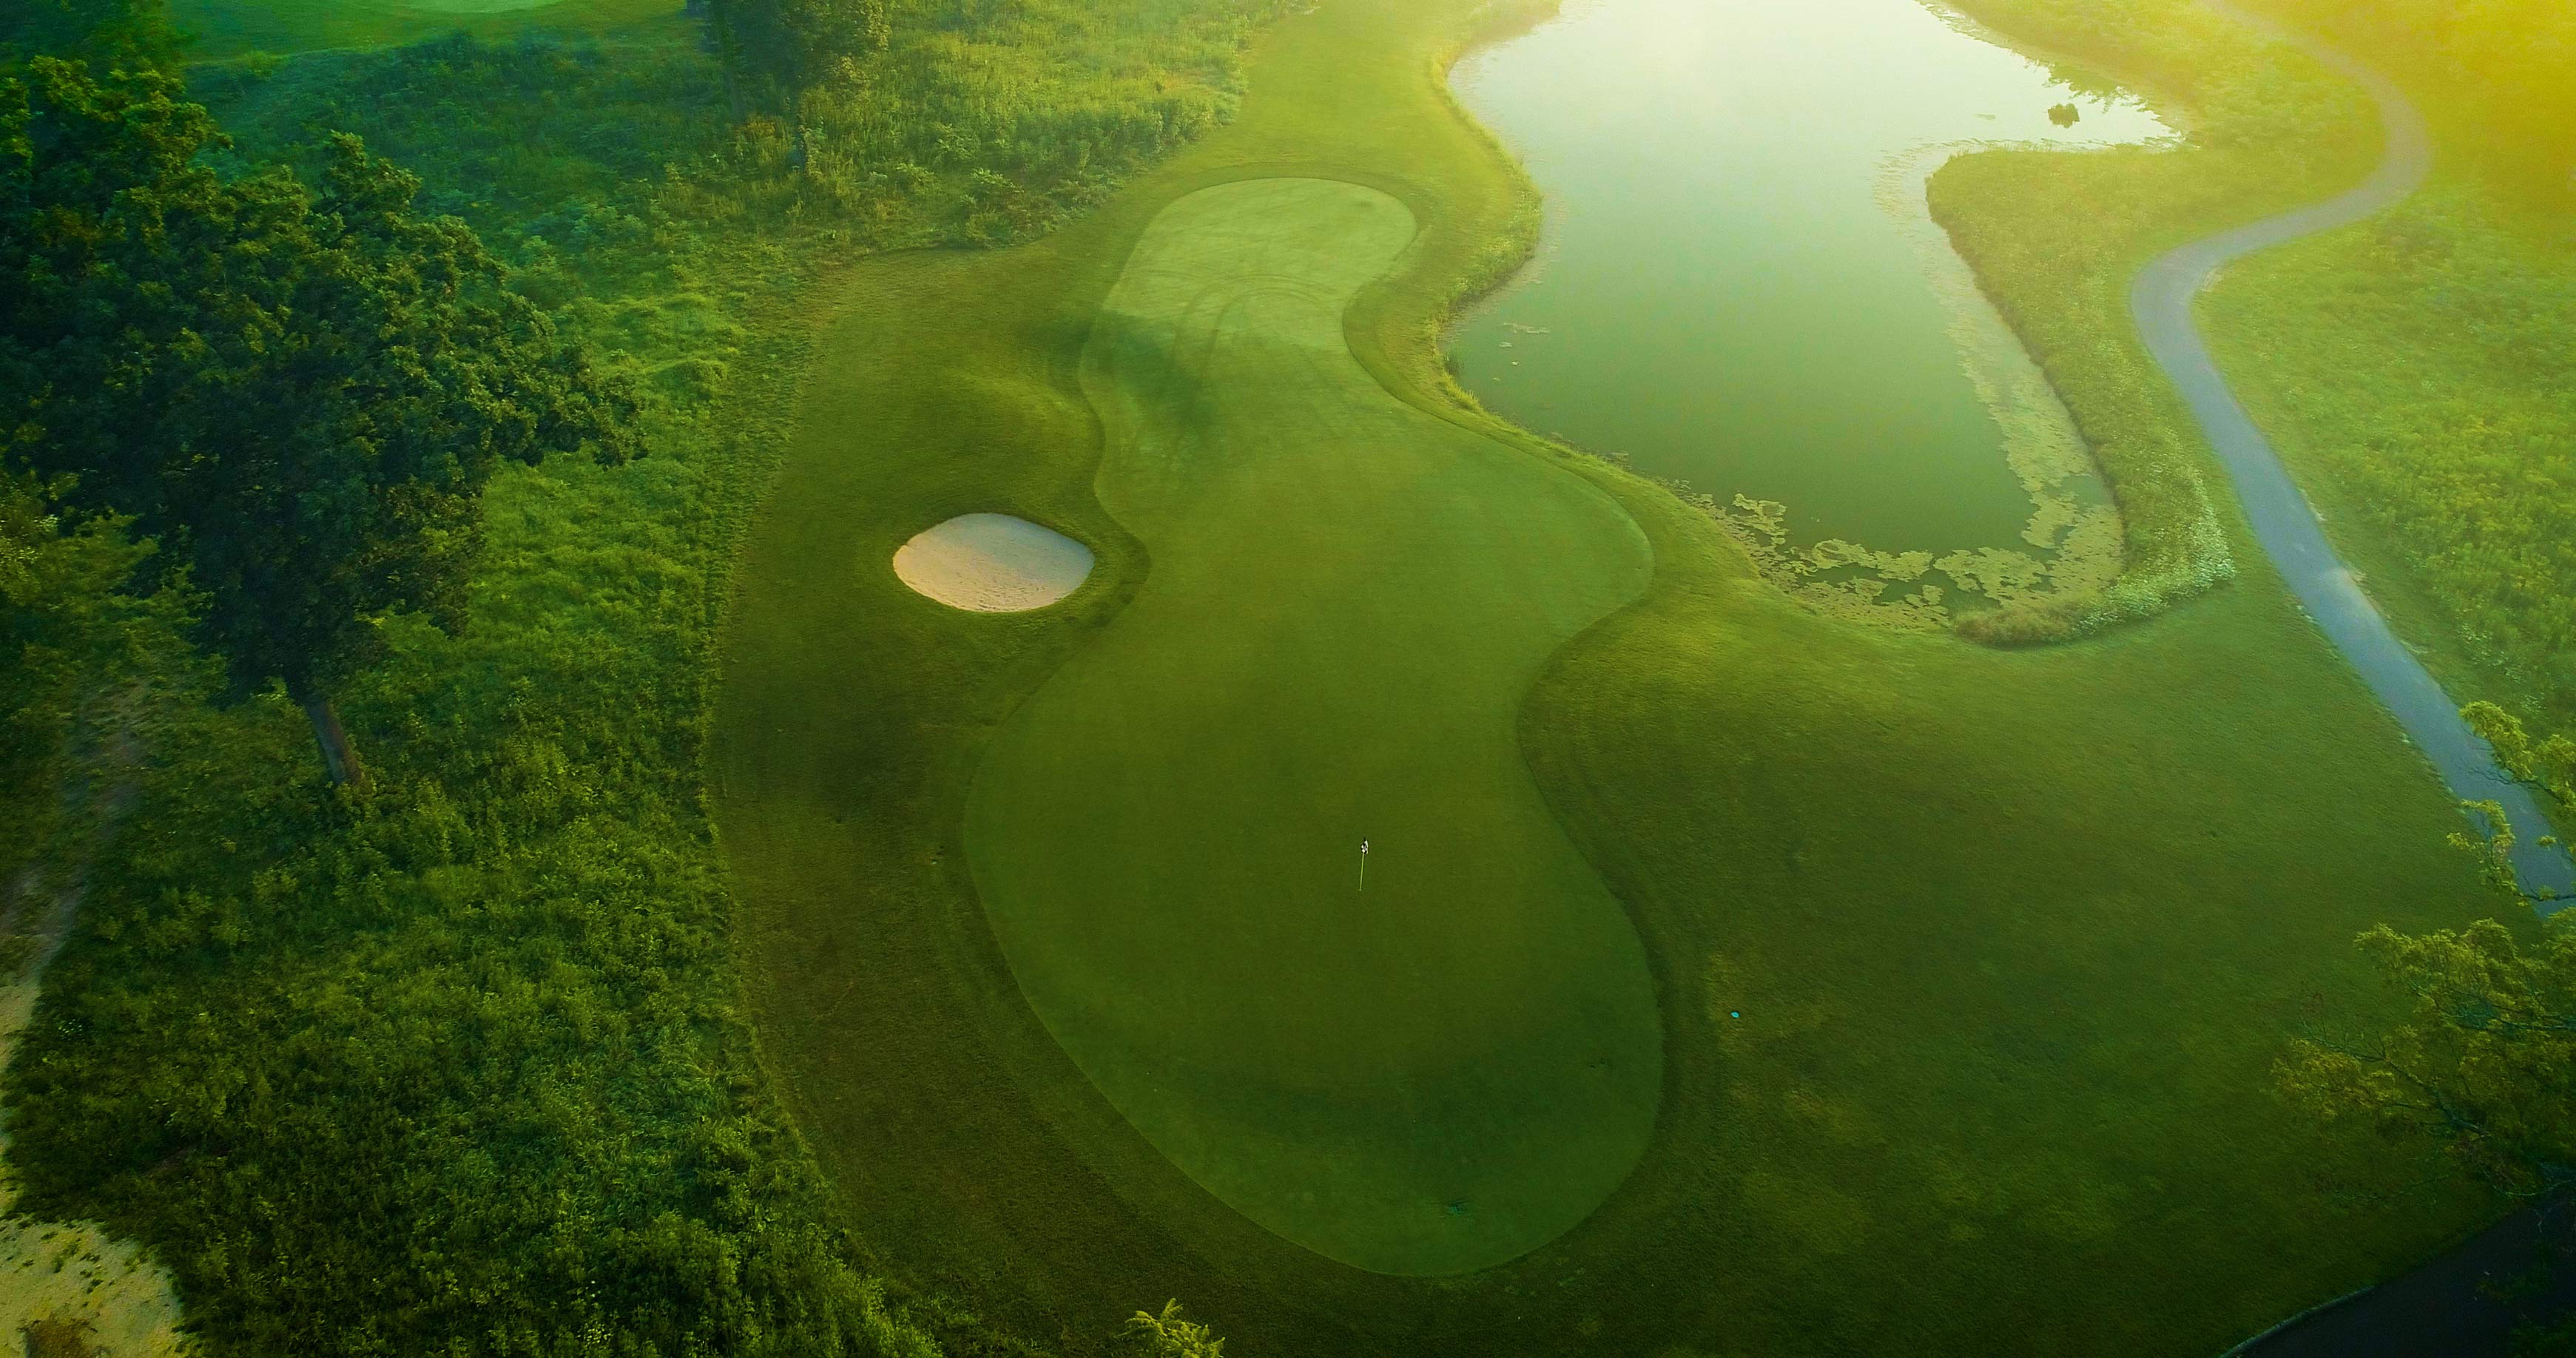
The 17th is a long par 3 over a pond. Numerous tees offer a wide variety of lengths and angles. The deep, skinny green is protected by the pond front, bunker right and hillside left.
18
PAR 4
Hole No. 18 is a medium length dogleg left par 4 that plays sharply uphill and sits on the highest part of the property (much like the Capitol in Madison). Three bunkers guard the left side of the fairway forcing players to choose their line off the tee. The deep green features a large roll in the middle.
